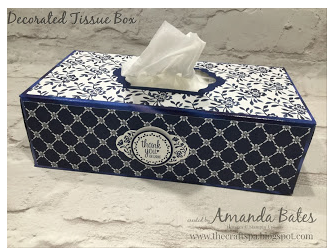
The more I play with the Fresh Florals Designers Series Paper Stack, the more I love the potential of the colors and designs. I have to admit that my first thought for these papers was not as a tissue box cover. But then I saw this box made by Amanda Bates of the UK:

Hi ho Hi ho….off to make my own I go.

I’ll start by saying it was not easy but….nor was it extremely hard. Construction required precision.
To start you need to measure the height of your particular tissue box. Then measure the width of all four sides. Sides 1 and 3 will be the same. Sides 2 and 4 will be the same. (Maybe they’ll all be the same. Mine were not.) Then add 1/2″ to each side, as well as the top side. The bottom sits flush onto the table. I highly suggest using scrap (computer) paper to establish your measurements before cutting into any of the precious 12″ x 12″ card stock. (You can use 8-1/2″ x 11″ card stock.)

Supplies Used:
|
|
||
|
|
|
|
|
|
|
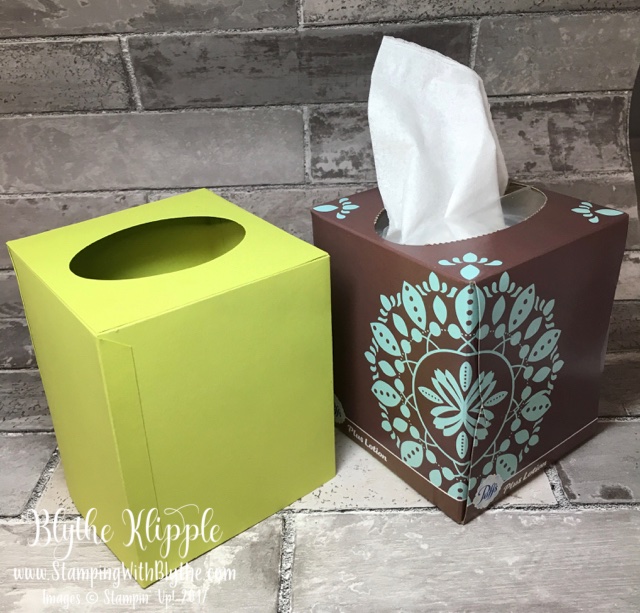
I don’t know if all ’boutique’ tissue boxes are the same size, but here are my measurements. I used a Puffs (Plus Lotion) box.
Height: 5″ plus 1/2″ for the flap used for gluing.
Width: sides 1 and 3: 4-1/2″. Add 1″ for flaps for each side. Cut piece 5-1/2″ x 5″, scoring at 1/2″ on two longer and one shorter side. You don’t score the edge that will be the bottom on the box cover.
Width: sides 2 and 4: 4-3/4″. Add 1″ for flaps for each side. Add 1″ for flaps for each side. Cut piece 5-3/4″ x 5″, scoring at 1/2″ on two longer and one shorter side.
Coordinating Designer Series Paper layers: Cut each side and the top piece 1/4″ smaller on all sides, not including the flap measurements.
Try this next step several time with scrap paper before proceeding with adhering your sides to each other forming the outside of the box. I placed Fast Fuse one the ‘inside’ of the side 1 flap and the ‘outside’ of the side 2 flap. Then repeat for the other side of side 2 (Fast Fuse on inside) and side 3. Continue this pattern for attaching side 4 and then attaching side 4 to side 1. Just work slowly and you can do it.
Before attaching the top of the box, using an appropriate size Layering Oval Framelit to cut the hole where the tissue will pop up and out. You’ll be using two oval framelit pieces. Use the smaller one on the card stock and the slightly larger one on the Designer Series Paper layer.
Top: 4-1/4″ x 4-1/2″. Apply Tear and Tape to the top flaps of those four sides. Then carefully, squaring up the sides, lay the top onto the box sides.


When your tissues are gone just slip the box cover off and place it on the next box. I can foresee making seasonal tissue box covers now, using autumn/Halloween/Thanksgiving or Christmas Holiday Designer Series Papers.
Click on any of the product photos above to be taken to my Stampin’ Up! store to get your supplies for making this project.
My monthly newsletter will be coming out on July 4th. If you aren’t on my mailing list (upper right corner) why not sign up right now!? I always have new ideas and projects to share throughout the month with my Talk & Tips publication.
In the meantime, pull out a piece of Fresh Floral Designer Series Paper and make a tissue box cover. You’ll make yourself smile when it’s done. Make one for a friend while you’re at it!


