Our second card made at this week’s creative time at the community center here in Avimor (Boise, ID) was created with minimal stamping but plenty of die cutting.

Product List
|
|
|||
|
|
|
|
|
Two more integral products needed for today’s cards:
|
|
|
If you’re interested in purchasing any of the products shown above, just click on the image and you’ll be sent promptly to my online Stampin’ Up! store.
Now let’s get to creating!
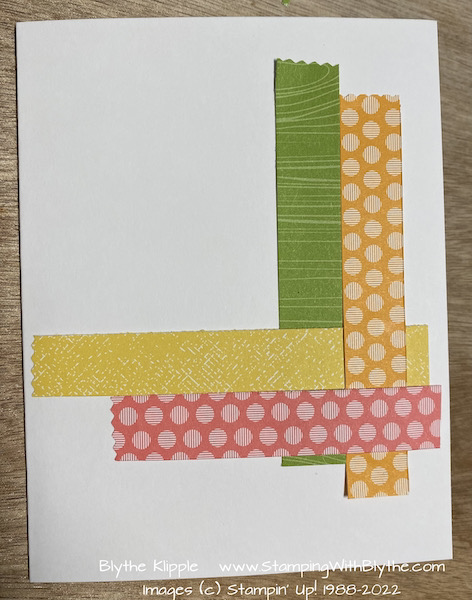
Start with 1/2″ x 4″ strips of four pieces of 6″ x 6″ Brights Designer Series Paper. We used Daffodil Delight, Granny Apple Green, Mango Melody, and Melon Mambo. Punch one end of each strip using the Washi Punch. If you don’t have the punch I would suggest tearing, at an angle, the end of each piece for a whimsical effect. I weaved (wove???!) mine a bit where they crisscrossed but you can hardly see that effort in the finished card. Shorten the length of various strips as desired. I snipped about 3/4″ off of the Melon Mambo strip. Attach using Multipurpose (aka ‘green’) Glue.

Using the Stampin’ Cut & Emboss Machine and the Pierced Blooms Dies, die cut 3 flowers and several leaves, both single leaves and the clusters of leaves. I love how the perforations show off in the die cut images.
Attach the three flowers first using a smear of ‘green glue’ on the center circle of the back side of the flowers. Attach to card front where the DSP (Designer Series Paper) strips criss-cross.

Attach the individual leaves using the green glue again and sliding each leafs under desired flower petals. Attach a few Mini Dimensionals to the back side of the multiple leafed stems and slide them under flowers as well. You can gently tweak/bend the stems of the leaf clusters.
Attach gems of your choice to the center of each flower. I brought a bunch of retired ‘gems’ for use in the class.
Finally, using the confetti image from the (retired) So Sentimental stamp set, randomly stamp some little confetti splashes using the various colors listed above.
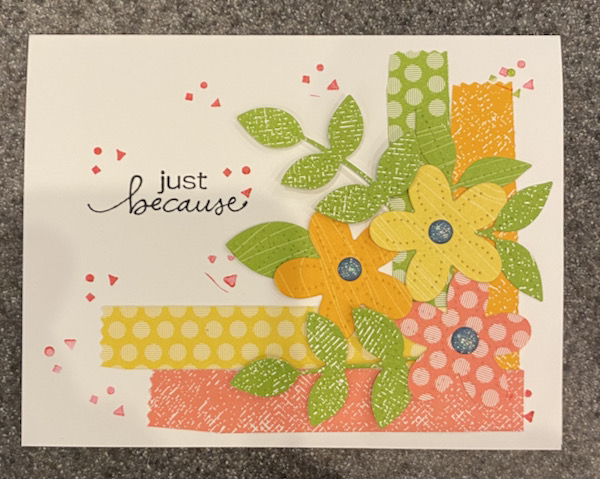
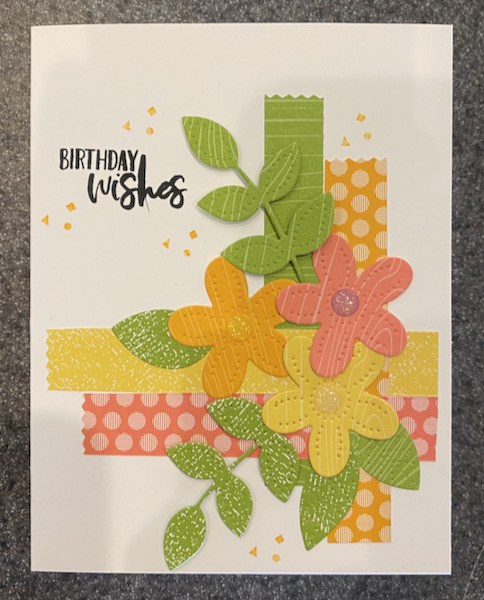
The following cards, as well as the one above, were made by a few of the stampers in our class.


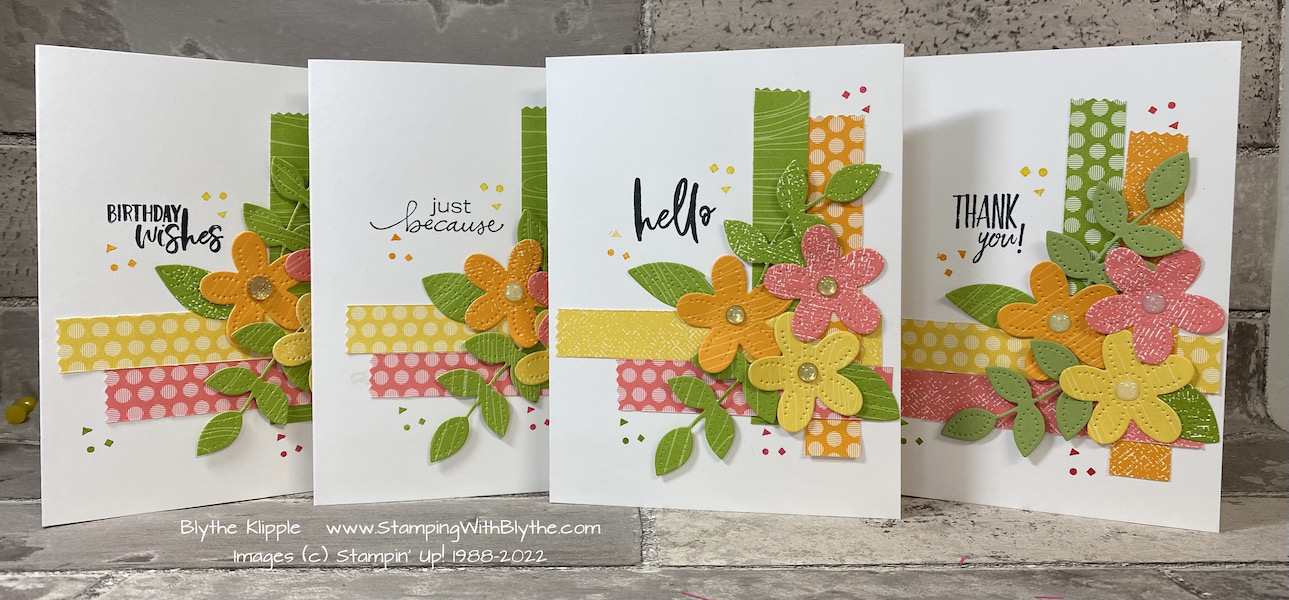
Below are the sample cards I created for the class.

At our next class we’ll be creating one (ahem) Christmas card and one not-sure-what-yet card. I have a stampin’ order arriving in a day or two and I’ll be choosing a stamp set from the July (August really) – December Mini Catalog. Please let me know if you’d like a hard copy of this seasonal catalog sent to you. I’ll also include the Fall Sale-a-Bration catalog. I only ask that you not already have a Stampin’ Up! demonstrator with whom you normally shop and that you consider placing an order for your favorite things through me! Many thanks. When you order, be sure to use the code, SPXXUFNF when prompted and at the end of the month I’ll send you a little goodie from the catalog as my personal thanks to you.
* Shop Stampin’ Up! in Blythe’s Store * Like my Facebook Page * Follow me on Pinterest * Join Paper Pumpkin and play along * Join My Country Loft Team


