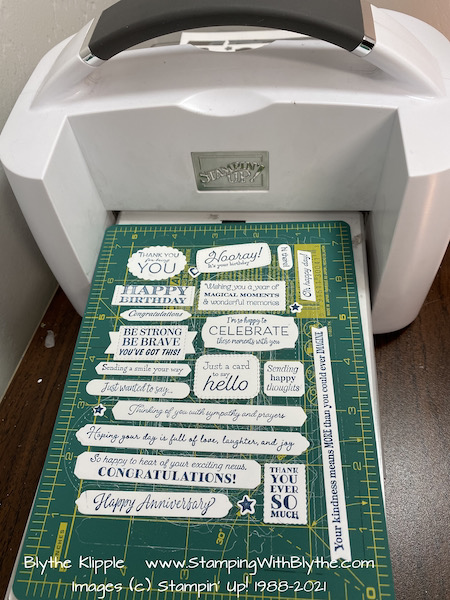
Trust me. This is a very different stamp ‘set’. It’s a very “wordy” background stamp.
You can use it as a background image or as 22 — yes that’s twenty-two — separate images. Yes, there is a coordinating die for cutting the separate greetings in one quick shot! And look at all the shapes! I just had a thought……you could just use the die with a plain piece of card stock, cut it out and then, as needed use that shape for stamping an appropriately sized image. It’s sort of like having 20-ish separate punches or die shapes. Some of the shapes wouldn’t be too practical but others could be very practical.
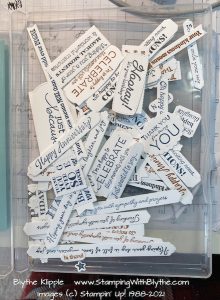
Check out the detail around many of the images: scalloped edges, broken lines, points, arrows, indented corners and more. Stamp the Many Massages in different colors on different colors of card stock and then die cut them out and place them in a container until you need them.

Or……stamp it all on a piece of card stock and then emphasize one particular sentiment:
Here’s a refresher on my card from yesterday:

And here’s a card I totally cased (copy and share everything) today:
- Coastal Cabana card stock: 8-1/2″ x 5-1/2″, scored at 4-1/4″ and
- Coastal Cabana card stock: 3-3/4″ x 5″
- Previously stamped Many Messages greeting: Misty Moonlight Classic Ink stamped on Basic White card stock
Supplies used:
|
|
|
|
|
|
||
|
|
|
|
|
|
|
|
Following are a few visual tips used while creating this card:


I hope these photos and instructions have helped you and encouraged you to “test drive” the Many Messages Bundle. It’s one that will serve you many times over in the future. Check it out on page 35 of the January-June 2021 Mini Catalog. (If you don’t have a copy of this mini catalog yet, send me an email (blythe@stampingwithblythe.com) and I’ll send you one.) In the meantime click on the Mini Catalog link above and be sure to notice the sample card on the upper left side of page 35. Easy peasy card to duplicate!
Will you be placing an order today? If so, please use the monthly hostess code when prompted at checkout to earn free products from me. If your order is $150 or more, no need to add the code so you can earn your own hostess rewards! Thank you so much for supporting a small business owner!

A reminder…..Sale-a-Bration ends when February ends, Sunday, February 28th. Earn your FREE Sale-a-Bration items while you can. Purchasing the Many Messages BUNDLE will place you right over the $50 purchase for earning a FREE $50 item from the Sale-a-Bration brochure .
* Shop Stampin’ Up! in Blythe’s Store * Like my Facebook Page * Follow me on Pinterest * Join Paper Pumpkin and play along * Join My Country Loft Team


