I couldn’t resist the opportunity for playing with words in the title of today’s simple stamping project.

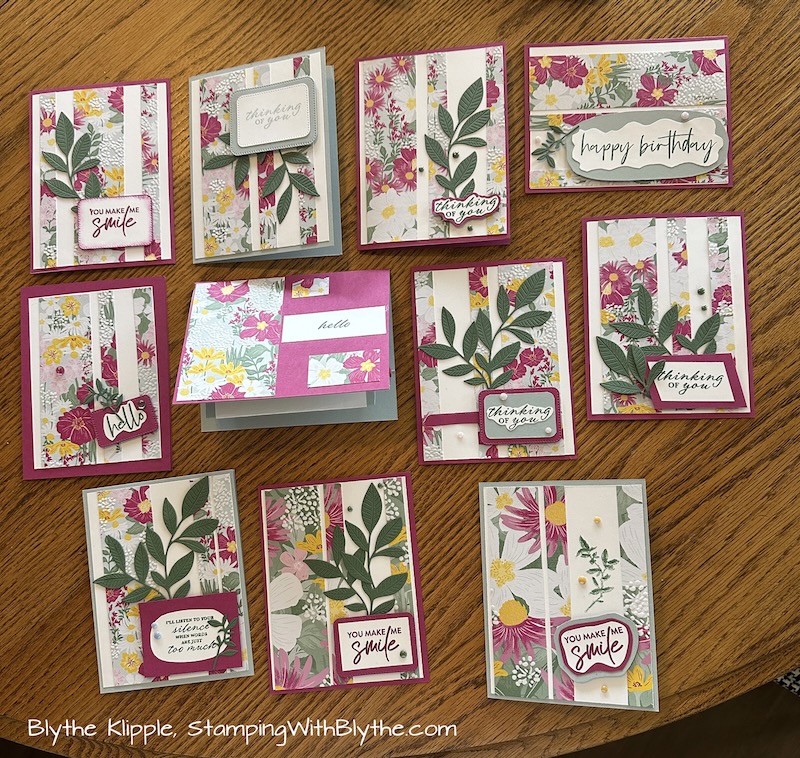
Today’s card uses the same basic supplies as yesterday’s card: the Mixed Florals Bundle. But there’s definitely quite a change up in layout, colors and style. And today’s card is definitely in the ‘simple stamping’ category .
Supplies:
- Mixed Florals (164639)
- Simply Said (163756)
Card stock:
- Petal Pink (146985) 7-1/2″ x 4-1/4″
- Boho Blue (161724) 3-1/2″ x 2-1/2″
- Basic White (159276) 3-1/4″ x 2-1/4″
- Mixed Media Florals 12″ x 12″ DSP (Designer Series Paper) 2 pcs. 1-3/4″ x 4″; ONE pc. 1-1/4″ x 4″
Ink:
- Memento Black (132708)
- Boho Blue (161650)
- Petal Pink Blends (163824)*
- Calypso Coral Blends (154881)*
Other:
- Champagne Iridescent Dots (162824)
- Multipurpose Liquid Glue (aka ‘green glue’) (110755)
- Paper Trimmer (152392)
- Simply Scored Scoring Tool (122334)
- Medium Envelopes! (159236)
How To Put It All Together
Card Base:
- Using the Simply Scored Scoring Board or Paper Trimmer, on a long side, score at the 2″, 3″, 4-1/2″ and 5-1/2″ marks
- Fold a “valley” – “mountain” – “mountain” – “valley”
- Cut TWO 1-3/4″ x 4″ pieces of DSP – same pattern. Adhere (glue) these to the outer sections of the card stock base.
- Cut ONE 1-1/4″ x 4″ piece of DSP – different pattern – and glue it to the middle section of the card stock base.
Center (greeting) layer:
- Cut a 3-1/4″ x 2-1/4″ piece of Basic White CS (card stock)
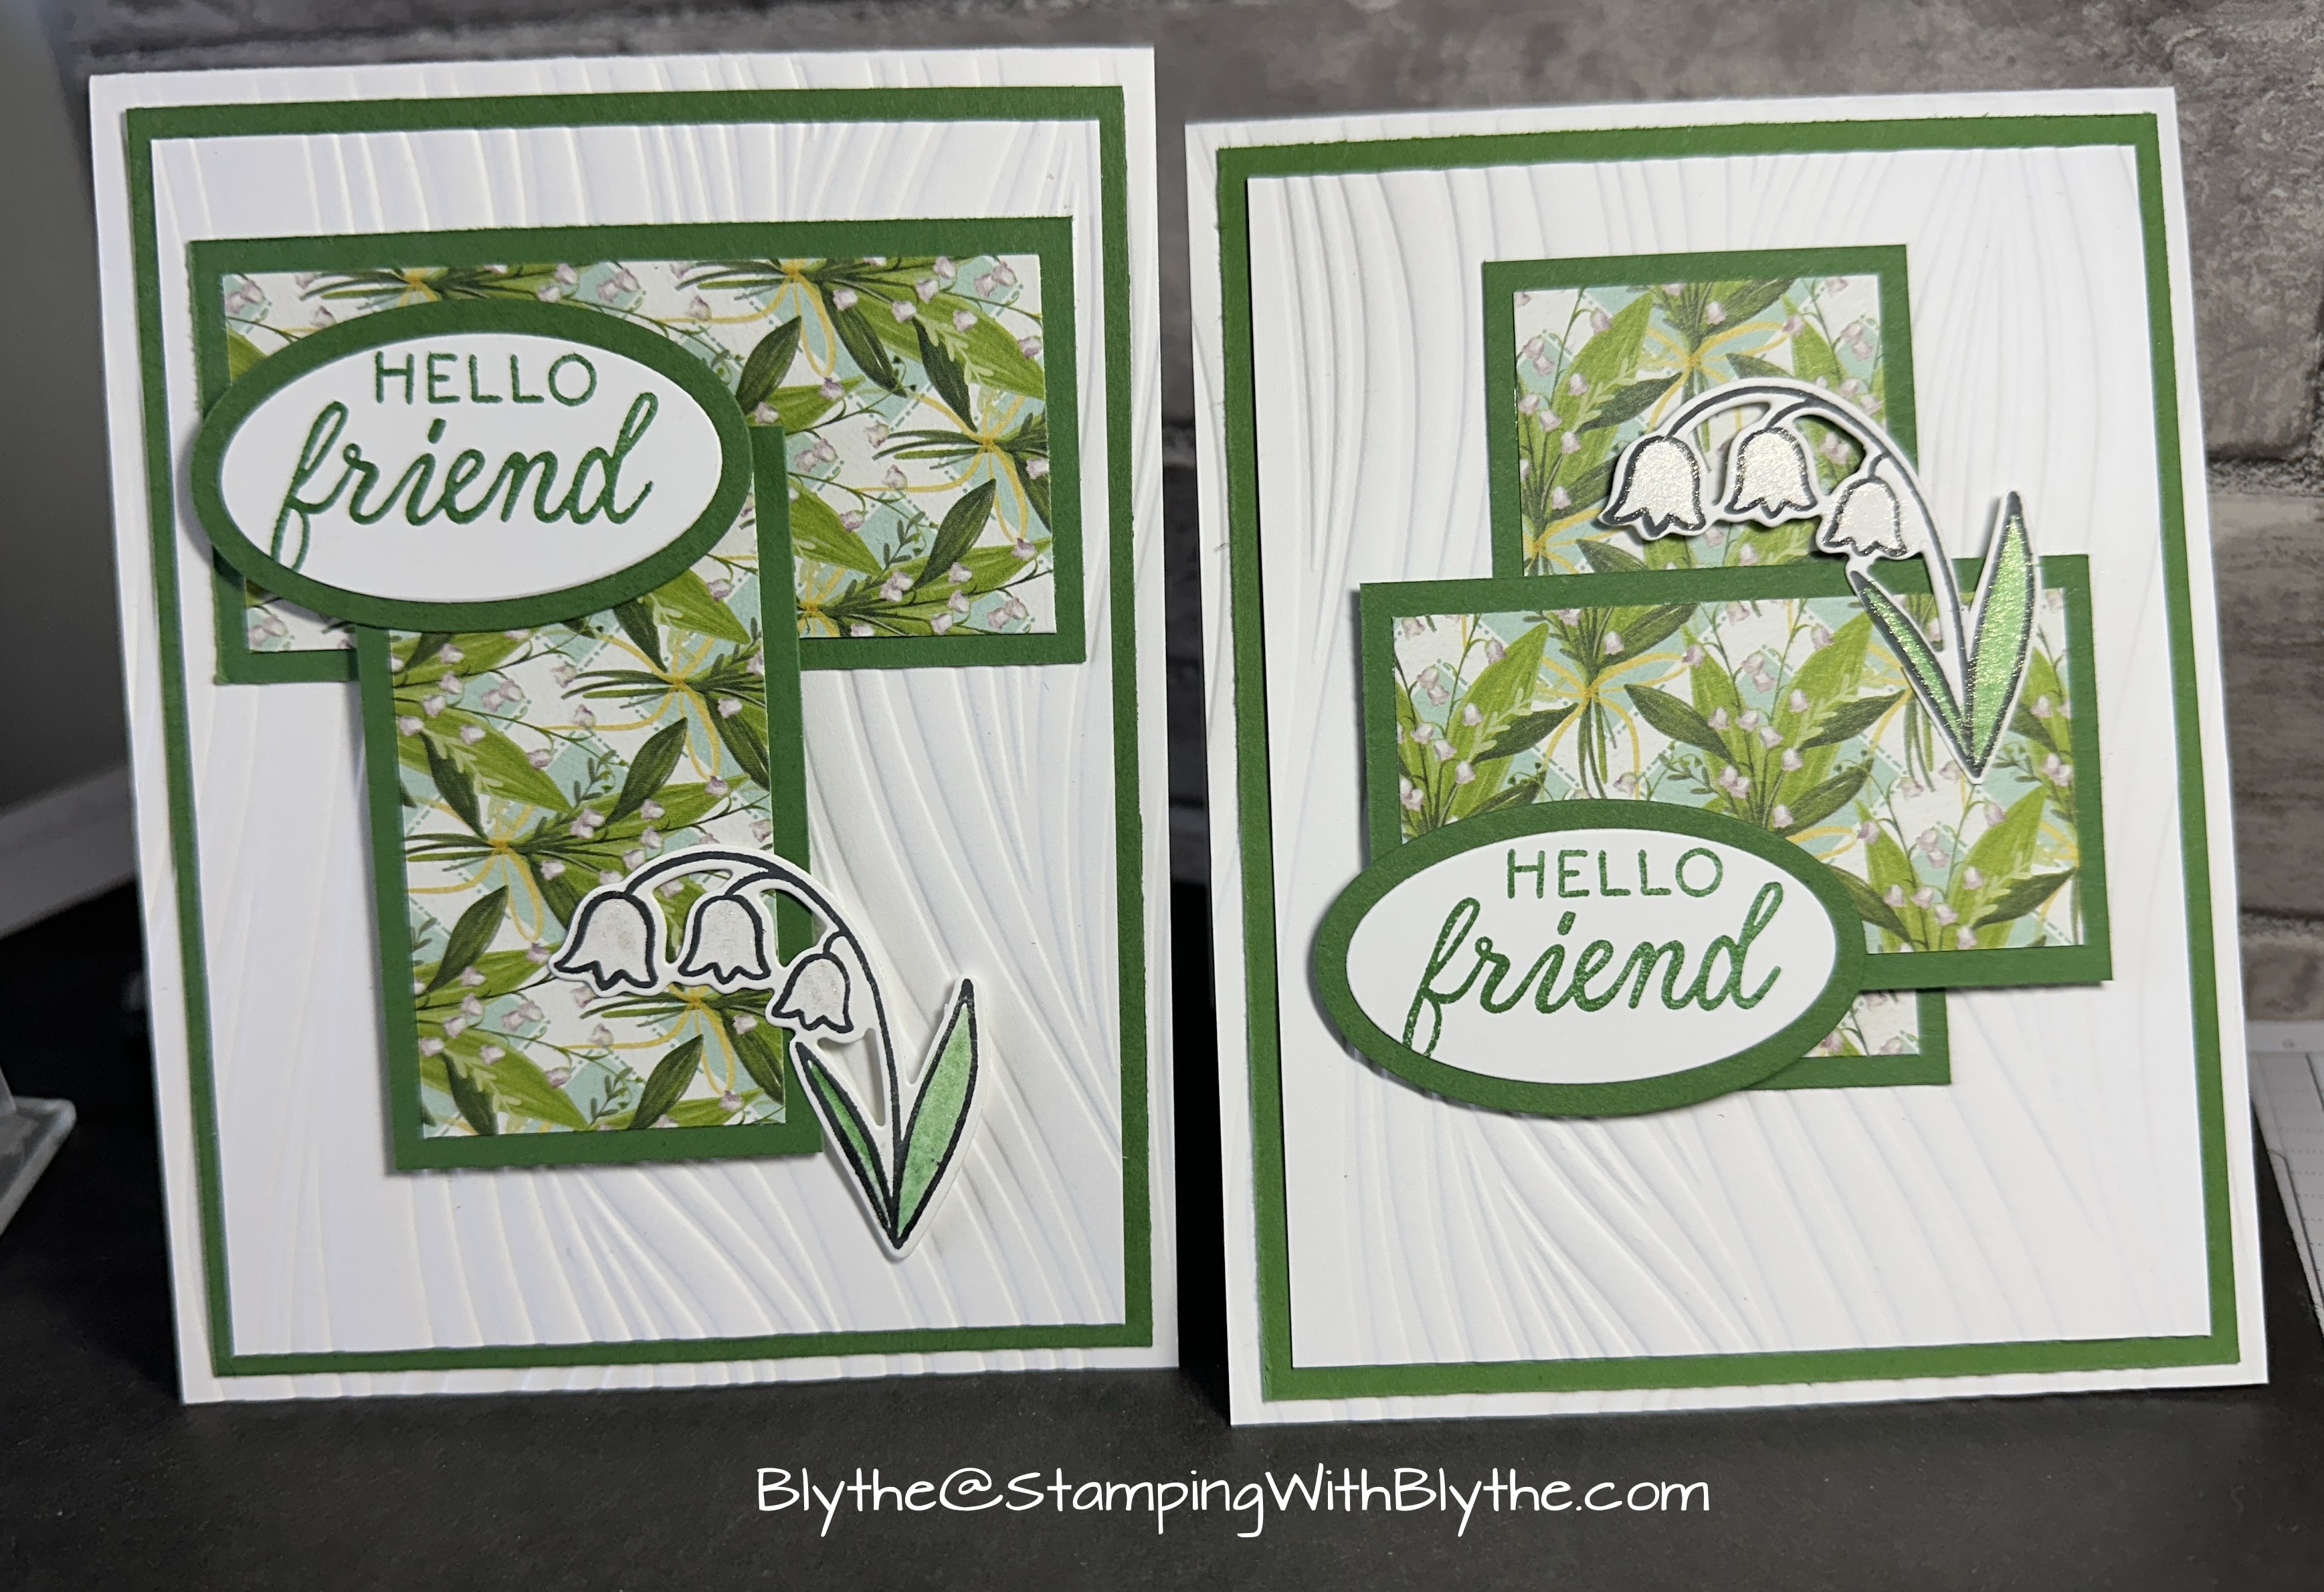
- Stamp your image (I used the little flower branch from the Mixed Florals (164639) stamp set and stamped it twice* using Memento Black ink.) * First I stamped the branch on the Basic White CS layer. Then I stamped the branch image on a scrap of computer paper or post-it-note and fussy cut it out to make a ‘mask’. Finally I laid the ‘mask’ branch over the first stamped branch image and stamped a second image at an angle. Remove post-it-note and you’ll have a clean floral ‘bouquet’ with 2 branches. Save that mask in your stamp set box.
- Stamp your greeting on the same Basic White CS. I used ‘just a note’, stamped in Boho Blue, from the Simply Said (163756) stamp set.
- Cut a 3-1/2″ x 2-1/2″ piece of Boho Blue CS.
- Glue the stamped Basic White layer to the Boho Blue layer.
- Carefully apply glue to either the back side of Boho Blue layered piece OR to the center of the remaining piece of DSP that’s in the center of the card. Check carefully to be sure not to have any excess glue oozing out anywhere.
- Attach 3 Champagne Iridescent Dots to the greeting layer.
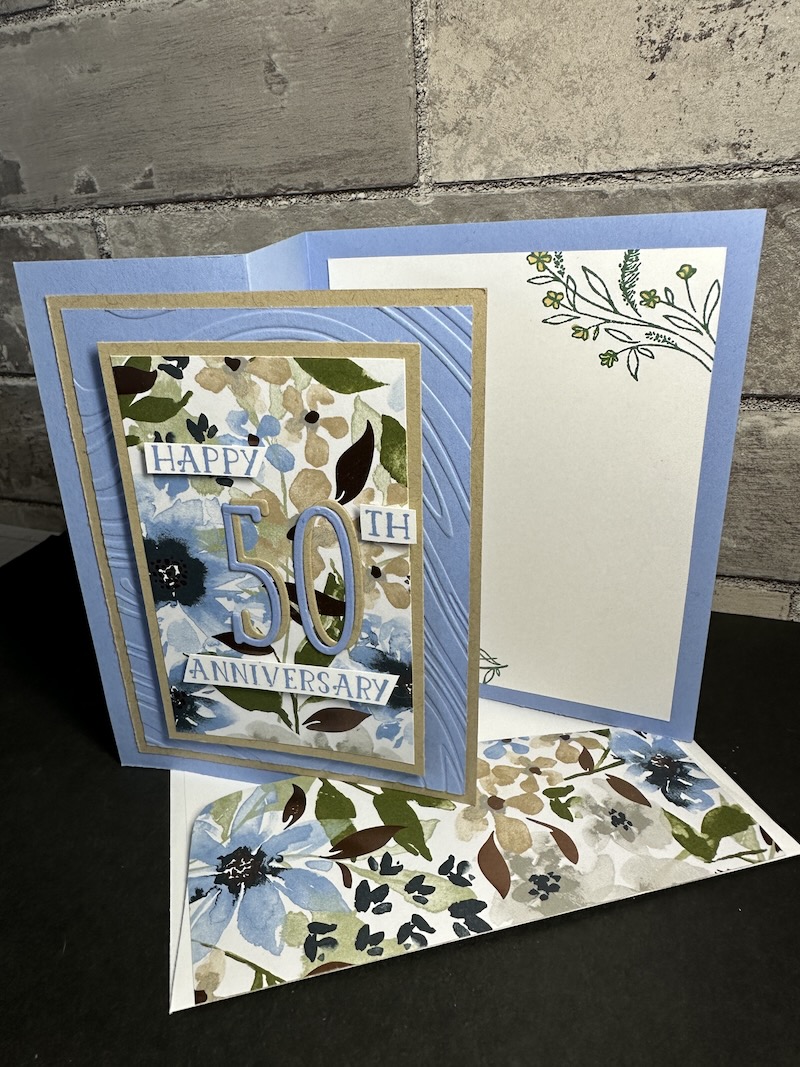
When the “wing” layers are folded into position this card will fit into a regular medium envelope (159236)
If you have enough remaining DSP, consider cutting a 2-1/4″ x 6″ piece and attaching it (‘green glue’) to the outside flap of the envelope for an extra pop of “wow”! Trim excess DSP with scissors.

That little touch on the envelope flap makes the card all the more special I think.
Thank you so much for popping in today. Please leave a comment below if you’re looking for a specific project or technique. And don’t forget to make a card and then make someone’s day by sending it to them.