This project is quite easy as long as you follow each step.

1- Fold stamped (or printed) square piece of cardstock or paper in half, stamped side out. Burnish with bone folder.
2- Fold again, along same crease, but stamped side in. Burnish with bone folder.
3- Fold again, stamped side in. Mark center of folded side and opposite side with pencil.

4- Fold left corner to top center pencil mark. Burnish with bone folder.

5- Unfold both sides. Turn paper over. Refold and burnish with bone folder.
6- Unfold left side and push bottom fold inward to invert the corner.

7- Do same with right side and burnish with bone folder. You now have a triangle.
8- Fold top corner on left over to center pencil mark. Burnish with bone folder.

9- Repeat with corner on the right.
10- Unfold, turn over and repeat steps 9 and 10. This burnishing makes the creases easy to move.
11- Unfold corners, open up, use index finger to push it in and invert corner, push it in. Burnish all edges with bone folder.


12- Do this on all 4 corners.

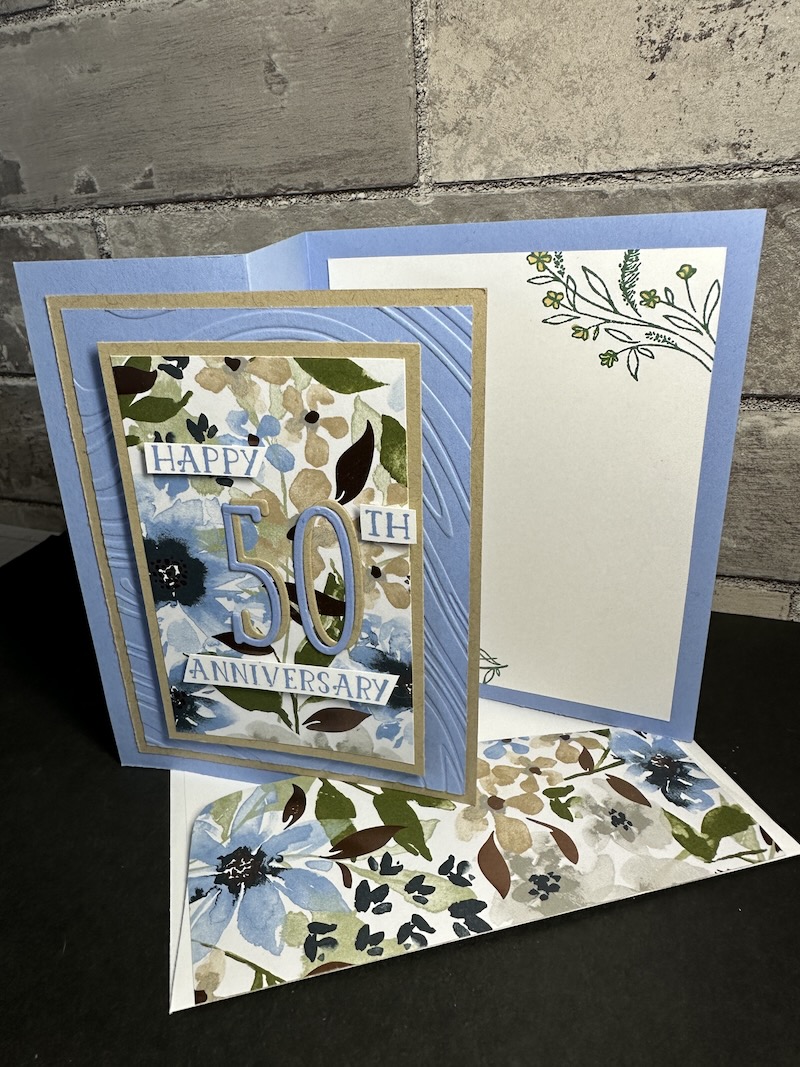
13- Bring card front back, check explosion portion to ensure stamped images are facing right direction. Place folded piece inside card with tip along center fold and adhere with adhesive.


Done!

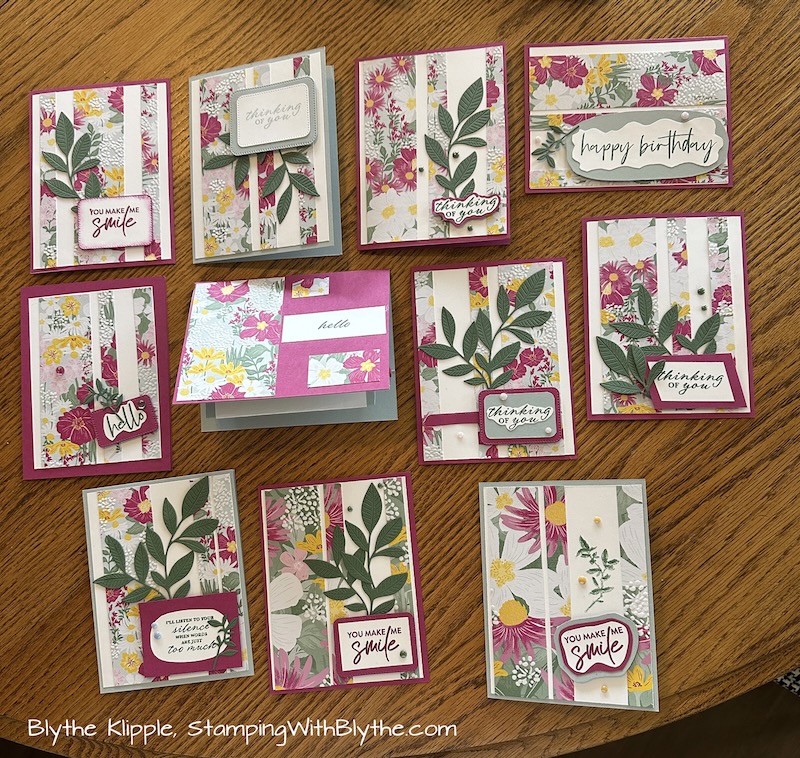
I’ve also made some little March explosion packets that I’ll be handing out to people of my choice (grocery clerk, doctor’s office etc) during the month of March. You can see that post here. These little cards are 2″ square.