Both of today’s lovely stamp sets are from Stampin’ Up!’s Annual Catalog. I purchased the Christmas Pines stamp set last year (it was carried over from 2017-18) but I totally overlooked the Mistletoe Season set initially. Yes, sometimes I’m just slow to catch on to something lovely. And together these two sets make it easy to celebrate the season with a hand stamped card to send to your favorite people.

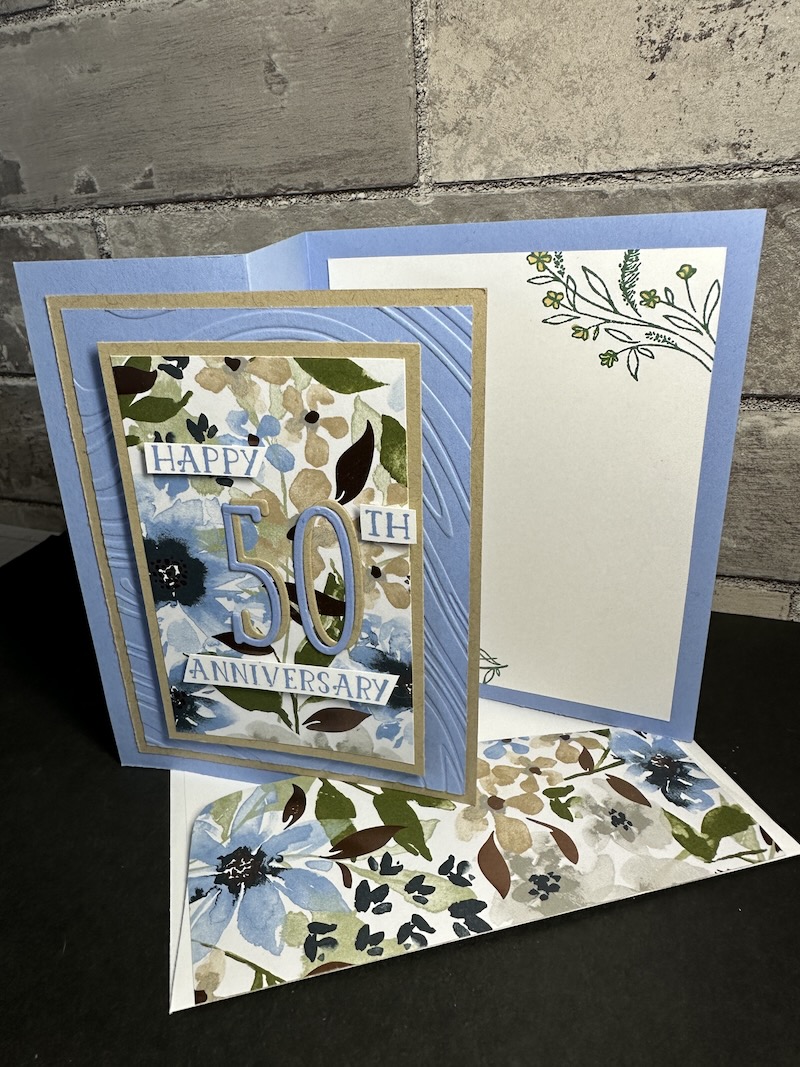
Once I got comfortable with the images and design, I decided to play around with the Under the Mistletoe Designer Series Paper and flip it over, going from red/white poinsettias to a fun plaid.

Product List — don’t forget that clicking on any of the supplies below will take you right to my online Stampin’ Up! store.
|
|
|
|
|
|
|


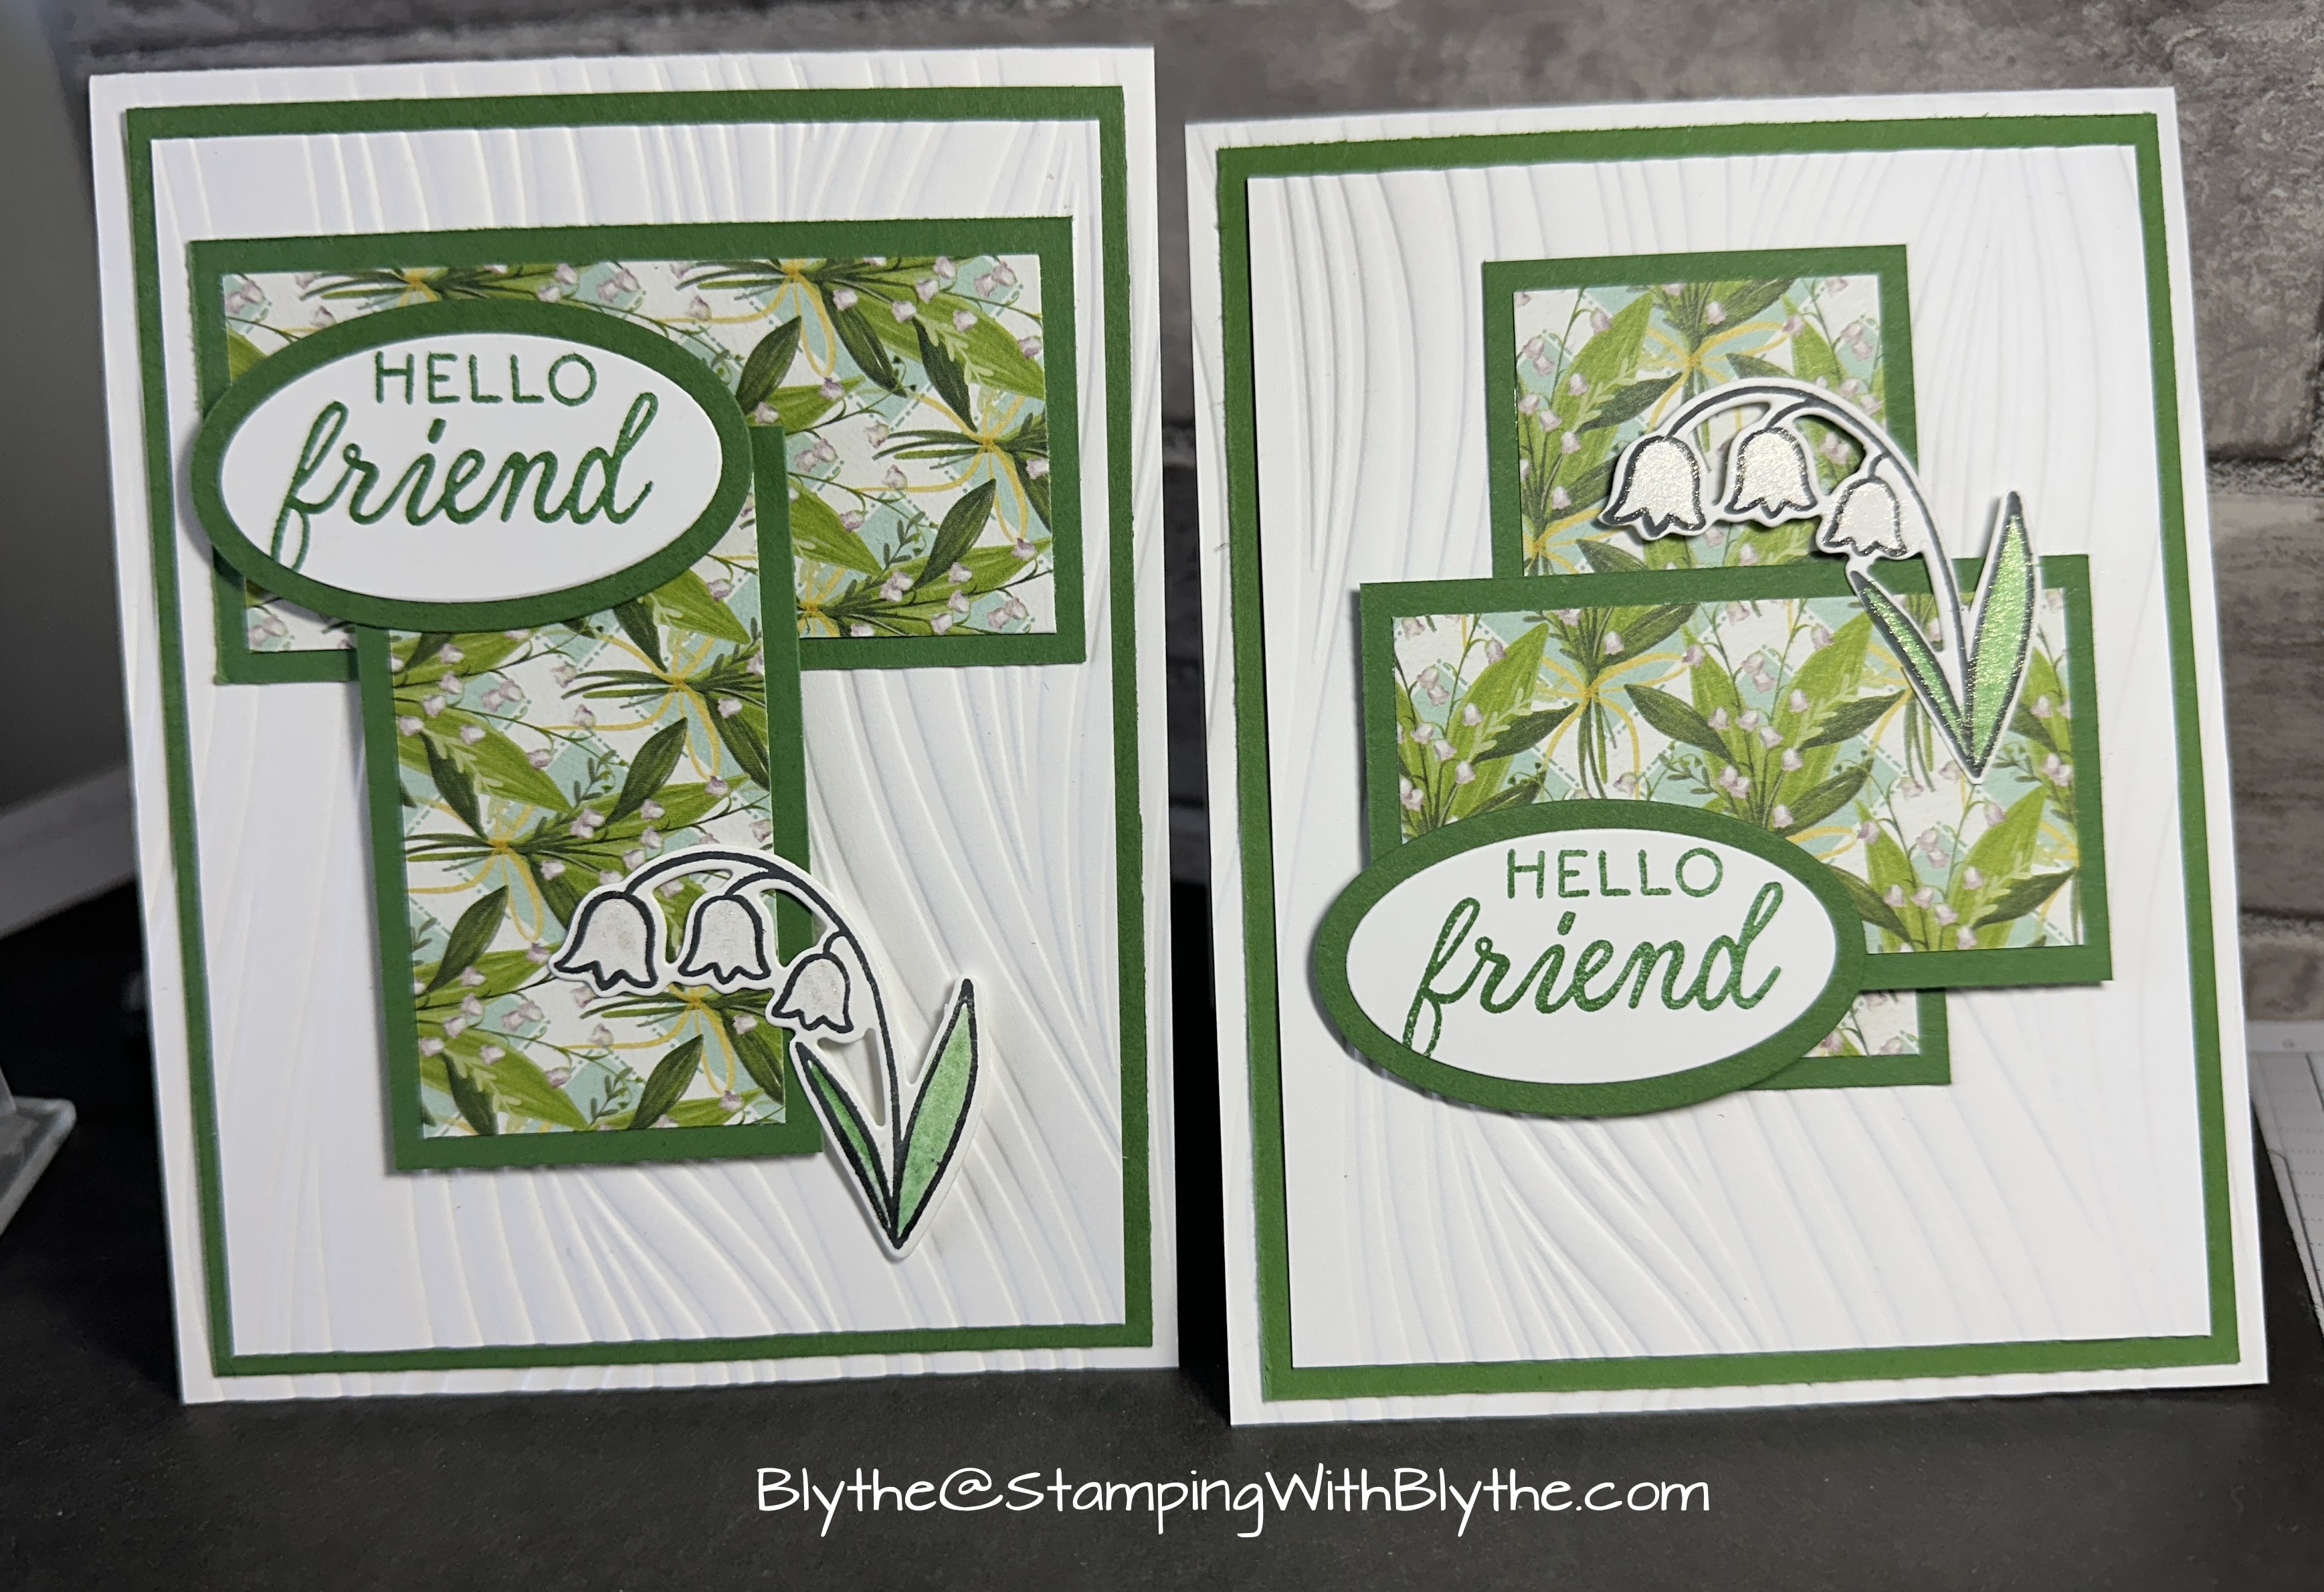
Here’s the ‘how-to‘:
- Old Olive card stock: 4-1/4″ x 11″, scored at 5-1/2″ x 2-3/4″. Fold in half at 5-1/2″ and then fold back at the 2-3/4″ score line. You’ll have a mountain fold at 2-3/4″ and a valley fold at 5-1/2″.


- Trim Designer Series Paper to two pieces: 2-1/2″ x 4″ and 1″ x 4″. Attach the larger piece to the flipped back flap of Old Olive card stock. Attach the smaller piece to the right side of the 5-1/2″ x 4-1/4 back piece of the card.
- Attach a 4″ x 4-1/4″ piece of Whisper White card stock to the inside/back segment of the Old Olive card base, butting it up against the 1″ x 4″ designer printed piece of paper.
- Using the Layering Squares Framelits dies, cut a piece of Whisper White card stock to a 2-3/8″ square. After stamping as shown in the photos (poinsettia, leaves and greeting), attach it to a 2-5/8″ Real Red square and then attach those pieces to a 3″ scalloped square piece of Old Olive card stock.
- Attach these layers, with SNAIL adhesive, applied only on the left side of the stamped layers, to the folded back flap of the card front.
- Stamp inside greeting, using Old Olive ink, on the inside of the card, under the layered piece.
- Color over the Real Red poinsettia using the Clear Wink of Stella brush.
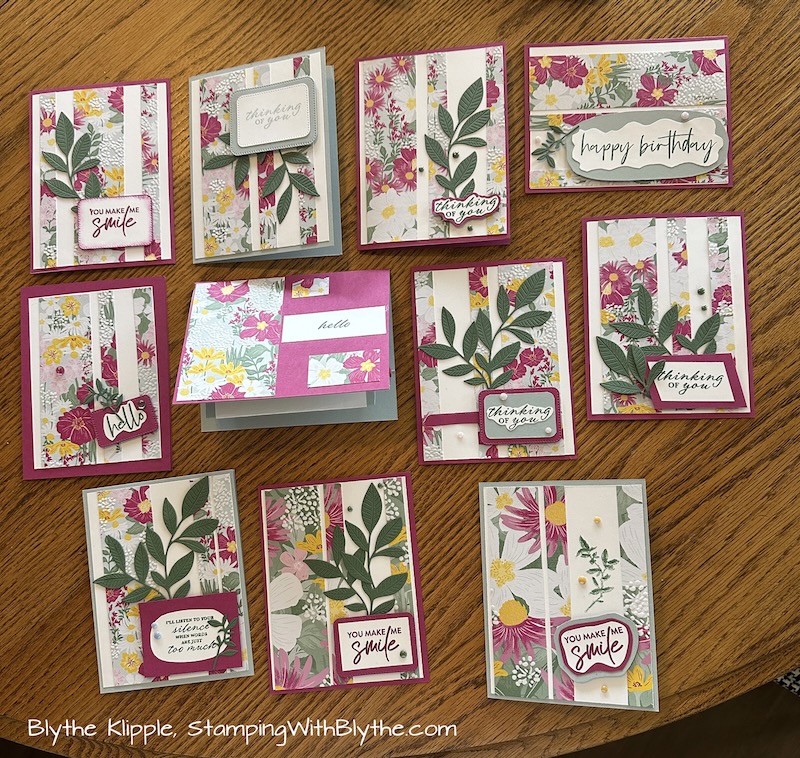
Which one is your favorite? Plaid or flower print?

How can you celebrate the season with a hand stamped card? Create one of the cards from the last few days and mail it to a friend to start out their holiday season with a smile. It’s amazing how a personal bit of mail, especially when it’s a hand stamped card, can bring joy to a person’s day. Your card might arrive on a day when they most need a boost. I’m here to help you get any of the Stampin’ Up! supplies you might need to get your “creativity” underway. And I’m always here to answer your questions.