I just love receiving a hand stamped card in my mailbox, especially when it’s from a stamping friend who lives half way across the country. Indiana. And when it’s a Winter Woods Christmas card that’s even better. Thank you Sue!

Here are the supplies Sue used:
|
|
|
|
|
|
|
|
|
|
||
|
|
|


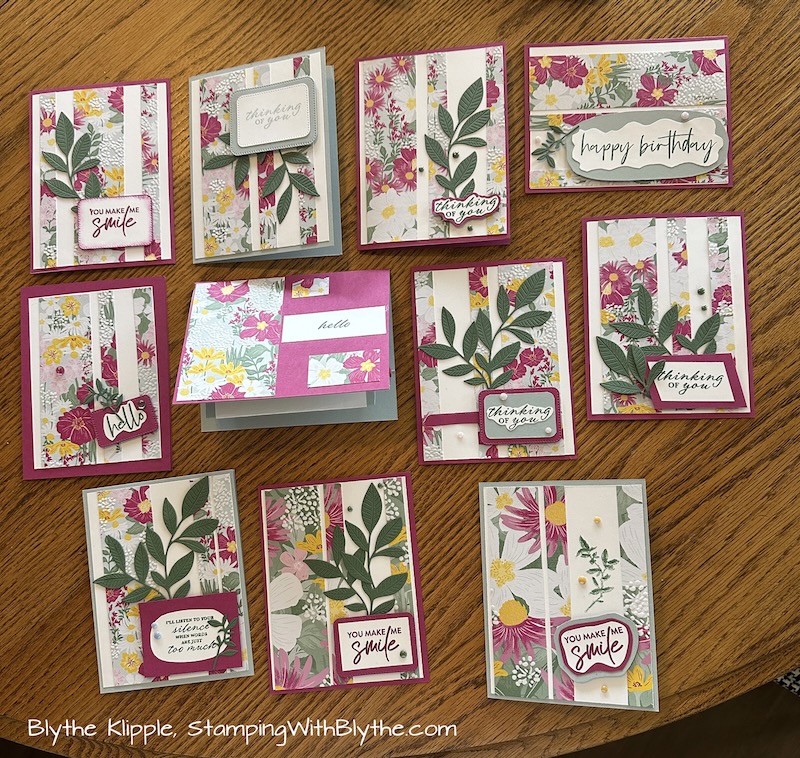
This would be a lovely card to make 4 or 8 of. Why do I say 4 or 8? From one sheet of 8-1/2″ x 11″ paper you can get 4 layers to attach to a card front so I usually make my cards in multiples of four.
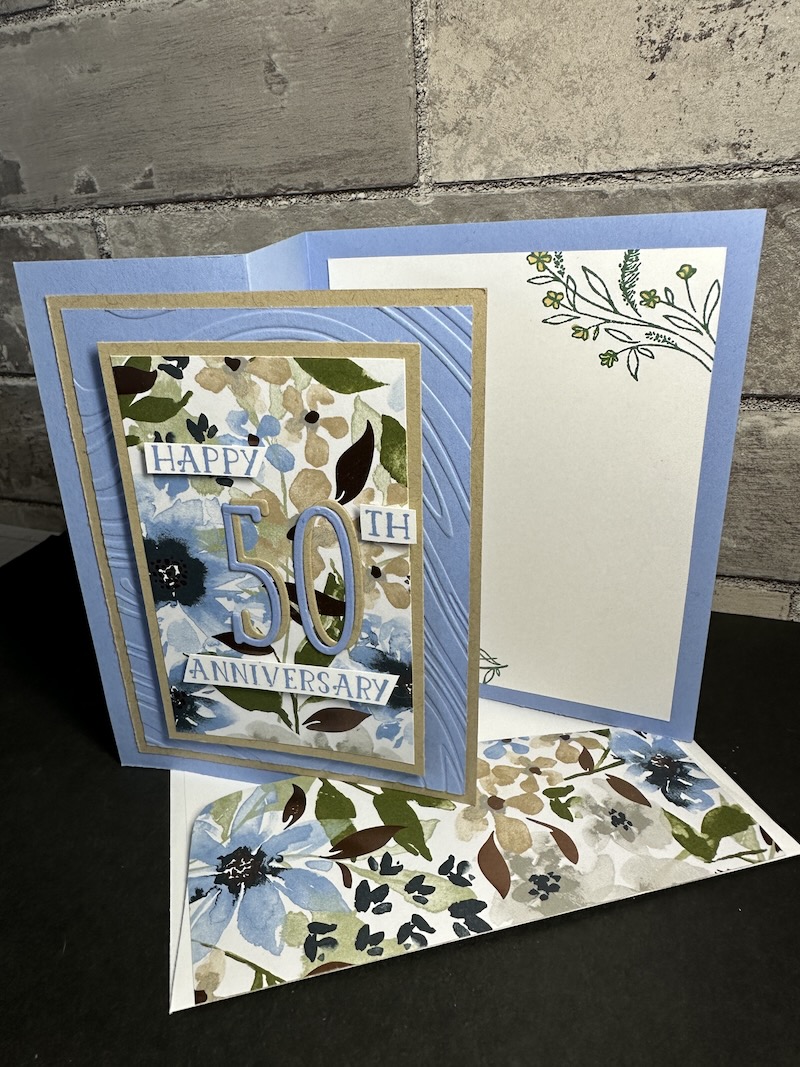
For Sue’s lovely card the gold foil layer is 4″ x 5-1/4″ and then the stamped layer is 3-3/4″ x 5″.
Some steps for this card:
- After swiping the 3-3/4″ x 5″ Whisper White card stock layer with the Embossing Buddy, stamp the quintet of trees and another few trees per the photo, using VersaMark Ink. Then sprinkle the images with Copper Stampin’ Emboss powder, shake it off, and heat set with the Heat Tool.
- Cut or tear a rounded mound-like shape from a piece of scrap paper and use it as a mask, moving it around “behind” the trees while swiping over it using a Stamping Sponge and Smoky Slate ink. Do this with a light hand so it looks like drifting snow.
- Attach the Gold Foil and stamped layers to the Thick Whisper White card front.
- On scrap of Whisper White card stock, using VersaMark ink, stamp the Merry Christmas greeting, sprinkle with Copper Stampin’ Emboss powder and heat set with the Heat Tool.
- Using the appropriate fitting layering oval die and the Big Shot, cut out the greeting. Then using the appropriate sized scalloped oval die and a Gold Foil scrap, die cut that layer. Attach these layers to each other with adhesive of choice and then attach that piece to the card front with two Stamping’ Dimensionals.
- Inside stamp a greeting of your choice.
I made a Winter Woods Christmas card a few months ago which you can check out here and here. The first one is not nearly as easy, the second much easier, as Sue’s but all would be quite welcome in anyone’s mailbox. (The second card also shows you how to get out of trouble when you’ve stamped your greeting crooked!) If you need any supplies for making this card, you can always click on the appropriate image above to go straight to my online Stampin’ Up! store or you can call or send me an email (phone and email are in the banner at the top of the page) and I’ll be happy to help you personally.