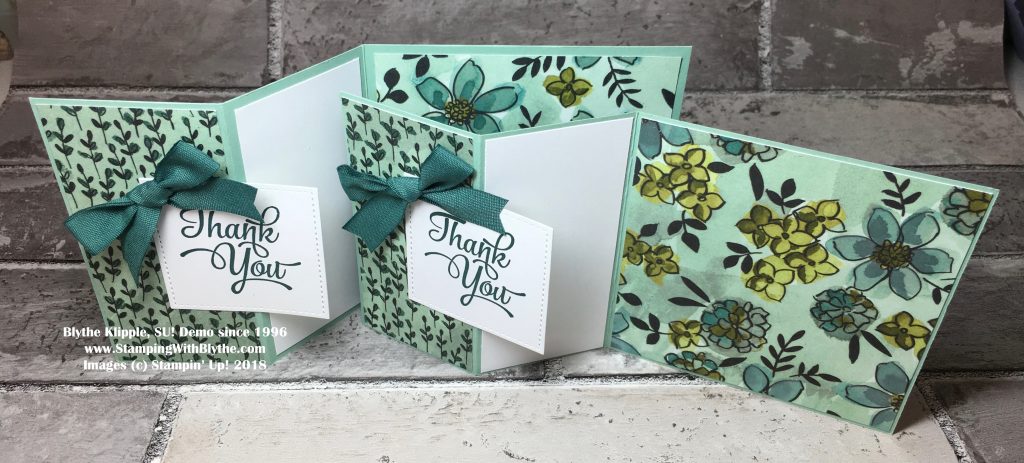
I shared a bit of the Share What You Love Specialty Designer Series Paper the other day on the sweet little baby card I made for Sarah. The paper is so striking with its weight and strength as well as it’s lovely colors and surprises of iridescence. It’s a part of the Got to Have it All Bundle that will be available tomorrow, May 1st as part of a special Early Release, Share What You Love Bundle.
I woke up this morning with the decision to make another card like the one we made at the library two weeks ago but this time using the Share What You Love Specialty Designer Series Paper. The card looks more complicated than it is.
In order to make the most of a 12″ x 12″ piece of the designer paper I made the card base 4″ x 8″ so I could economize the cuts into the Designer Papers. I used Mint Macaron as my card base.
Before we go forward with the ‘how-to’, I want to share a quick review of the lovely returning color of Mint Macaron. (I’m go glad it’s coming back!!!) I think the name comes from our French stamping community and their delicious cookies known as Macarons. They are not macaroons. Macaroons have coconut as a main ingredient. Macarons do not have coconut. If you have a friend named Ronald and you call him by his nickname of Ron, you have the proper pronunciation for Mint MacaRON. Check out this fun post from May 2015. I hadn’t thought of the ‘Ron’ analogy then but I did share two recipes that really show the difference in the two words.
Product List, except for the 2018-2019 Catalog items:
|
|
As a Stampin’ Up! Demonstrator I was able to purchase the Share What You Love Suite after April 7th’s On Stage event so I could get started making some samples for sharing with you. The suite will be available in several bundle variations for you to purchase on May 1st. Tomorrow. On June 1st, when the new catalog goes live, you can purchase individual items.
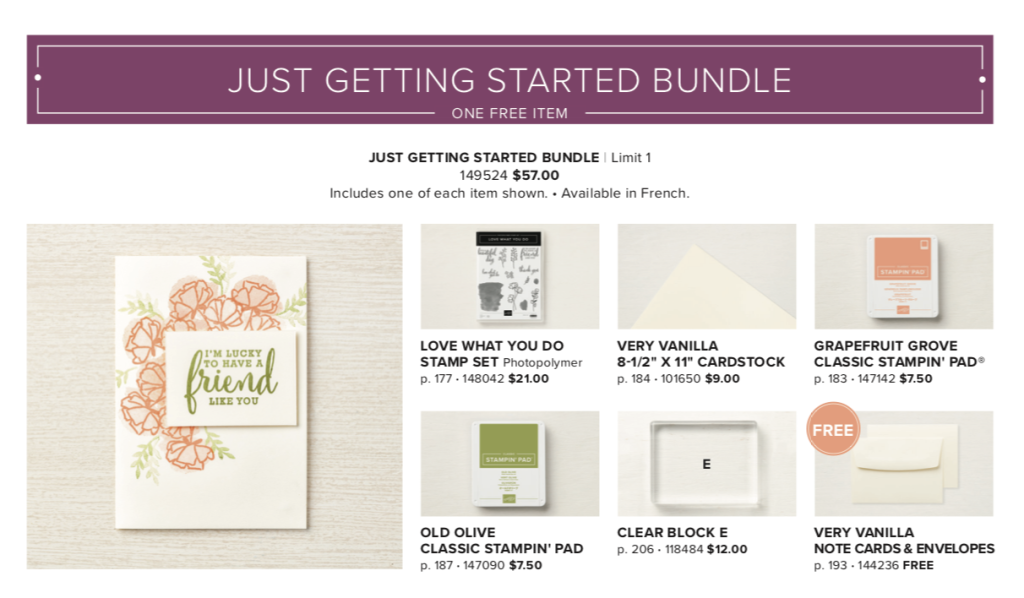
You can start out modestly with the Just Getting Started Bundle:
Any stamp set you purchase will be the new style. Plus you get a FREE item, Very Vanilla Note Cards & Envelopes.
Or you can ask for A Little More, Please Bundle:
In this Bundle, A Little More Please, in addition to the free envelopes you get a Share What You Love Embellishment Kit.
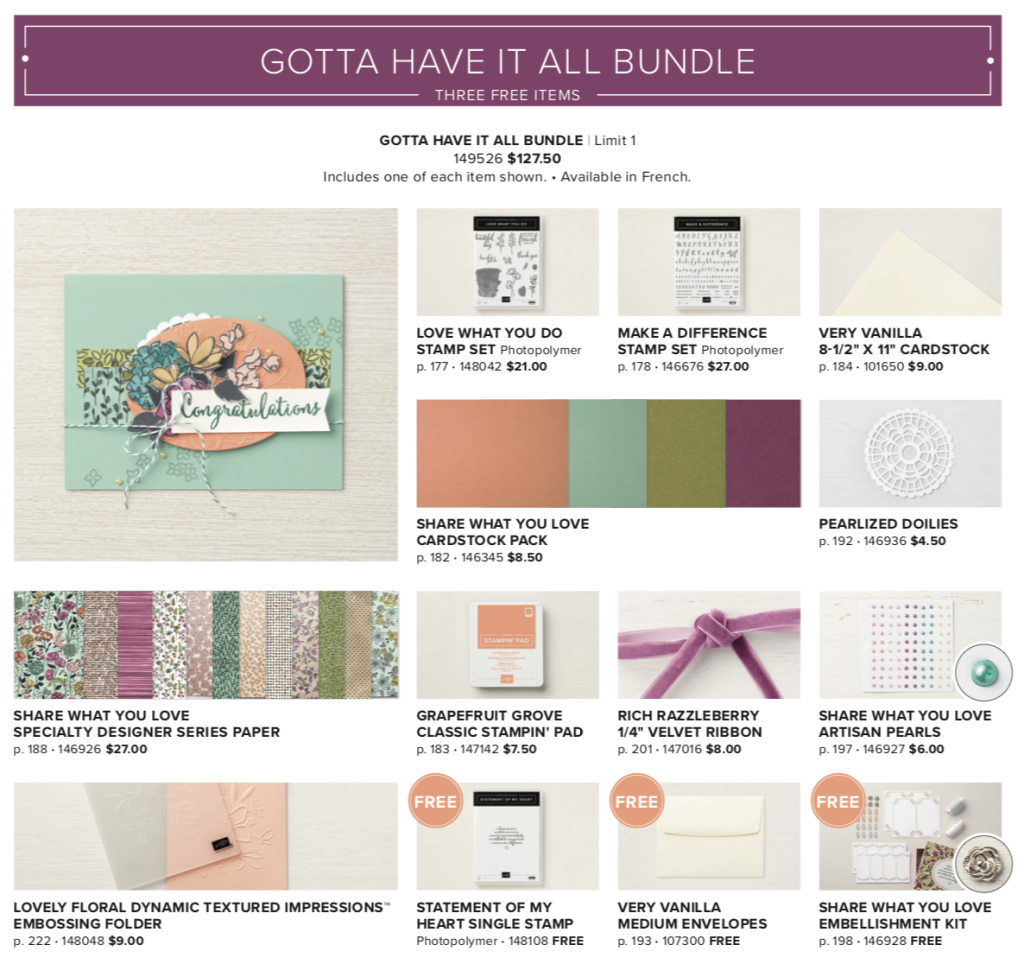
And for those of us who Gotta Have it All……..
This Gotta Have it All Bundle adds the Make A Difference Stamp Set, Share What You Love Specialty Designer Series Paper and the Lovely Floral Dynamic Textured Impressions Embossing Folder and the Statement of the Heart Single Stamp Set as the additional free item.
Don’t miss out on the 2018-2020 In Colors:
Now we can go back to my cards:


Here’s how to make this card:
- Card stock base: 8″ x 4″, scored at 4″. Flip the card front over, and score one of those 4″ sides at 2″. Fold card stock in half at the 4″ score line and then fold it back on itself on the 2″ score line.
- TIP: after scoring, you want to fold a-w-a-y from the valley score line. It’s only mildly indented, making that valley, but you always want to fold away from that valley.
- Designer Series Paper panels:
- 4″ square for the ‘back/inside’ of the card.
- 1-7/8″ x 4″ for the front, flipped back panel.
- Attach each to the card base with the adhesive of your choice.
- Whisper White panel:
- 1-7/8″ x 4″ for the section where you will write your message.
- Attach to card base with adhesive of your choice.
- 2-1/2″ square for stamping your greeting.
- 1-7/8″ x 4″ for the section where you will write your message.
- Stamp greeting and, using the Big Shot and the Stitched Shapes Framelits, cut out your greeting.
- Attach to fold back card front panel by applying adhesive to only the side that will lay on the folded back portion of the panel.
- Make a bow from a 10″ – 12″ piece of ribbon.
- Attach bow to upper left corner of greeting piece with a Mini Glue Dot.
What do you think? Isn’t this a simple WOW card? You can use any color card stock, any patterns of Designer Series Paper, and any ribbon to re-create it.
The One Big Greeting Stamp Set and the 1/2″ Tranquil Tide Ribbon will be retiring on May 31, 2018. If you want either of them, I’d suggest that you order soon, especially the ribbon. When the ribbon is out of stock it is gone forever; the stamp set will be guaranteed available until May 24th. After that Stampin’ Up! will not be making any more of that set. Just click on the ribbon or stamp set (wood or clear mount) above to be taken directly to my Stampin’ Up! store to order yours.
I hope you like this Share What You Love Specialty Designer Series Paper as much as I do. You’ll be seeing lots of it in the coming months. You can get it in May as a part of the Gotta Have it All Bundle and then from June forward until May of 2019 as a single item.


