The Eden’s Garden Card Instructions

Well readers, it has come to my embarrassed attention that I never posted, as promised, the HOW TO details for this lovely card using the Eden’s Garden stamp set, dies, and Designer Series paper. These supplies are now retired but you can definitely adapt it using other stamp sets and card stocks. Here are the basics:

Eden's Garden Double Flap Hello Card

Supplies and Dimensions:

  • Card Base: 8-1/2″ x 5-1/2″, scored at 2-1/8″ on each short side (Soft Succulent – retired)
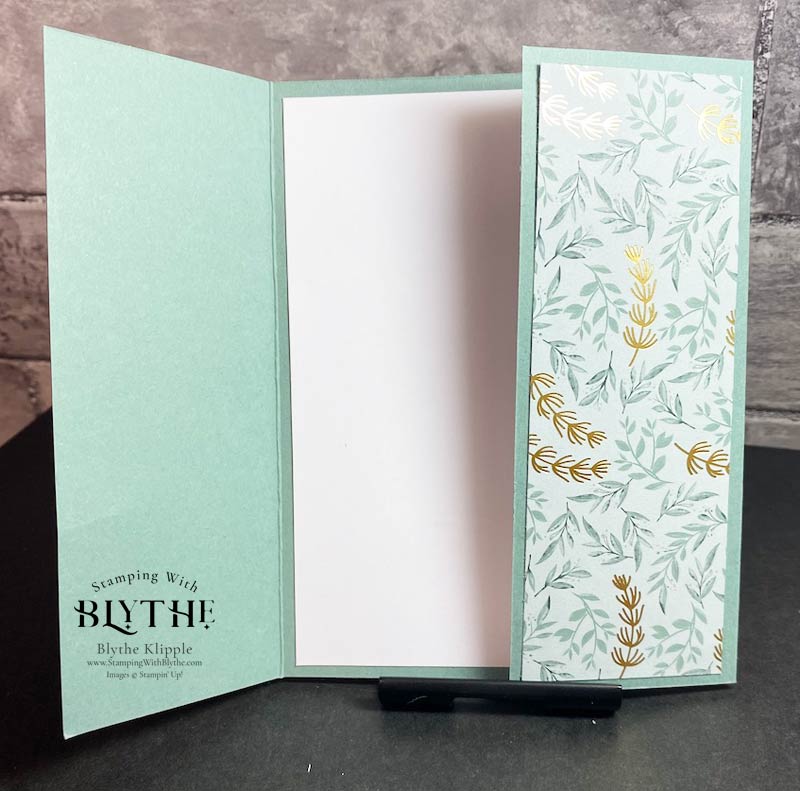
  • Designer Series Paper layers: (front flaps) 1-7/8″ x 5-1/4″ (2 pieces) (Ever Eden 12″ x 12″ – retired)
  • Inside Card Greeting Layer: 5-1/4″ x 4″ (Basic White)
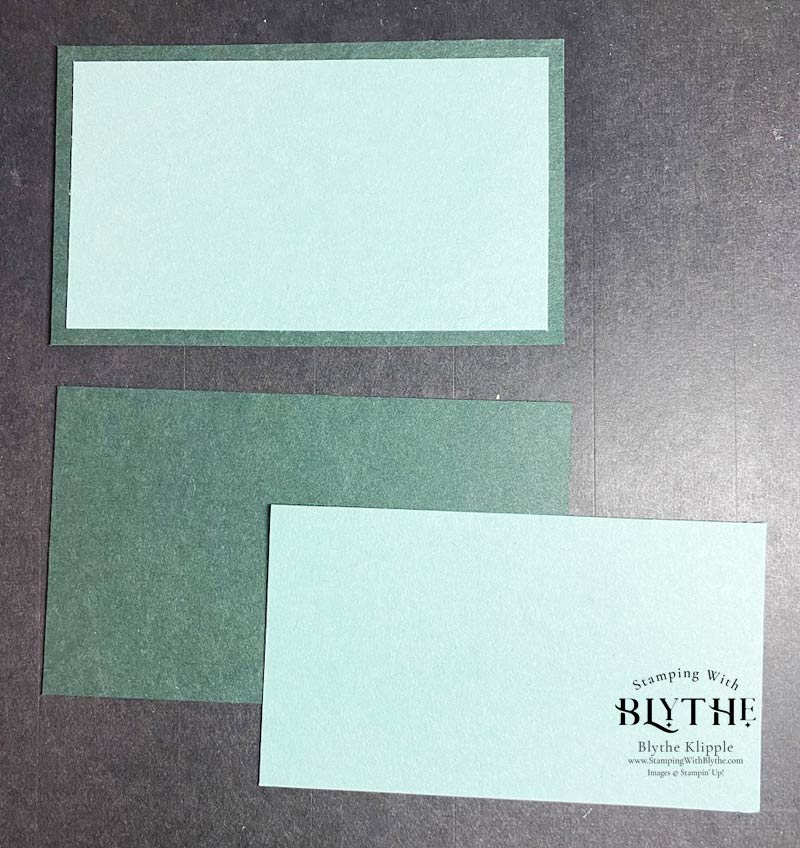
  • Flap Layers: Base: 3-3/4″ x 2-1/4″ – 2 pcs; Next layer: 3-1/2″ x 2″: 4 pcs.
  • Greeting Layer: 2-7/8″ x 1-3/8″ (Basic White)
  • scraps for leaves (fussy cut) and die cut leaves.

Step by Step:
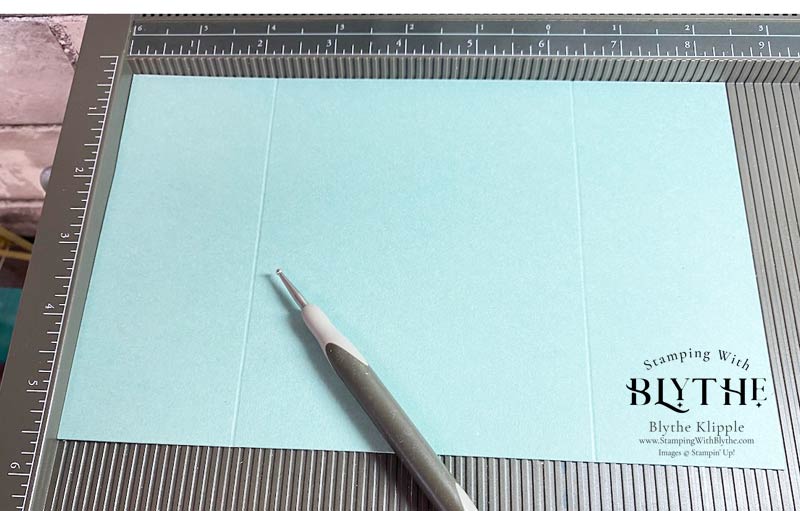
I use my so efficient Simply Scored Scoring Tool for quick and accurate scoring. This 8-1/2″ x 5-1/2″ card front is scored at 2-1/8″, rotate and scored again at 2-1/8″ on other side. You can also carefully calculate the right side score line without rotating the card stock–it’s 6-3/8″.
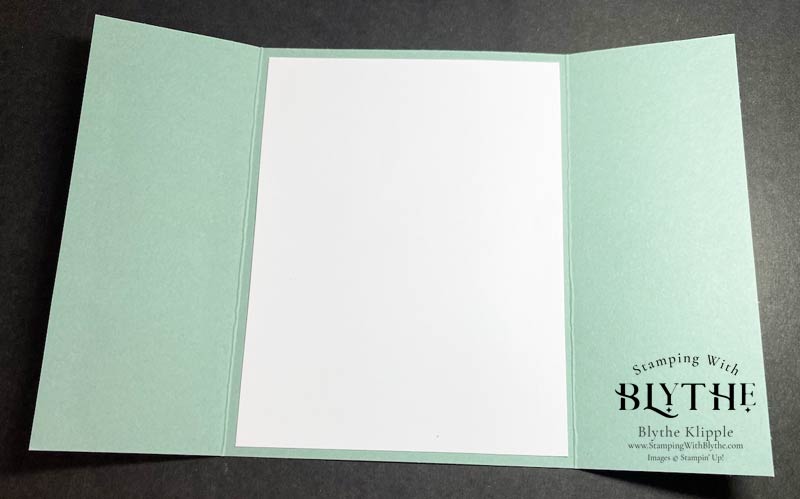
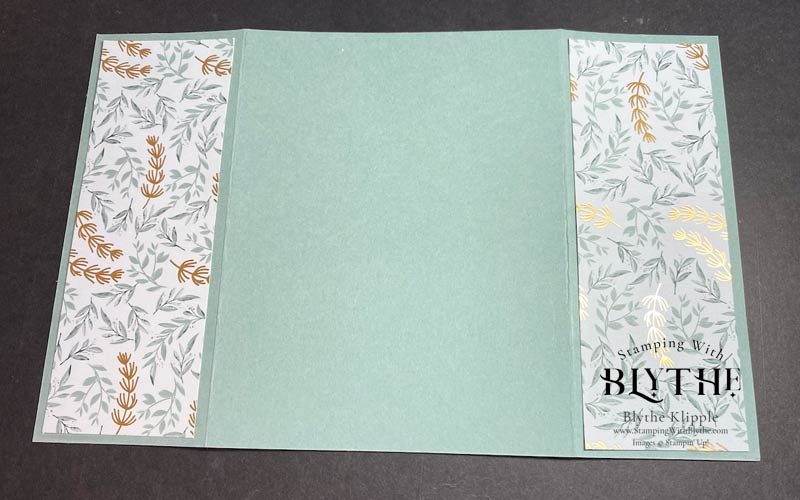
Eden's Garden Double Flap Hello Card
Message layer inside card: 5-1/4″ x 4″ (Basic White)
Eden's Garden Double Flap Hello Card
Flip card over to easily attach the DSP layers. Each strip is 1-7/8″ x 5-1/4″.
Eden's Garden Double Flap Hello Card
These flaps are folded on the score lines and burnished with a Bone Folder for firm positioning/creases.
Eden's Garden Double Flap Hello Card
These layers are for the outside of the card, one pair on each flap. Base: 3-3/4″ x 2-1/4″ – 2 pcs; Upper layer which is a piece of Designer Series Paper: 3-1/2″ x 2″: 1 piece (not shown in photo above. You will need that second piece of the Soft Succulent card stock for die cutting. Next step..
Eden's Garden Double Flap Hello Card
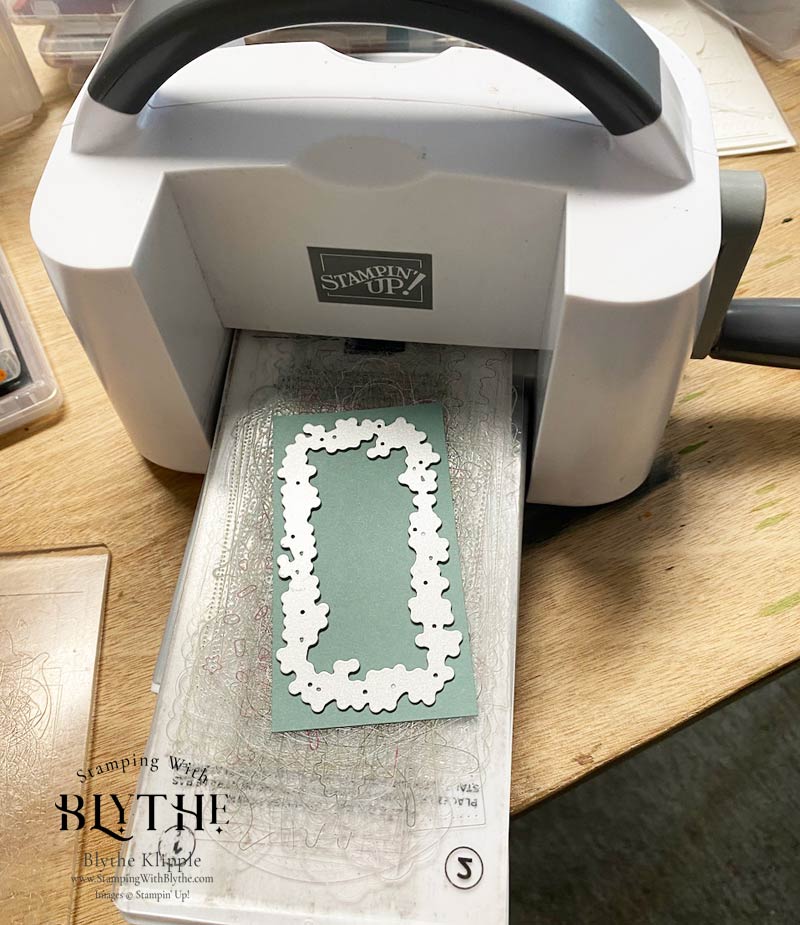
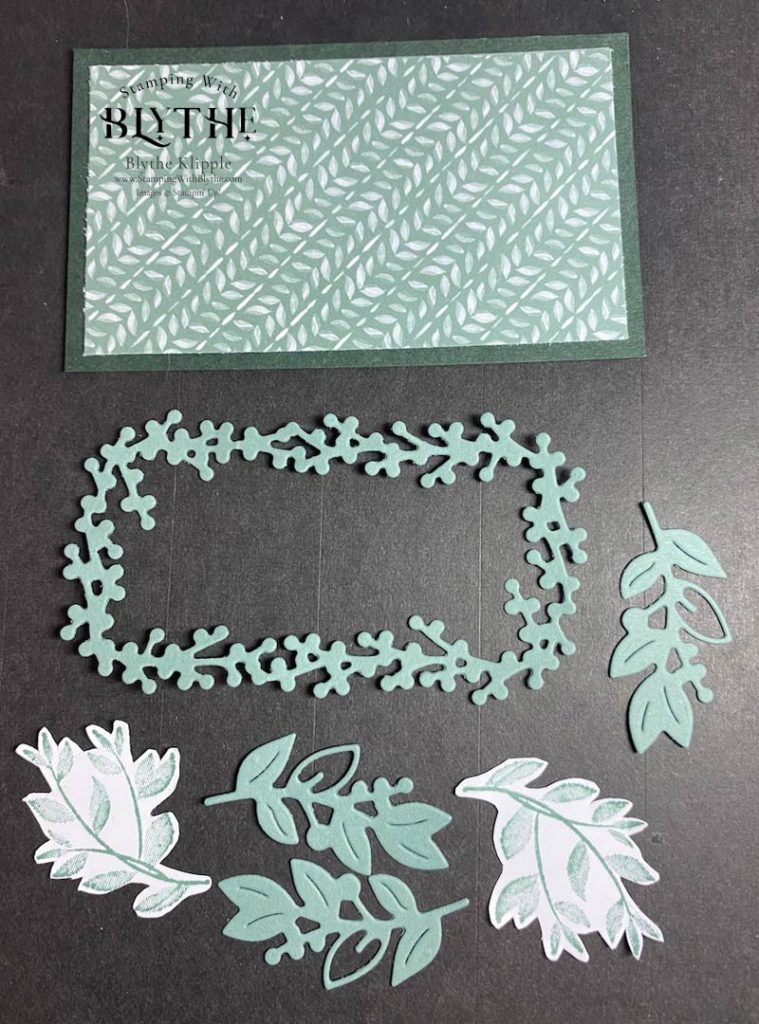
Die cut this floral frame from the Eden Dies (retired) using the Mini Cut & Emboss Machine.
Eden's Garden Double Flap Hello Card
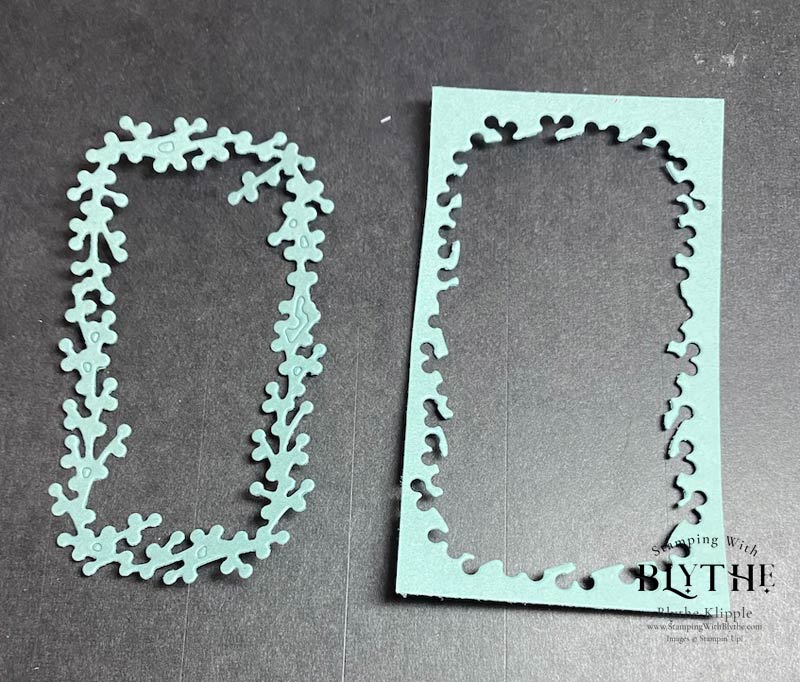
Die cut frame. Cute isn’t it? Be sure to punch our those little die cut bits along the middle.
Eden's Garden Double Flap Hello Card
These pieces are attached to the exterior flaps. Not in this photo is the Basic White layer for the greeting.
Eden's Garden Double Flap Hello Card
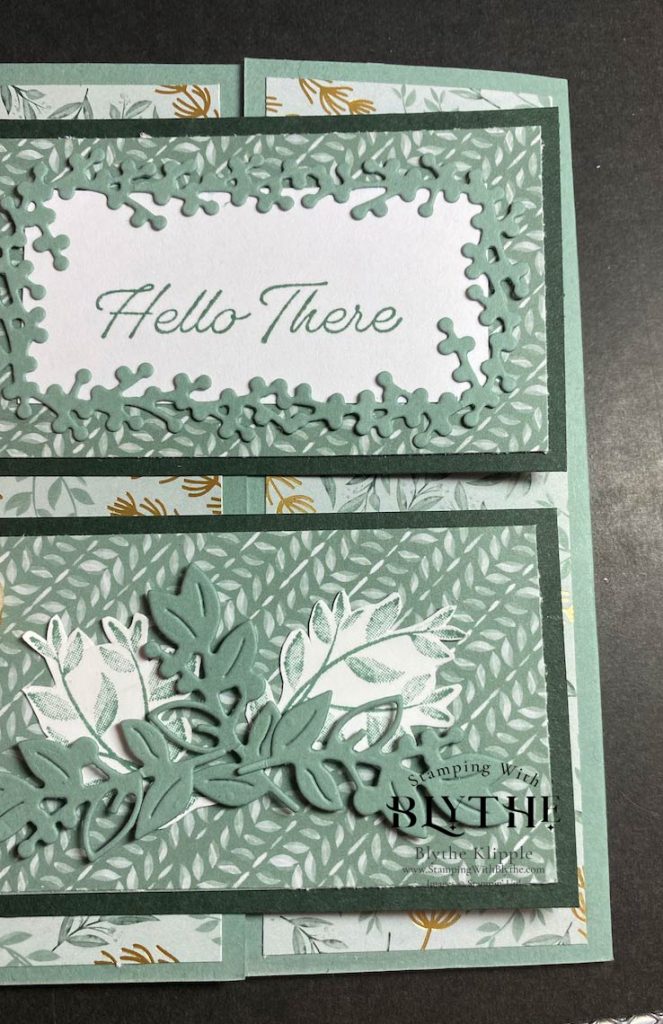
Extreme close up of the finished card front. Embellished layers are not secured yet.
Eden's Garden Double Flap Hello Card
Use Stampin’ Seal or Multipurpose Liquid Glue to attach this layer. Apply adhesive of your choice to ONLY the right side, about 1-1/2″. You don’t want it to extend onto the part of the layer that’s ‘floating’.
Eden's Garden Double Flap Hello Card
Repeat the same process as above for the upper flap layer but place the adhesive on the left side of the layer. 🙂 Stamp leaves on Basic White card stock scrap and fussy cut it with Paper Snips. The Soft Succulent (retired) leaves are die cut using the appropriate die from the Eden Dies.
Eden's Garden Double Flap Hello Card
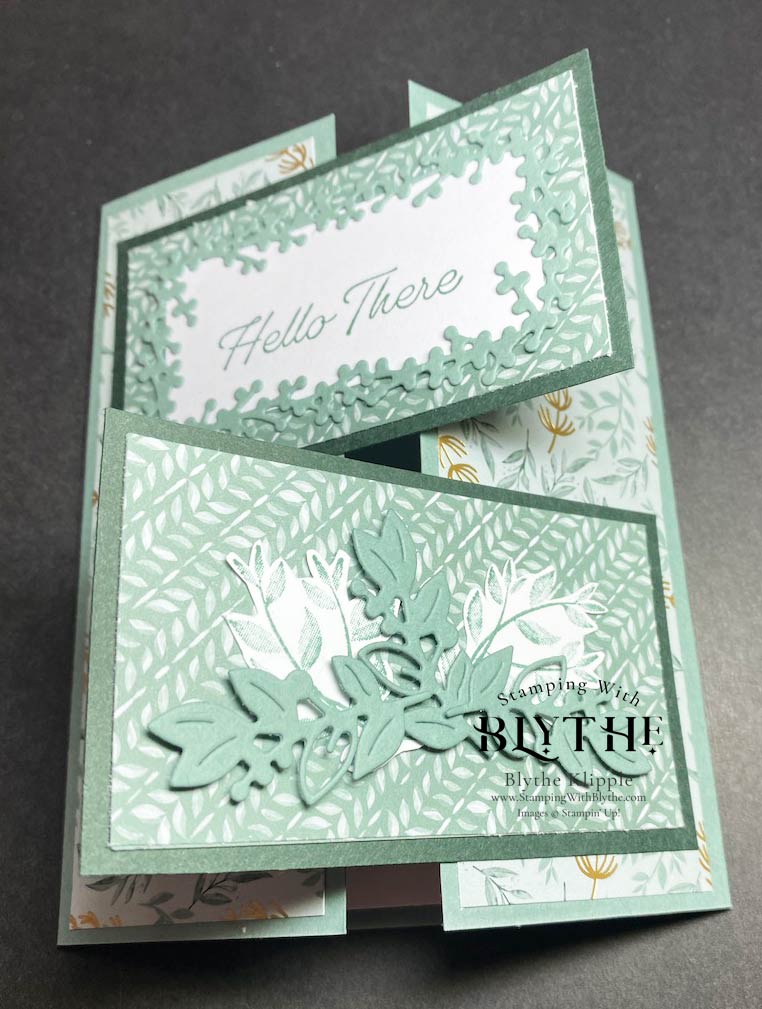
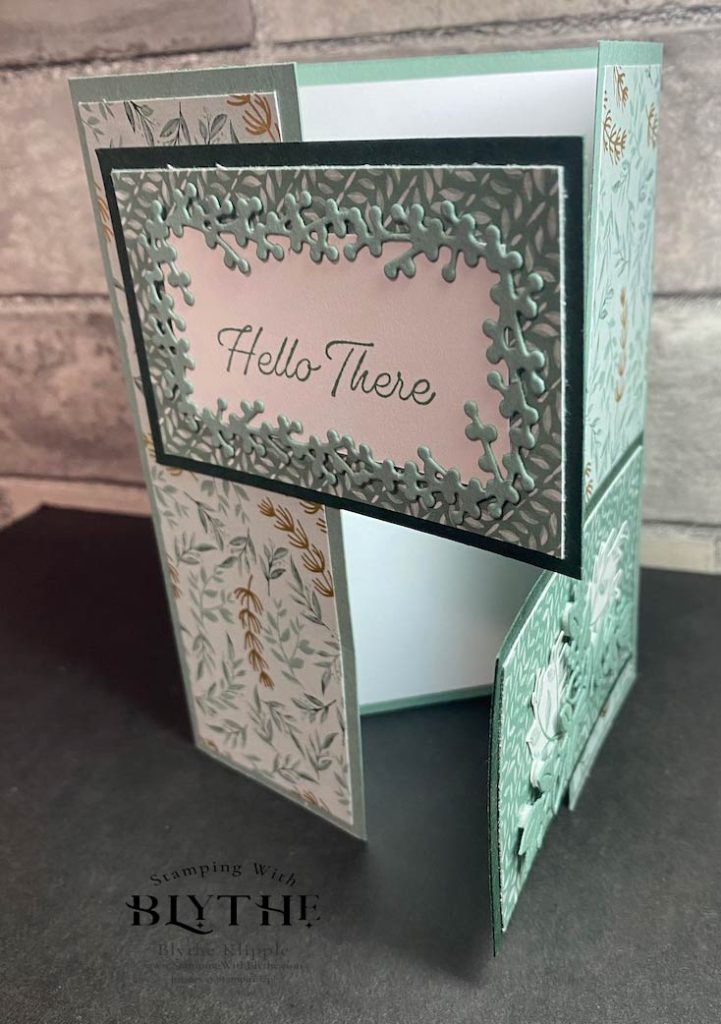
Finished card!

Questions?

Please ask, below or via direct email (Blythe@StampingWithBlythe.com) if you have any questions or uncertainties about this card. I truly apologize for not posting this information immediately following the original post.

Thank you so much for popping in today. Please leave a comment below if you’re looking for a specific project or technique. And don’t forget to make a card and then make someone’s day by sending it to them.

Leave a Comment

Your email address will not be published. Required fields are marked *

ENTER YOUR EMAIL TO SUBSCRIBE
to receive updates and subscriber-only offers!

Scroll to Top