……how to create 40 ‘identical’ cards without going crazy!
Stampin’ Up!’s Annual Convention is fast approaching and card swapping is one of the social highlights. Cards to swap don’t just appear in a container ready-to-go!
I set aside card ideas that I’ve seen online or created myself for several months prior to sitting down and making my swap cards. Then I check for what drew me to that particular card: layout? colors? type? Next question: will it be easy enough to duplicate 40 (or more) times without making myself crazy and without growing to really dislike the card!
I have no idea where I first came upon my first swap card for this year but I know I did use a version of it in one of my monthly library classes.

First task: choose a current Designer Series Paper that would work. I chose Flowerpot.
Second task: choose a card stock color that would coordinate with the Designer Series Paper (DSP). That’s pretty easy because all of the Stampin’ Up! colors used in the DSP are listed on the back of the package. I chose Crushed Curry for this card.
Third task: choose embellishments. For this card I wanted an ‘outdoorsy’ look so I choose the 1-1/4″ Burlap Ribbon. To make sure I had plenty of busy work to do, I cut this ribbon in thirds since the 1-1/4″ width was just too wide for my card.
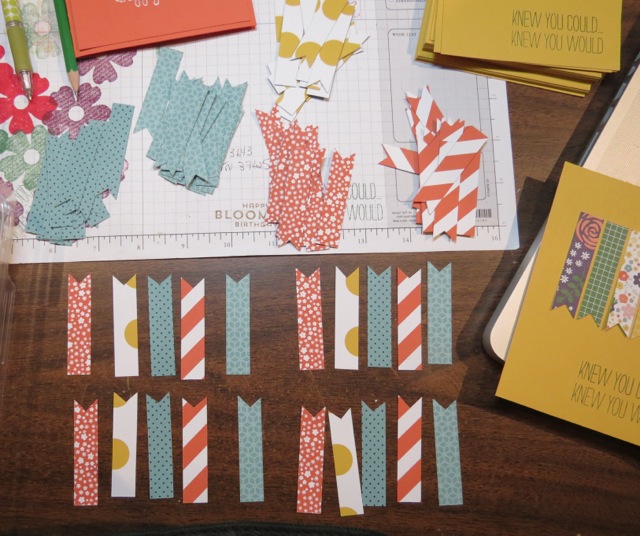
Final task: get all of the measurements on paper and start cutting. I cut all of the DSP and stamped all of the Petite Petals images in the afternoon and then did the punching and ‘banner shape making’ while watching tv in the evening. Mindless tv. Mindless punching and cutting!

I have a Carl Cutter paper cutter which will cut up to 10 pieces of card stock at once so it makes pretty easy work of cutting 40 card front bases and layers. I also stamped the upper layer of card stock before closing my studio door for the night.
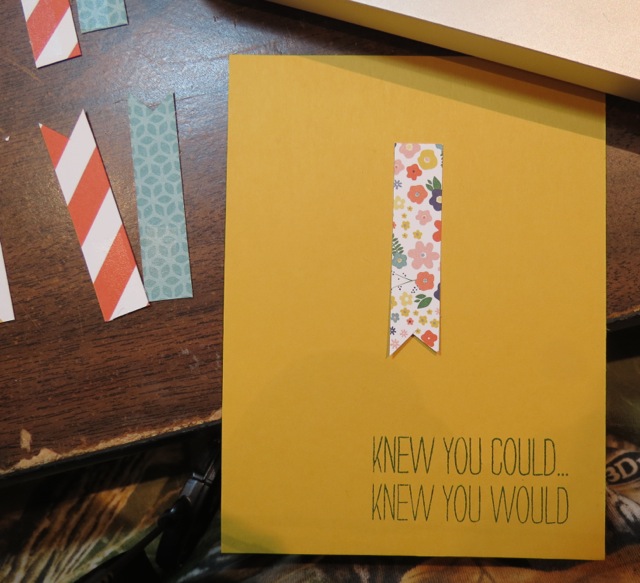
Yesterday was assembly day, starting with the 5 banner pieces. In order to have these pieces centered, after laying them out (upside down) and putting Snail Adhesive at the straight-edge end, I placed the center banner on the card, followed by the banners to the left and the right sides.

Next comes the burlap piece which is attached using Tombow Multipurpose Anywhere Glue dotted along the flag banner pieces and on the left and right margins. Trim the overhanging burlap edges as necessary.

I forgot the FUN part! I colored Rhinestone Jewels with the darkest shade of the Pumpkin Pie Blendabilities* Just how cool is that? You can color the Pearl Jewels as well.
*Available TODAY: The same collection of Blendabilities that have been available to SU! Demonstrators since the beginning of June.
Thanks for being here today. It really does mean a lot. And don’t forget about those Blendabilities!


