I look forward every month to stamping at the Mi Wuk library with local friends, old and new. We’ve been doing this since February 2004 and it’s never failed to be fun and creative. We make two cards complete with envelopes and the fee is a whopping $3.00. $2.00 go toward my supplies and the third $1.00 is donated to the library…..which is not a part of the county system. It’s totally run by volunteers.
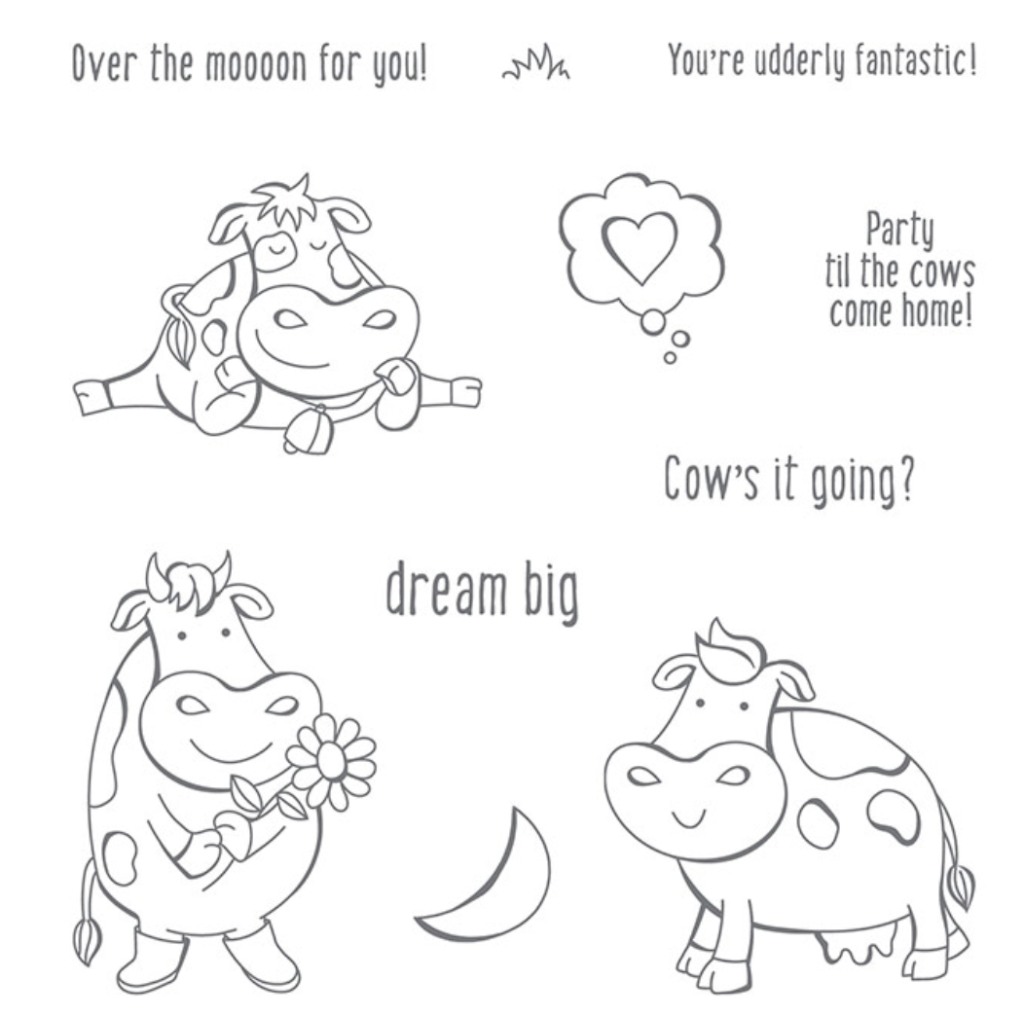
This month I’m in the middle of preparing for selling our home of 32 years and moving to Boise, Idaho and I’ve had precious little time to stamp and be creative. Packing moving boxes is a little creative but it doesn’t compare to stamping!! That said I was looking forward to this stamping break and decided to have fun with the new stamp set I’d just received: Over the Moon.
We made two similar cards but they were using two different cows, two separate greetings and two secondary images.
and her friend:
Variation 1:

Variation 2:
Here’s a how-to for these fun cards:
1- Stamp your greeting.
2- Attach your stamped, colored, fussy cut and “dimensionalized” images. “dimensionalized” means adding Stampin’ Dimensionals or Mini Stampin Dimensionals to the back of your images. *
3- Using a Basic Black Stampin’ Write Marker, randomly draw a non-straight line from one corner to or from your image or stamped greeting. Stop your line before the image or greeting. Start again on the other side of the image or greeting and extend the line almost to the corner. Draw a second line over the first, wiggling it so it crosses over and back creating a very random look.
* I recommend stamping your images, using Memento Ink, on scraps of Whisper White card stock, coloring them in using Stampin’ Blends, and then, using Paper Snips, cutting them out.
Product List
|
|
||
|
|
|
|
|
|
|
|
Attach your stamped layers to either a Smoky Slate or Basic Gray card front (8-1-2″ x 5-1/2″, scored at 4-1/4″). Then send your finished card to a person you know will enjoy its humor and charm. If you have any ‘how-to’ questions about these cards, please ask me in either a comment below or via an email: blythe@stampingwithblythe.com


