Before I introduce you to a few fall cards, I want to remind you that the NEW MINI CATALOG & SALE-A-BRATION (SAB) BROCHURES are live! If you don’t have them yet I’d be happy to send you one. Send me an email, blythe@stampingwithblythe.com, to request your catalog and brochure today!

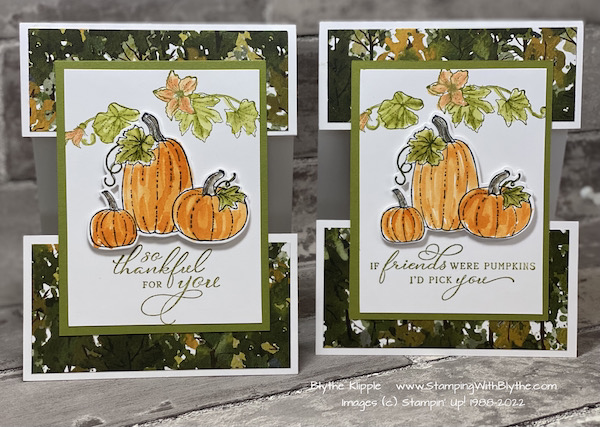
What a fun card to send to a far-away or even near-by friend.
Here’s what you’ll need to put this card together. OR, you can change out the card stock, designer series paper and stamp set and make it entirely you own.
Basic White card stock:
– 4-1/4″ x 7-1/4″
– 2-1/4″ x 4-1/4″
– 2-3/4″ x 4″
Colored card stock to coordinate with your Designer Series Paper:
– 3″ x 4-1/4″
Designer Series Paper (DSP)
– 4″ x 1-1/2″
– 4″ x 2″
Any stamps, ink pads, dies, punches or coloring tools you’ll need to for your images/greetings
Adhesive!
Here’s my second card which is the one I introduced “my stampers” to at this past week’s Avimor Community Center stamping class. There were lots of “……this is my favorite card that we’ve made so far….”. That does my heart good.
We stamp together on the 1st and 3rd Thursdays of every month from 1-3 p.m. It’s fun and good for the soul for sure. We do have to share supplies and that gives us the opportunity to chat and get to know neighbors we might not have known before while supplies are going around the room.
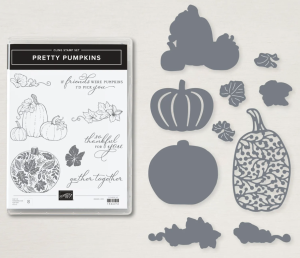
This stamp set comes as a bundle comprised of the stamps as well as some awesome dies.
And now for our card:
We started with the pieces:

Pieces measure, from top to bottom:
3″ x 3″ Basic White – for stamping and die-cutting pumpkins **
4-1/4″ x 2-1/4″ Basic White topped with 4″ x 2″ DSP (designer series paper)
3″ x 4″ Basic White for stamping vines and layer onto……
3-1/4″ x 4-1/4″ Old Olive **
4″ x 1-1/2″ DSP for upper Basic White flap
7-1/4″ x 4-1/4″, scored at 5-1/2″ (as for a normal card)
** These layers are stamped on.
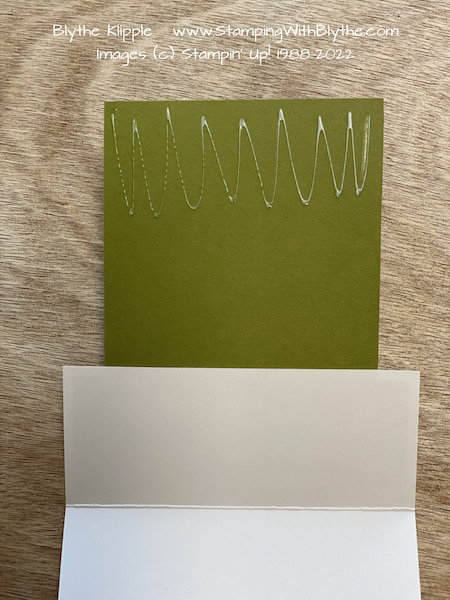 After attaching the top of the stamped layer to the upper flap, zig zag Multipurpose Liquid Glue (aka green glue) to the lower end of the flap and then carefully lay it onto the other DSP layered pieces that has been accurately laid at the bottom of the card WITHOUT ADHESIVE.

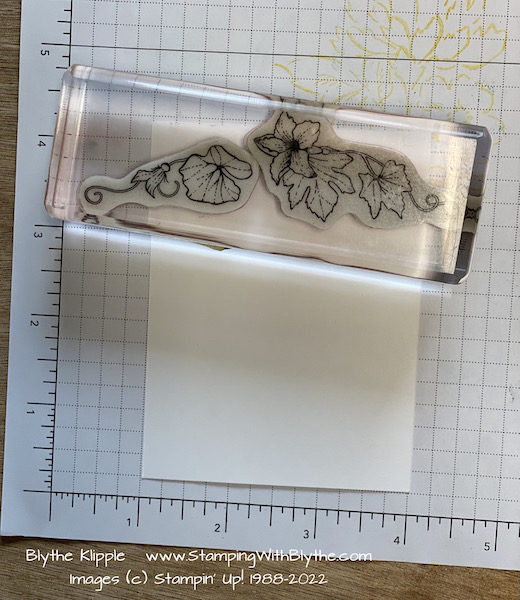
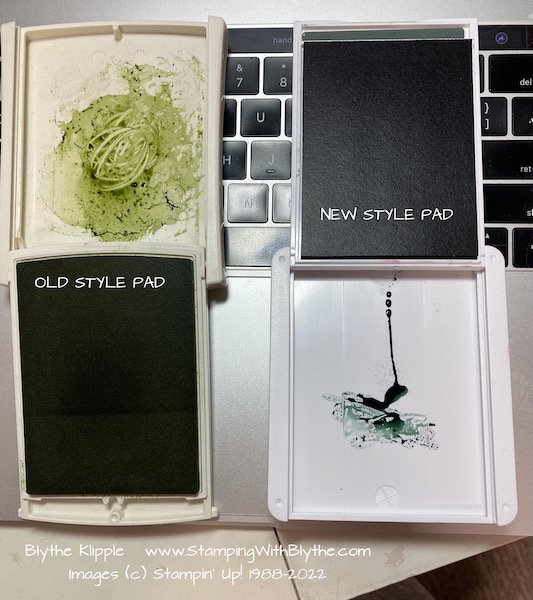
Place both ‘vine’ images on the “H” clear block and stamp one time, using Old Olive Classic Ink. Stamp just off the upper edge of the 3″ x 4″ piece of Basic White card stock. Color with a Blender Pen or Water Painter, pulling the color from the lid of the stamp pad. Depending on the style of the stamp pad (the older click/flip/slide lid or the newer open/slide lid) either squeeze the top and bottom of the pad together to get ink onto the lid or place a few drops of Ink Refill into the lid and dab with the brush tip of your choice.
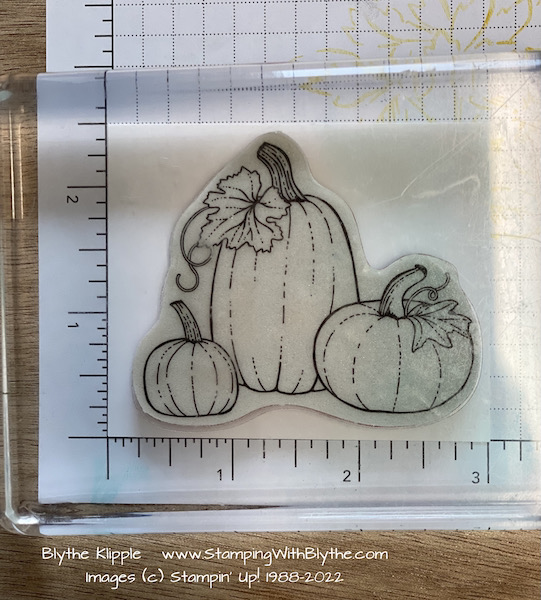


All images were colored in with the help of Blender Pens using Pumpkin Pie and Pale Papaya classic inks.

If you’re interested in any of the products I used today, just click on the product name and you’ll be connected to my Stampin’ Up! online store.
Product List
|
|
|
|
|
|
||
|
|
|
|
|
|
|
|
And then, if you choose to order anything, and your order is under $150, please use this host code: 2S3MUEUF At the end of the month I’ll send you a little stampin’ gift as a thank you for selecting me as the demonstrator you chose to shop with.
I hope you enjoyed today’s special card. It’s definitely a fun concept and a WOW card. 🙂
* Shop Stampin’ Up! in Blythe’s Store * Like my Facebook Page * Follow me on Pinterest * Join Paper Pumpkin and play along * Join My Country Loft Team


