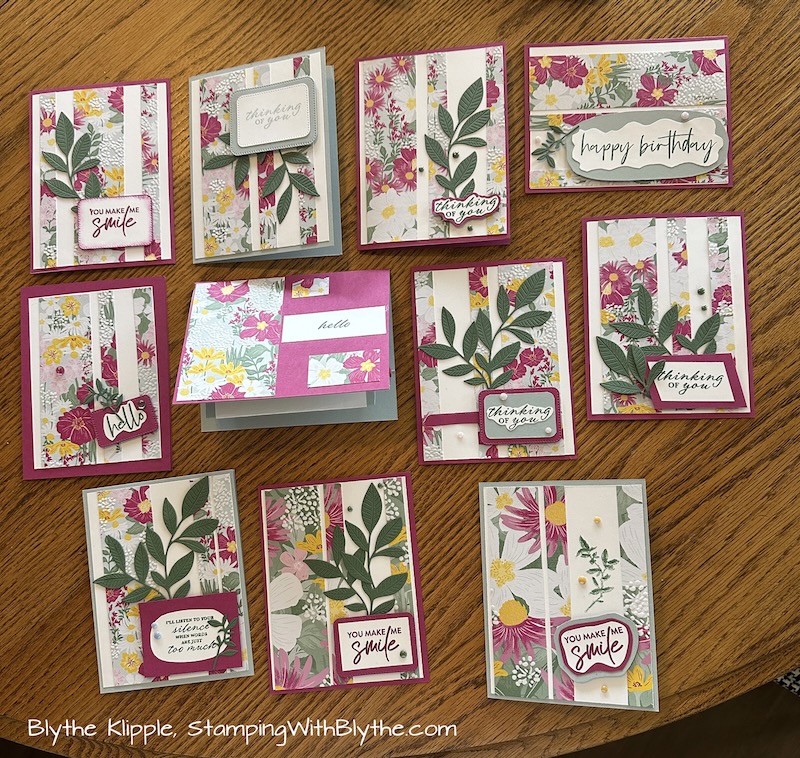
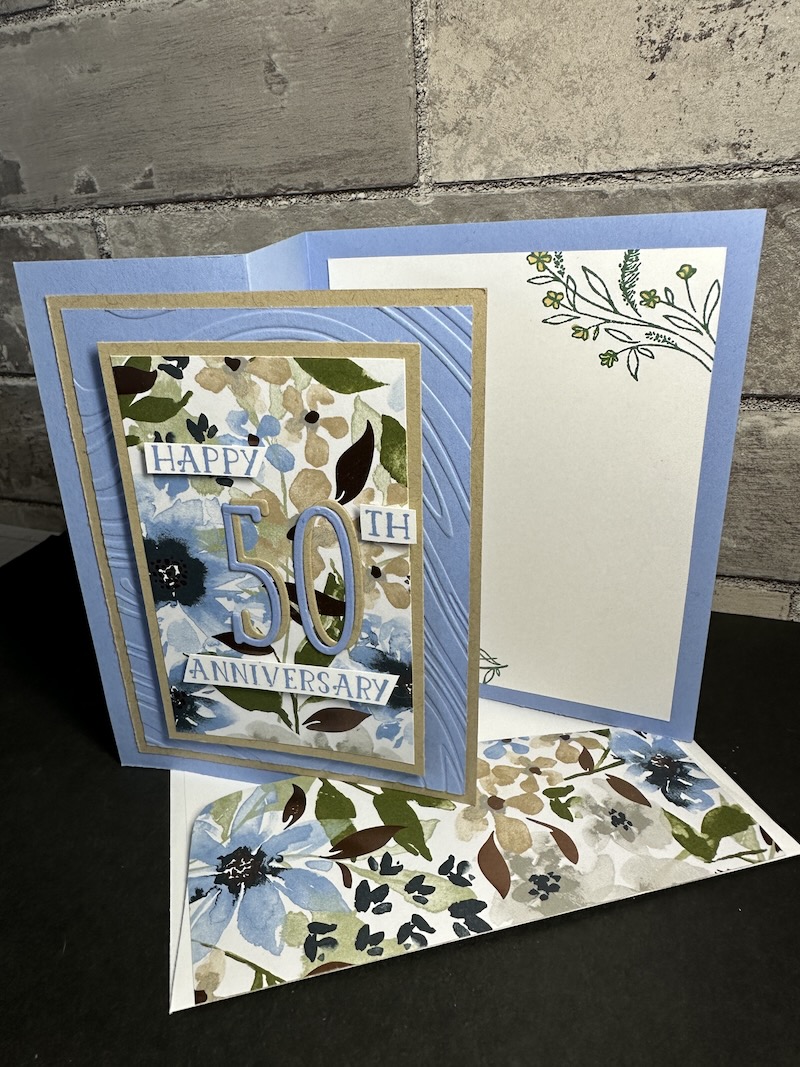
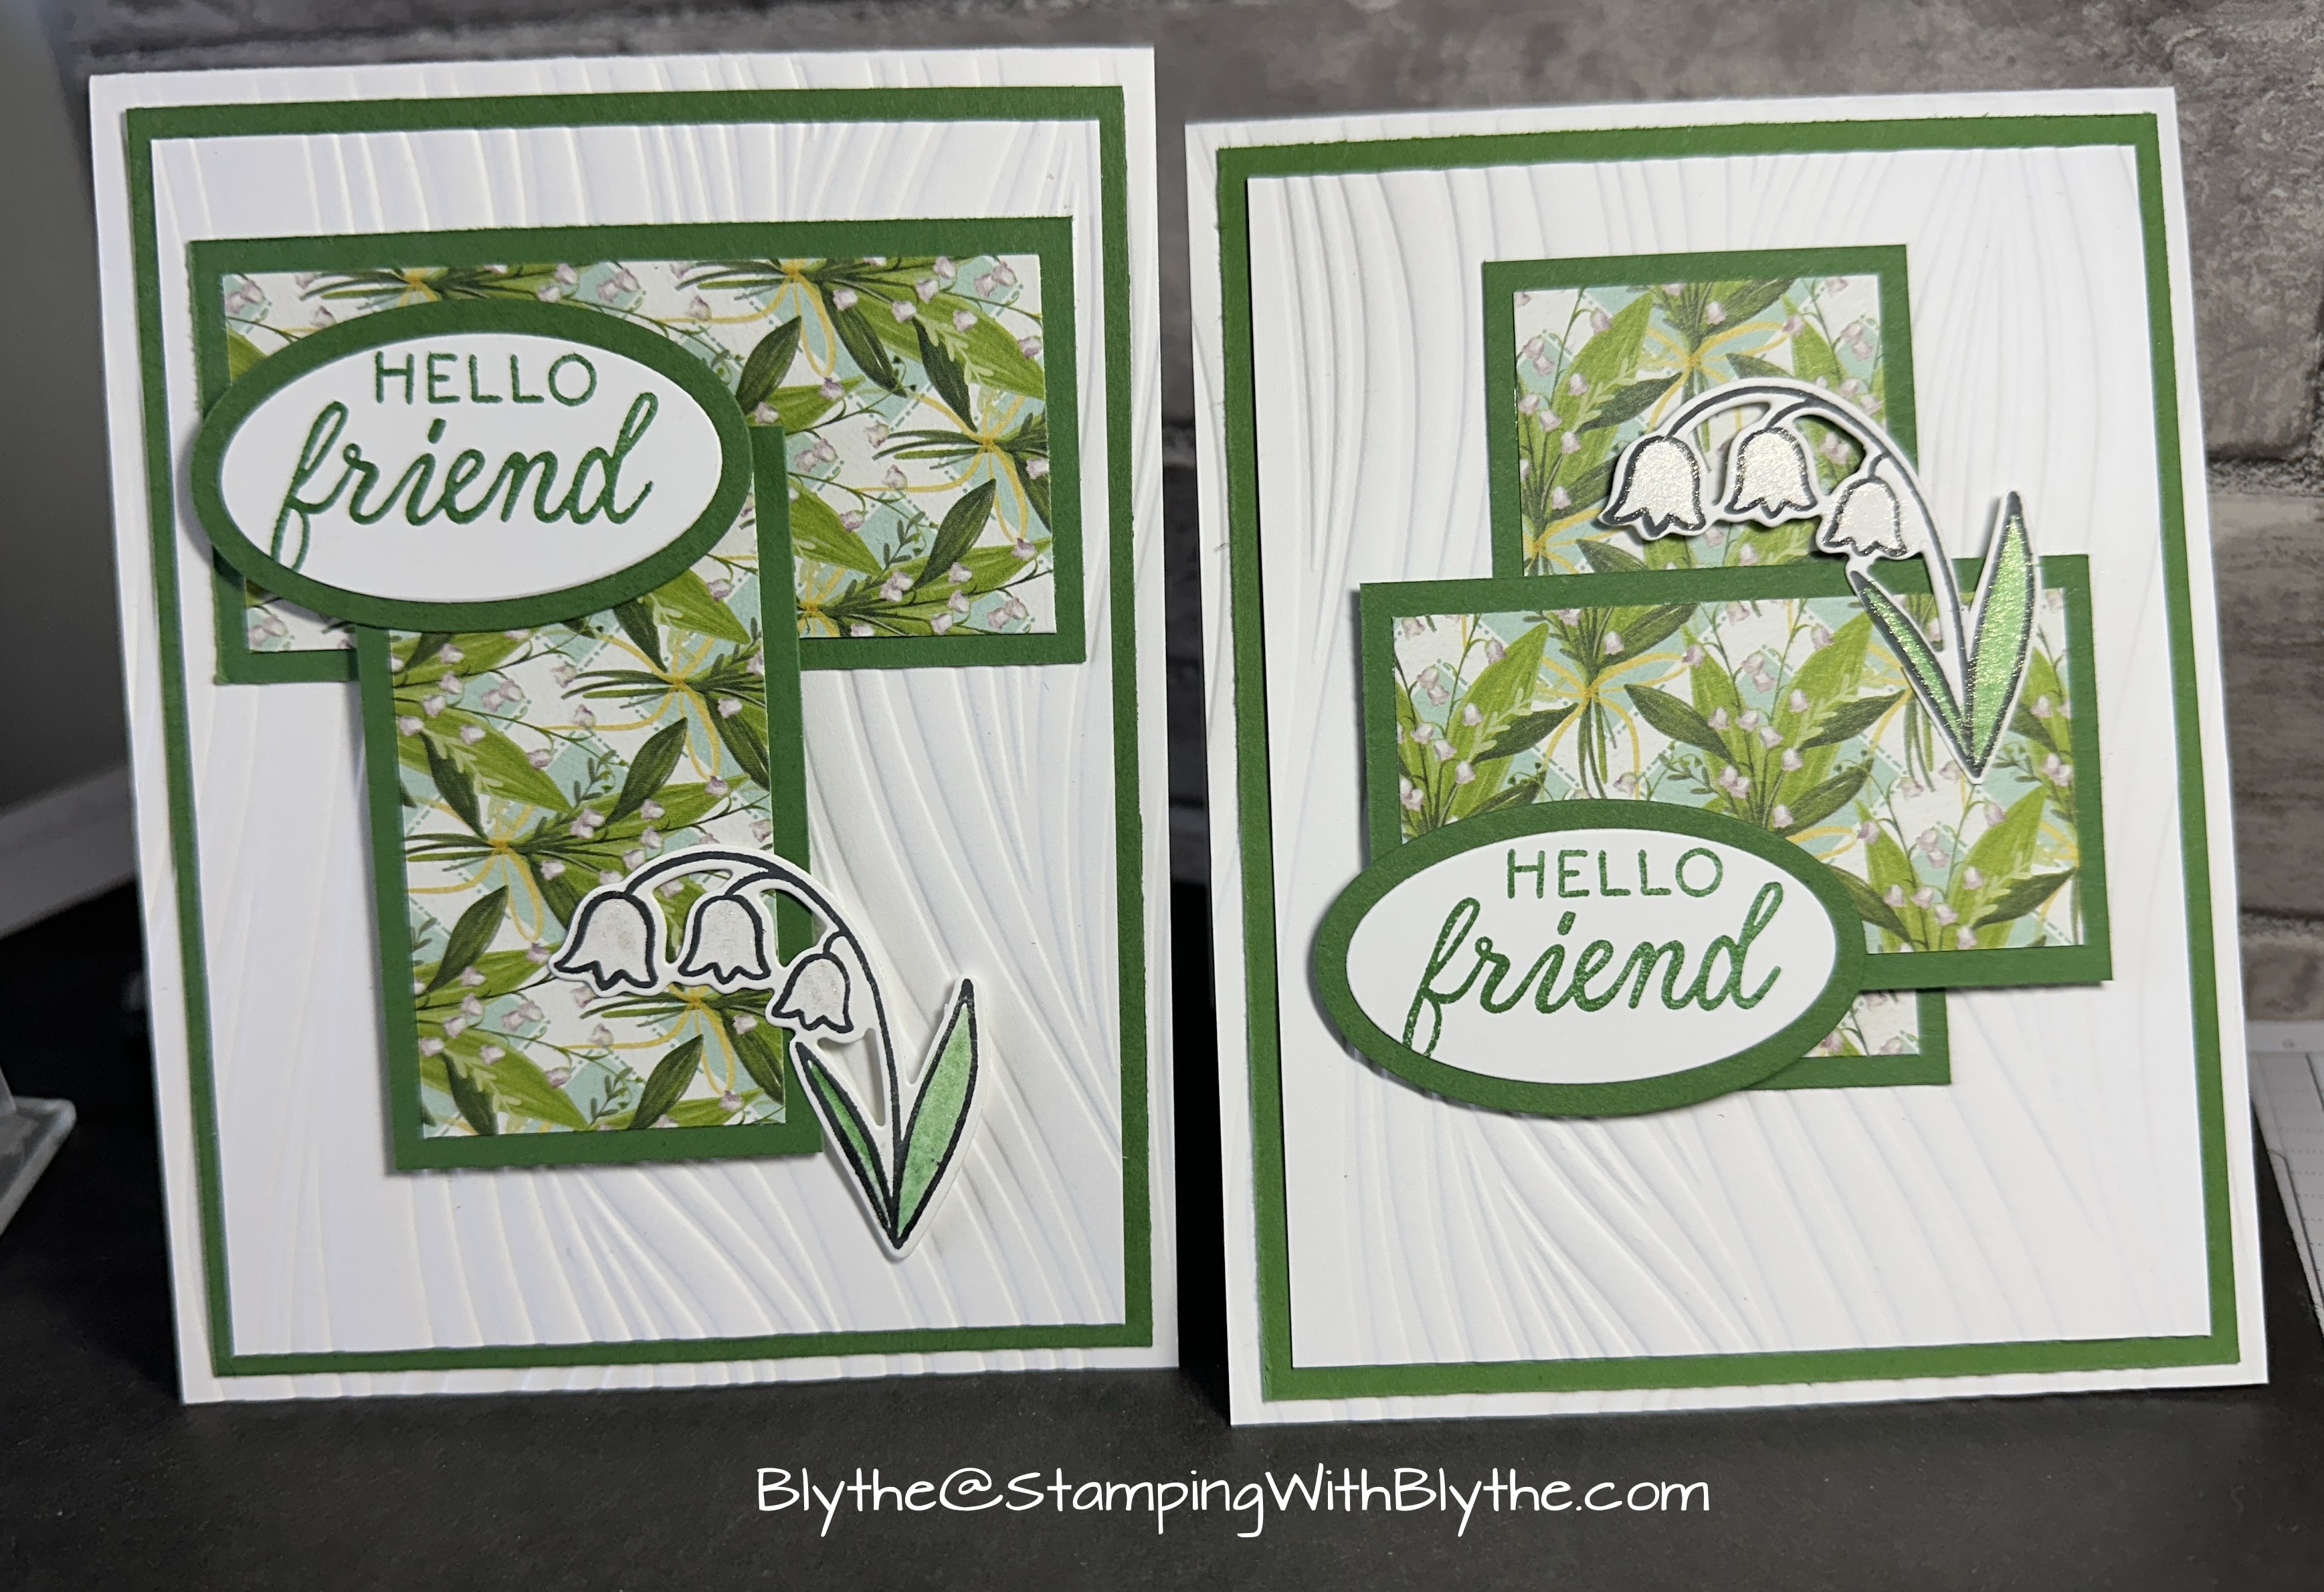
It’s never really too early to start making your holiday cards and I have done just that with today’s Joyful Holly card. My goal was clean and simple for this year. What do you think?
I used the new and fun two-step stamping set, Joyful Holly, for today’s card. It’s actually a sneak peak of a set you’ll be able to purchase from the Stampin’ Up! Handmade for You Holiday catalog starting August 4th.*

(Hopefully today I will successfully empty one of the final moving boxes that’s living in our garage….the one that houses my “photo studio”. I don’t currently have an ideally lighted spot for photographing my cards any more which both frustrates me and makes me a bit sad since I can’t show them off to their best advantage. I’ll find or create that perfect place soon!!!)
Product List
|
|
|
|
|
Big Shot
[113439]
$110.00
|
|
|
|
|
|
|
|
|
|


I can’t show you the new stamp set until August 4th but……..I’ve used four of the seven images on my card:

The Joyful Holly stamp set features Two-Step Stamping:
- Step one: stamp the image outline
- Step two: stamp the leaves
- Step three: stamp the holly berries
Cutting instructions:
- Whisper White Thick card stock (CS): 8-1/2″ x 5-1/2″, scored at 4-1/4″
- Whisper White card stock (CS): 5-1/4″ x 4″ (embossed layer) plus 2-1/2″ x 4″ (stamped layer) plus scrap (greeting layer), about 3″ x 2″
- Garden Green card stock (CS): 3″ x 2″ (punched layer)
Guidelines:
- Run the 4″ x 5-1/4″ Whisper White CS through the die cutting machine using the Old World Map 3D embossing folder. Attach to card front with adhesive of your choice.
- Stamp the holly stem, using Momento Black Ink, on the 2″ x 3″ piece of Whisper White CS.
- Fill the leaves using Garden Green ink that has been stamped-off once on a piece of scrap paper.
- Fill the holly berries using Real Red ink. Don’t stamp-off this color–use it full strength.
- Attach this layer to card front using five Stampin’ Dimensionals.
- Stamp greeting on scrap of Whisper White card stock using Memento Black Ink. Punch out using Everyday Label Punch. Set aside.
- Punch out the same shape from Garden Green card stock. Cut in half horizontally using Paper Snips. Attach one piece to the back top of the stamped greeting punched piece leaving about 1/16th of edge showing. Repeat for the bottom of the punched greeting. I use either Stamping’ Seal adhesive (can’t slide around but isn’t messy) or Multipurpose Liquid Glue (aka “tomboy” or “green glue”) so you can slide the back layer around as needed. It can be a tad messy however but works great! Attach this piece to the card front using two Stampin’ Dimensionals on the right side only. It’s optional to run a bit of adhesive of your choice on the portion that lays over the stamped holly leaves layer.
- Attach three Red Rhinestone Basic Jewels on the right of the stamped greeting, arranged like holly berries.

*If you don’t yet have a Handmade for You August-December 2020 ‘mini’ catalog, please let me know. I’d be glad to send you one if you don’t already have a Stampin’ Up! demonstrator with whom you normally place your product orders. If you have any questions please leave a comment below or send me an email. I’m definitely here to help you! Feel more than free to shop in my Stampin’ Up! online store as well!
* Shop Stampin’ Up! in Blythe’s Store * Like my Facebook Page * Follow me on Pinterest * Join Paper Pumpkin and play along * Shop Stampin’ Up!’s Clearance Rack and save up to 60% * Join My Country Loft Team