My card for a monthly card swap was supposed to be a guy card or a sympathy card. Since hubby’s birthday is coming up next month it was a clear choice: Hubby needs a birthday card!
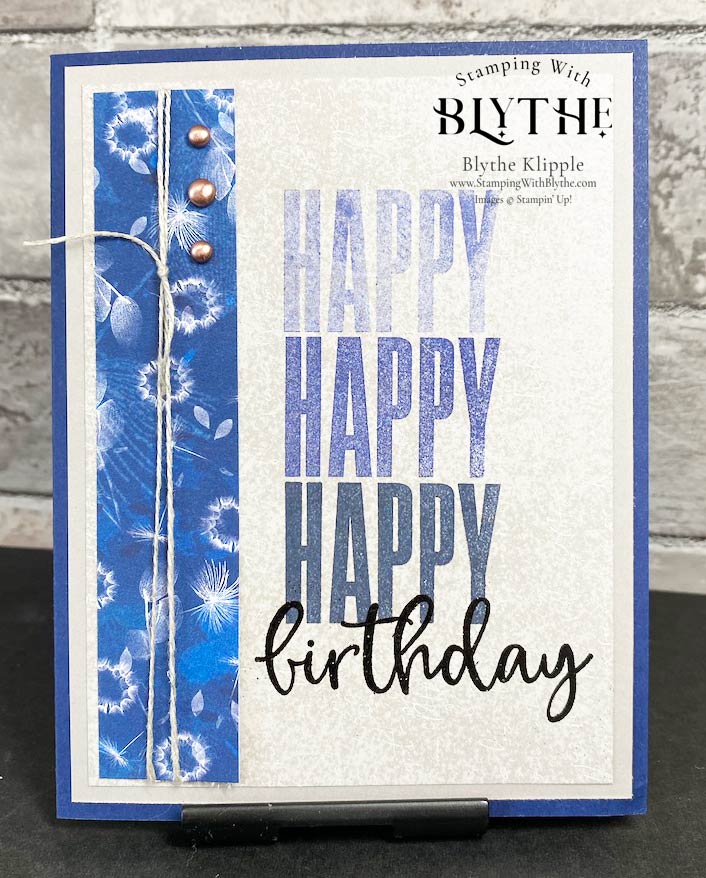
I really enjoyed making this card, especially since I haven’t used my Stamparatus nearly as much as I should/could have and I got to use it for this card. See the Stamparatus how-to steps following the card steps below.
- Card Front: Night of Navy card stock, 8-1/2″ x 5-1/2″, scored at 4-1/4″ and burnished (creased firmly) with a Bone Folder.
- Layer 1 and inside card layer: Gray Granite card stock, 5-1/4″ x 4″; attach as shown with the adhesive of your choice.
- Designer Series Paper Layer: 5″ x 3-3/4″. Do not attach to card front until you have stamped and embossed greetings.
- Designer Series Paper Strip Layer: 1″ x 5″ (reverse side of stamped layer). Wrap several time around with Linen Thread and tie in a knot. Attach to card front with adhesive of your choice.
- Attach three Brushed Metallic Adhesive Backed Dots as shown in sample.
Stamparatus Steps
I used my Stamparatus “Tool” to position and space the HAPPY HAPPY HAPPY on this card.
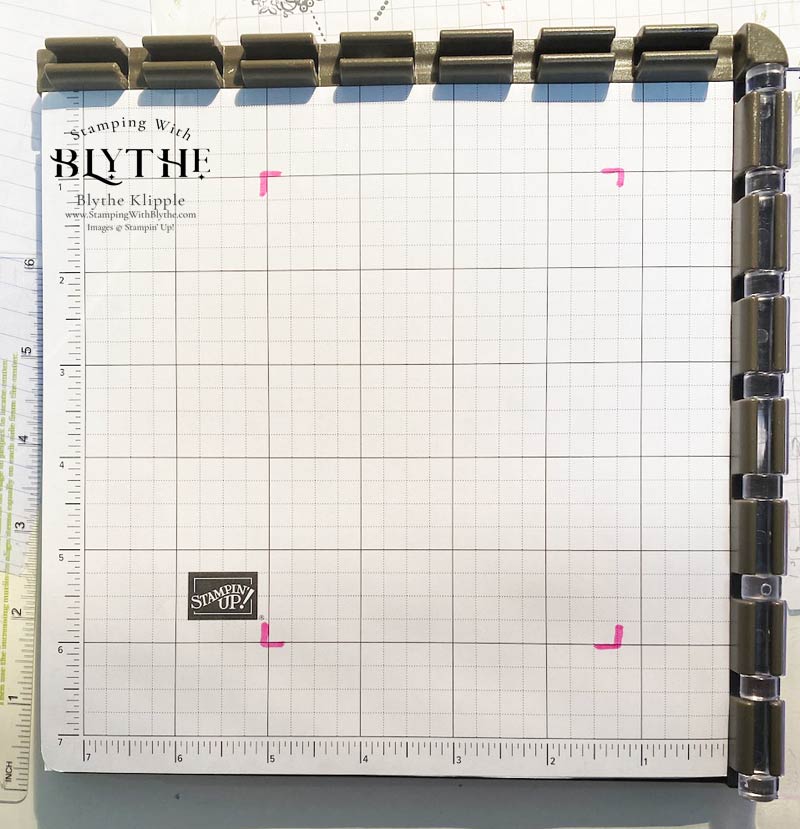
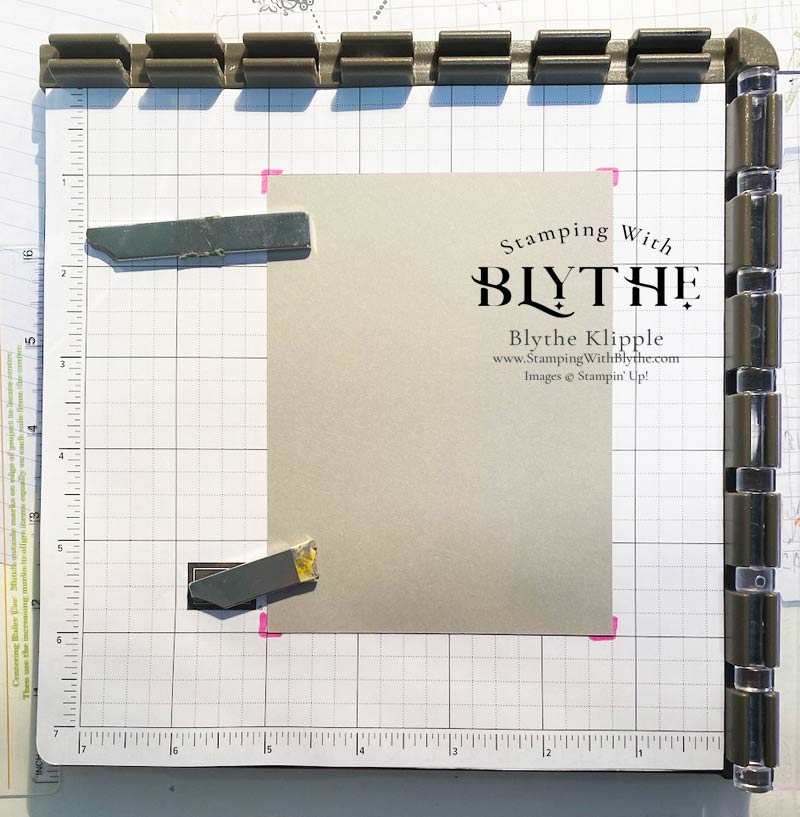
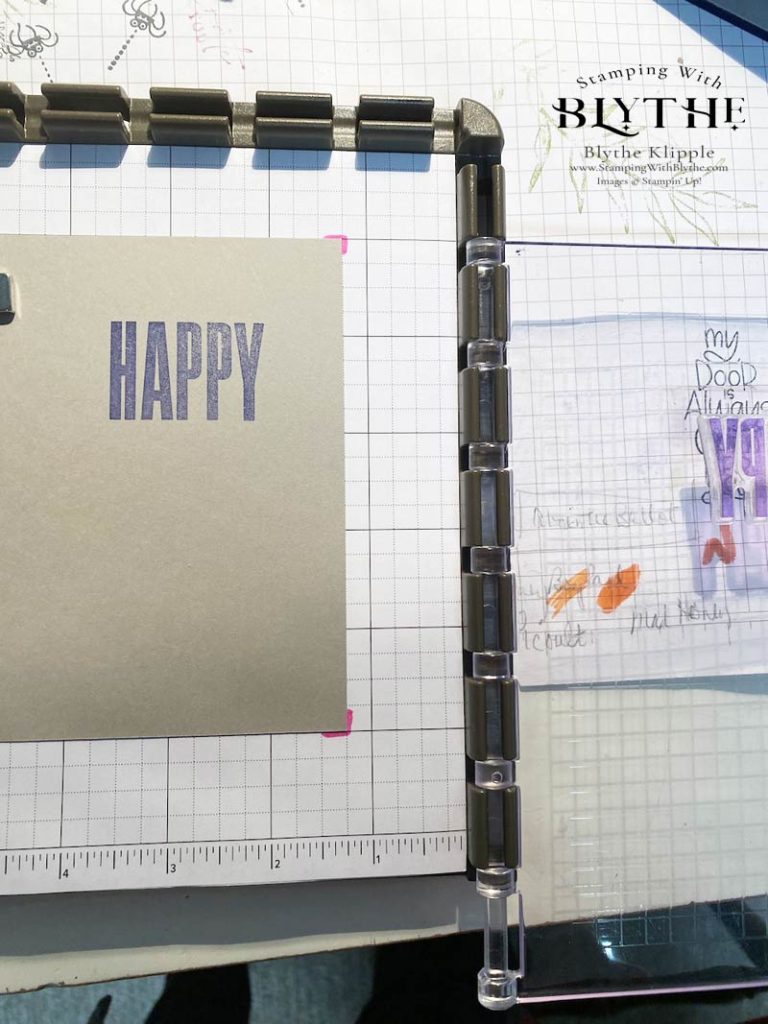
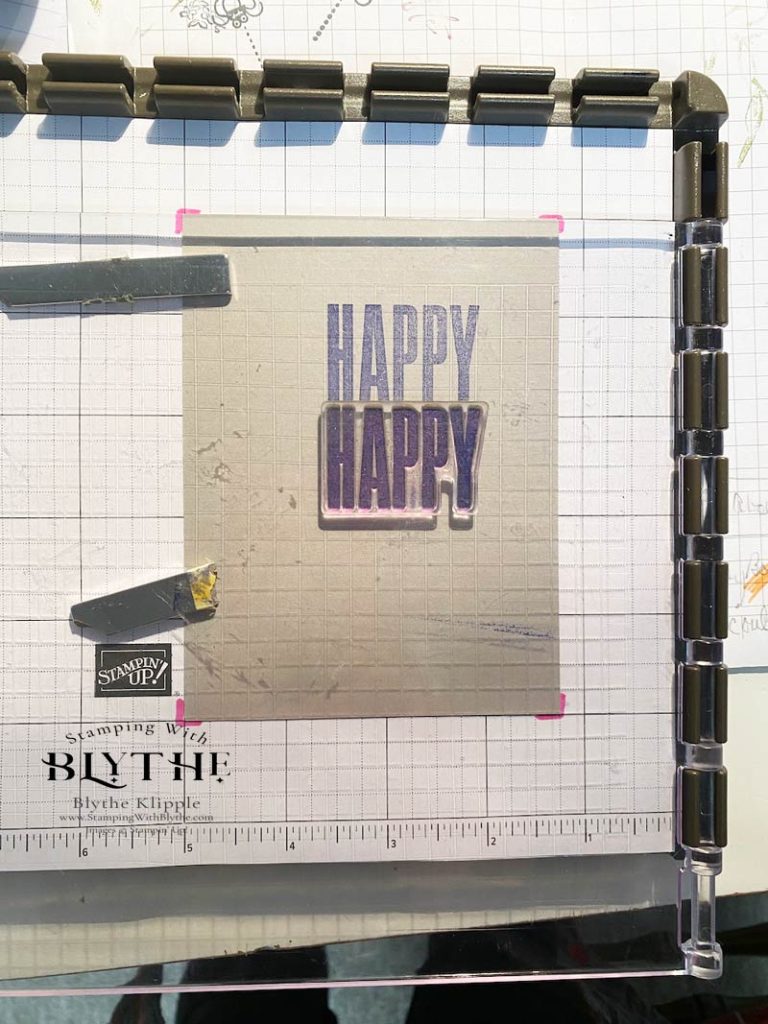
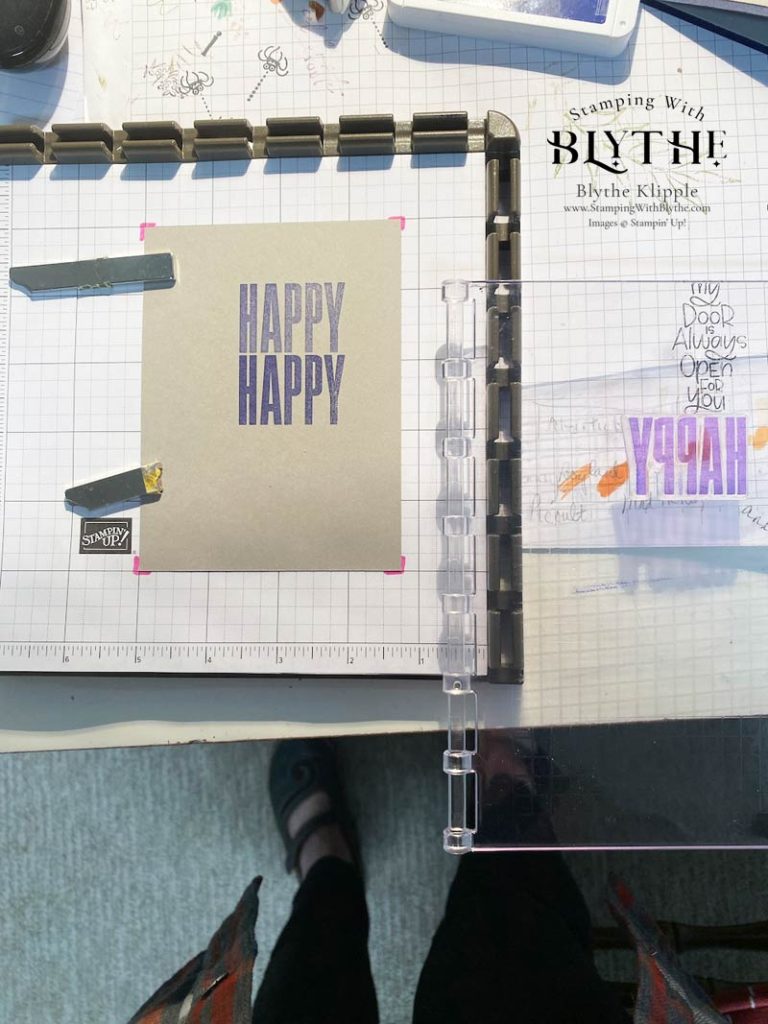
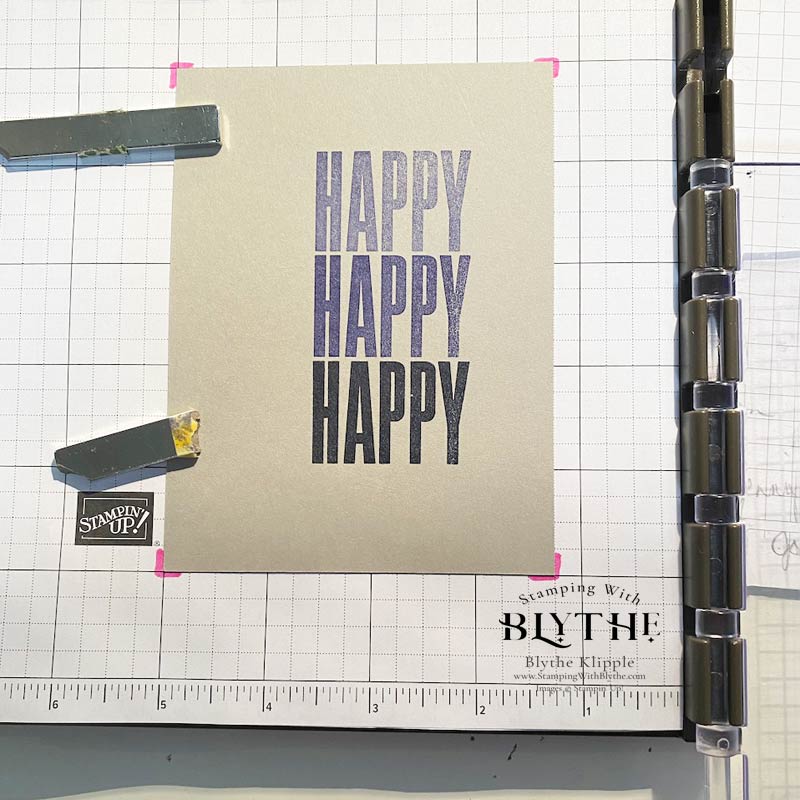
The birthday greeting was stamped using VersaMark ink. Then sprinkle it generously with Black Embossing Powder, shake off excess and heat set using the Heat Tool. A video tutorial will follow this post in the next few weeks.
Do you own a Stamparatus yet? Although I don’t use mine as often as I should/could (actually I forget about its perks!) today’s card is definitely going to inspire me to use it much more often. It’s the perfect tool when you want your stamp position perfectly. You can get yours right in my Stampin’ Up! store by clicking here.
Happy stamping and I look forward to seeing you again real soon!


