Honeycomb Happiness “Happy Card”

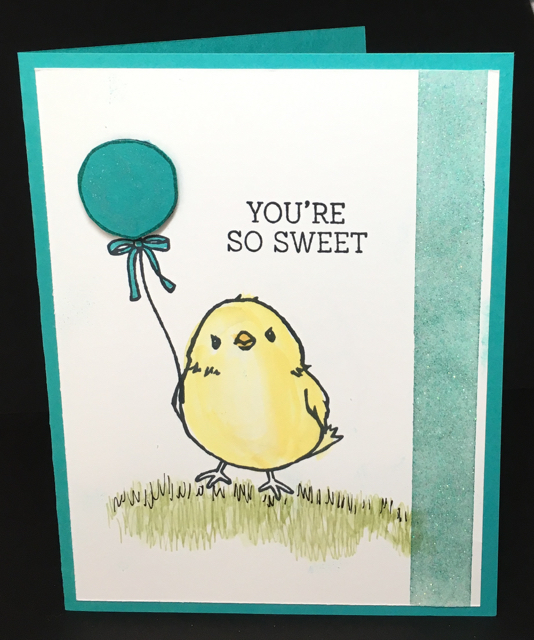
Today’s card, another one that has waited about a month to be used, uses the Honeycomb Happiness stamp set, one of the items you can get free with a $50 purchase during Sale-a-bration.  Isn’t it just the sweetest thing?!


Honeycomb Happiness spring-y thank you or acknowledegment card
This little chick was colored using Aqua Painters and Daffodil Delight Classic Ink


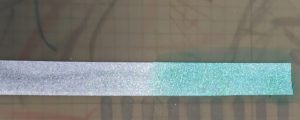
The decorative trim on the right side of the card is colored White Metallic Glitter Tape.

Metallics Glitter Tape, Sale-a-Bration 2016, 141020

Metallics Glitter Tape, Sale-a-Bration 2016, 141020
Use a Sponge Dauber to apply color to the strip of Metallics Glitter Tape. Lay a piece of Glitter Tape on a Silicon Craft Sheet. The tape will not stick and the silicon sheet is washable.


Metallics Glitter Tape, Sale-a-Bration 2016, 141020
The lower tape was colored (Bermuda Bay) with the sponge daubers and the upper was colored with a Stampin’ Write Marker (also Bermuda Bay).


Metallics Glitter Tape, Sale-a-Bration 2016, 141020
Use only the sides of the marker, not the tip.


Honeycomb Happiness, 141288, Sala-a-Bration set 2016
Finally, stamping the little chick and adding a balloon with the help of a Stamp-a-ma-jig for positioning.


Honeycomb Happiness, 141288, Sala-a-Bration set 2016
Stamp, with waterbased (classic) ink, the little chick onto the clear plastic piece of the Stamp-a-ma-jig.


Honeycomb Happiness, 141288, Sala-a-Bration set 2016
Remove plastic positioner, ink up the image, and stamp onto card stock.


Honeycomb Happiness, 141288, Sala-a-Bration set 2016
Cut some ‘grassy fringe’ using Stampin’ Up!’s Fringe Scissors. Trim to look a bit like grass and attach to a layer of Fast Fuse Adhesive.


Backside of card front layer, waiting to be trimmed


Honeycomb Happiness spring-y thank you or acknowledegment card
This grass on this card front was sketched in using a Stampin’ Write Marker (Pear Pizzazz) with some Basic Black accents.

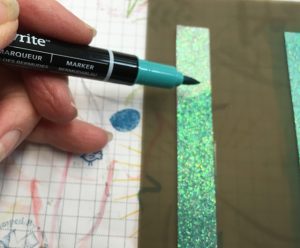
The balloon is stamped on Bermuda Bay card stock using Bermuda Bay Classic Ink, trimmed using Paper Snips and then attached over the stamped balloon with a Stampin’ Dimensional.

The greeting is stamped with Black Memento Ink.

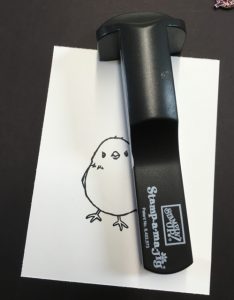
If you look back at the first card you’ll notice a few little Bermuda Bay smudges caused by putting my fingers on the not-quite-dry-inked Glitter Tape.  I’ve had this perfect stamp seen in the photo below for about 25 years—and it was time to bring it out.

Work of Art Smudge stamp

And that’s the truth.  It’s still a great card.  With a little smudge.  I think it’ll still bring a bit of happiness into someone’s home.


Leave a Comment

Your email address will not be published. Required fields are marked *

ENTER YOUR EMAIL TO SUBSCRIBE
to receive updates and subscriber-only offers!

Scroll to Top