Today’s Cookie Cutter Christmas Banner filled my need for making something quick(-ish), easy, festive, cute, useful and fun. All you need to do is stamp, punch and glue. I recommend coloring in Santa’s clothes before punching. It’s easier than coloring each one individually after punching.
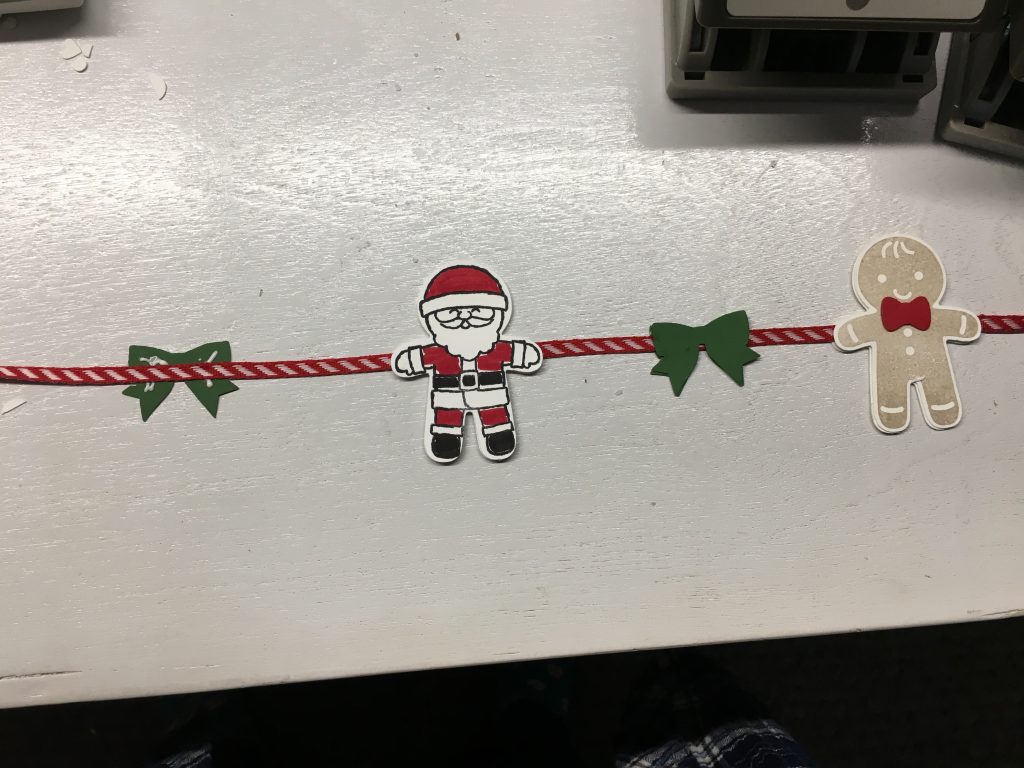
First I stamped and punched. And punched. The neat thing about the Cookie Cutter Christmas images is that they’re all the same size so can be punched with the one punch and, for fun, you could attached different images to each other, back to back. I wish I’d thought of that earlier. Mine are gingerbread man attached to gingerbread man and Santa attached to Santa. This means I’ll just have to make another banner.
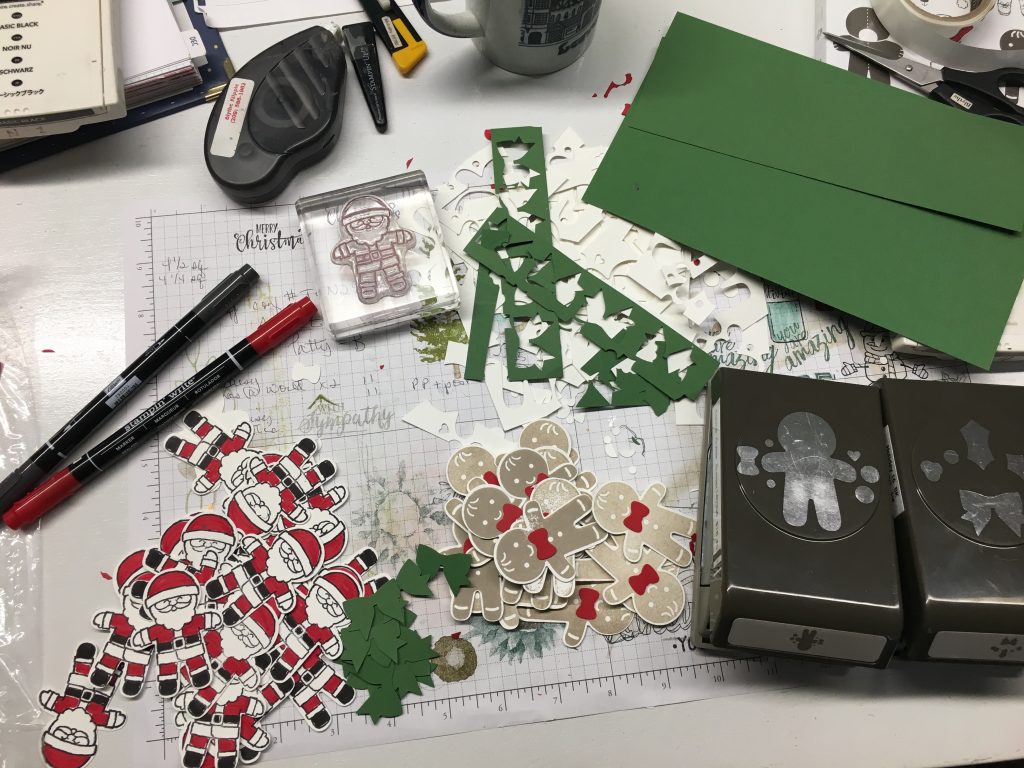
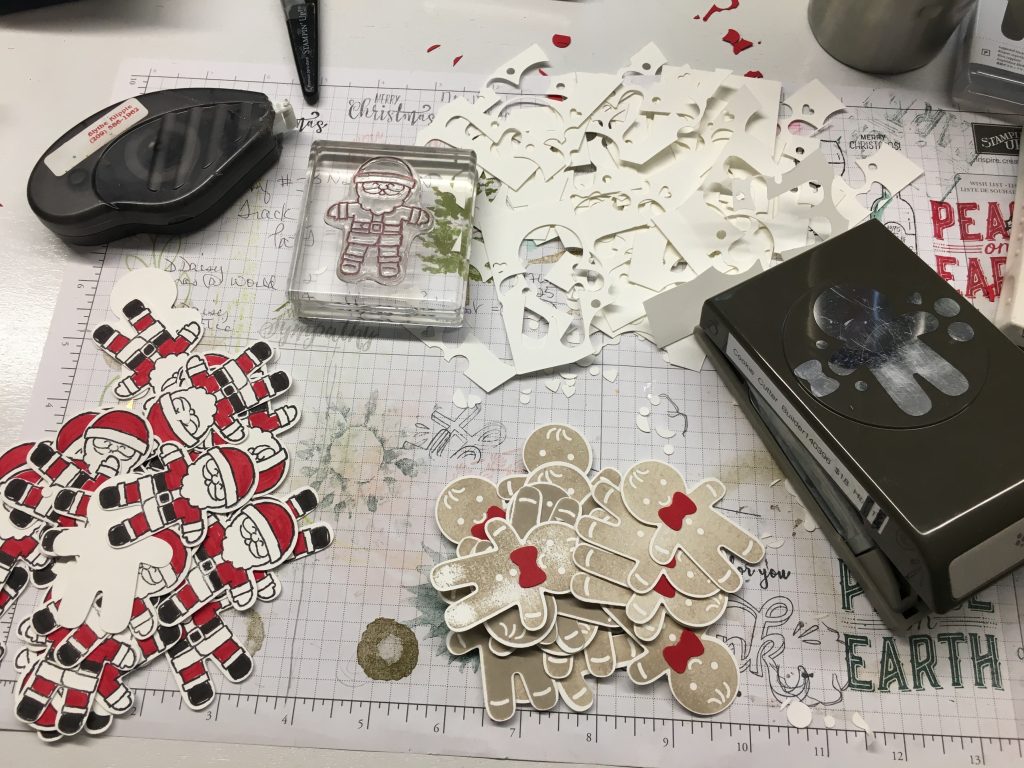
I used Multipurpose Liquid Glue (aka Tombow) to attach the figures front to back and on either side of the ribbon.
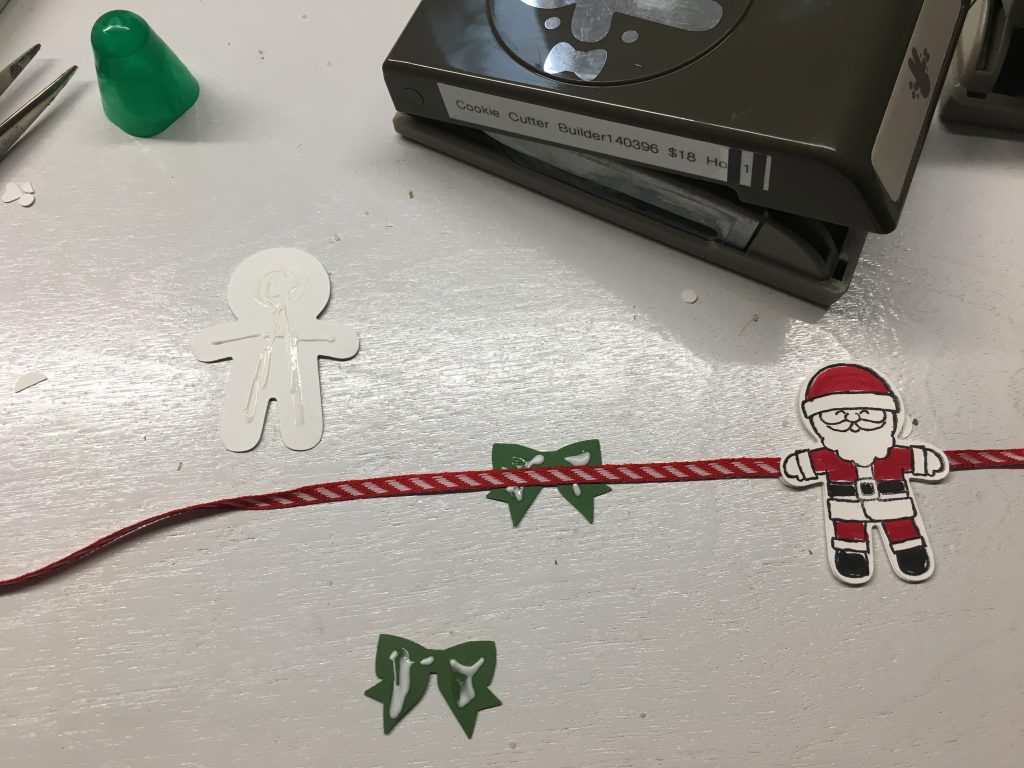 I put the Tombow on both pieces to ensure a good solid ‘stick’.
Products used for today’s banner:
|
|
||
|
|
|
I showed you two ways to purchase the Real Red Stampin’ Marker in my supplies list: either in a pair (Real Red and Crumb Cake markers from the Holiday Catalog) or in the complete set of Brights Stampin’ Markers (from the Annual Catalog).
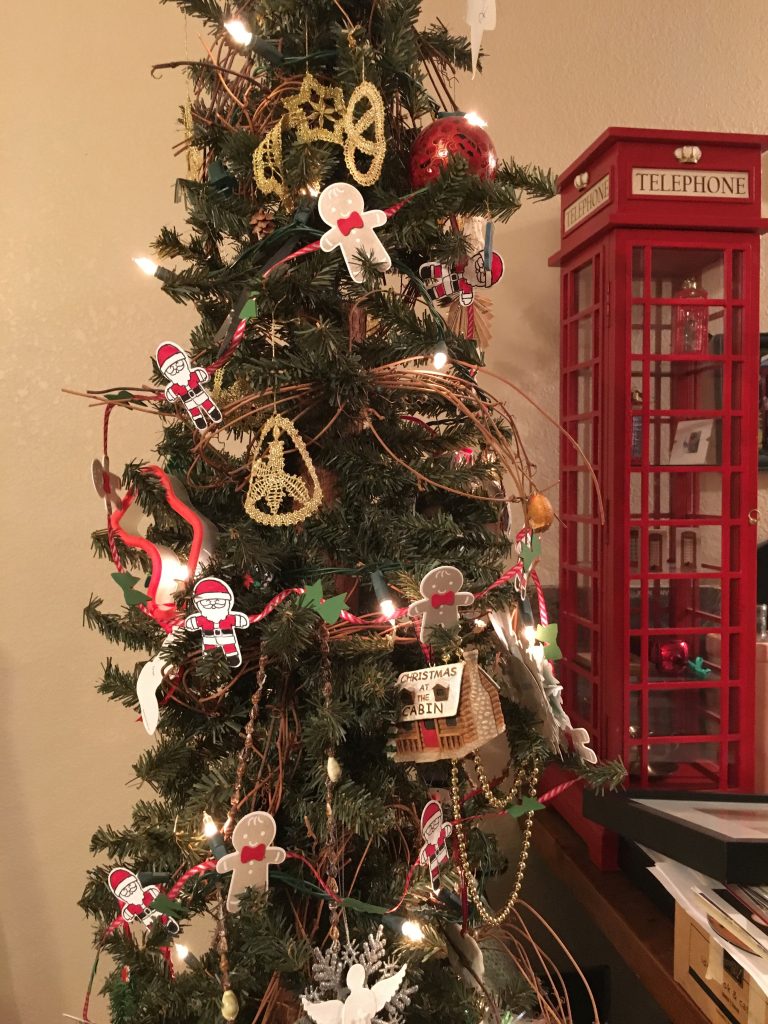
You could make a smaller/shorter banner and use it to wrap around a package. Or you could attach the characters vertically and hang the banner from a shelf or somewhere where each side would be visible. Maybe stamp yours in non-traditional colors just for fun. I’m going to be trying vertical out next.
You can get your Cookie Cutter Christmas Bundle here. It would be a great project to do with kids (of all ages).


