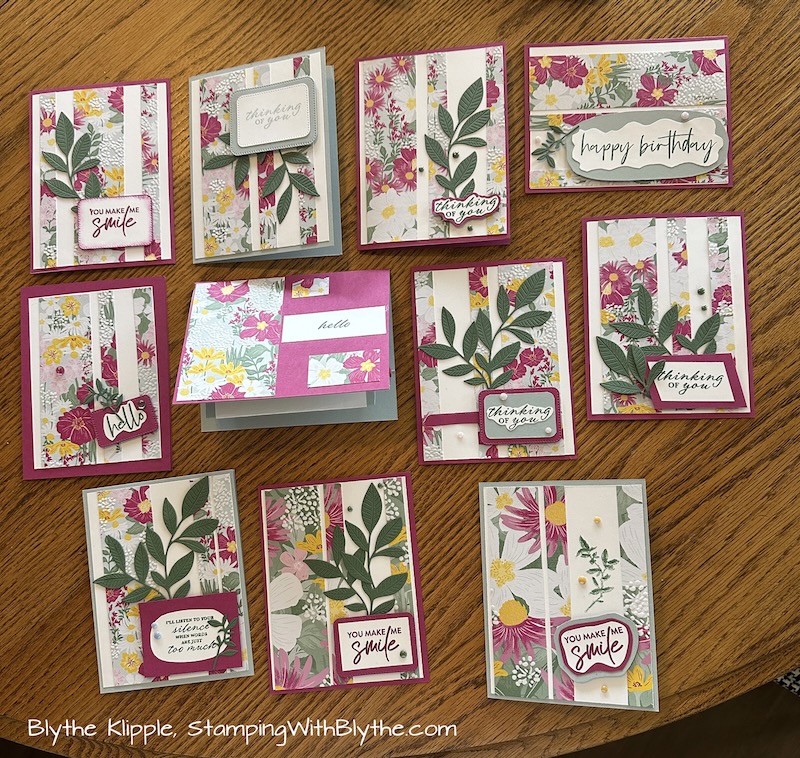
As I make the first card for this month’s Card Buffet, I’m going to walk you through the anatomy of a card — the basics of getting started. As a seasoned stamper, I know I take putting a card together for granted. But there are some of you out there who have never attempted a hand-stamped (or even just hand made) greeting card. Let me help you get started.
You’ll need:
- Stampin’ Trimmer. 126889. I highly recommend Stampin’ Up!’s trimmer because (1) it comes with both a scoring and a cutting tool, (2) you can cut or score a full 12″ line, (3) the ruler breaks each inch down to the 1/16th (you’ll come to love that precise measurement) and (4) it has an extra wide 6-1/4″ base for easy cutting of most pieces. There are more plusses to added later.
- Grid Paper. 130148. This is where you practice and make your testing messes.
- Card Stock.
- Rubber Stamp set.
- Stampin’ Up! Classic Ink Pad/s
- Adhesive of your choice. Of course I have several to recommend:
Basic Starter Supplies:
|
|
|
|
|
|
|


The rest of the supplies you’ll need are in no particular order, but perhaps starting out with a stamp set would be a good idea. Then choose your card stock and ink. And then get your grid paper and stampin’ trimmer out and let’s get going.
This month’s Card Buffet is going to focus on the 2017-2019 In Colors and today I’m going to use the Happy Birthday Gorgeous stamp set and Lemon-Lime Twist classic ink and card stock.
Today’s card uses:


Next in the anatomy of the card I needed to decide on an accent color. The accent color for this card would be another 2017-2019 In Colors, Tranquil Tide.
Accent Colors from the 2017-2019 In Colors:


Final anatomy of my card steps, I needed to add a few embellishments:
|
|
||
|
|
|
|
|
|
|
|
|
|


Now, it’s time to put it all together….
First the Big Shot and the Oh My Stars embossing folder. Then the ribbon attached on the back with Fast Fuse. Then attaching the layers. Then stamping and punching 3 balloons and attaching them with dimensionals. Almost finally, stamping the Happy Birthday Greeting, punching it out, sponging it and attaching it to the card front with dimensionals. And finally…..drawing in the balloon strings with the marker.

More card assembly details will be in my Card Buffet tutorial at the end of the month. In the meantime, click on any supply image above to be taken to my Stampin’ Up! online store to purchase your own supplies. Need help? Send me an email or give me a call.
By the way, Lemon-Lime Twist is most likely going to end up being my favorite of the In-Colors. It looks so good in my hair! Just a touch…….remember…….less is more.

And that’s a quick anatomy of a card.