Yesterday’s challenge in the 3-day Fearless Cardmaking in Minutes event was choosing a focus for a card…..selecting basic supplies–card stock/color and a sentiment. Today’s challenge is choosing a technique. I chose Embossing Paste since I haven’t used it for years, just purchased a container of Shimmery White Embossing Paste, and I want to give it a try before it dries up. Ahem……that’s what happened to the last container that I purchased and ignored because I wasn’t courageous enough to try it out. That’s not going to happen this time around!
First…Select a Stencil:
Well now, that was so easy! Would you believe it took me over twenty minutes to locate my stencils!? I had moved them from where they’d been stashed in a file folder for several years to their ‘new home’. And that was the end of that. Yes I finally found them, about 4″ from where they’d been before, moved from a vertical slot to a horizontal one. Sigh. Sometimes cleaning up and cleaning out, followed by reorganization, is not such a good idea.
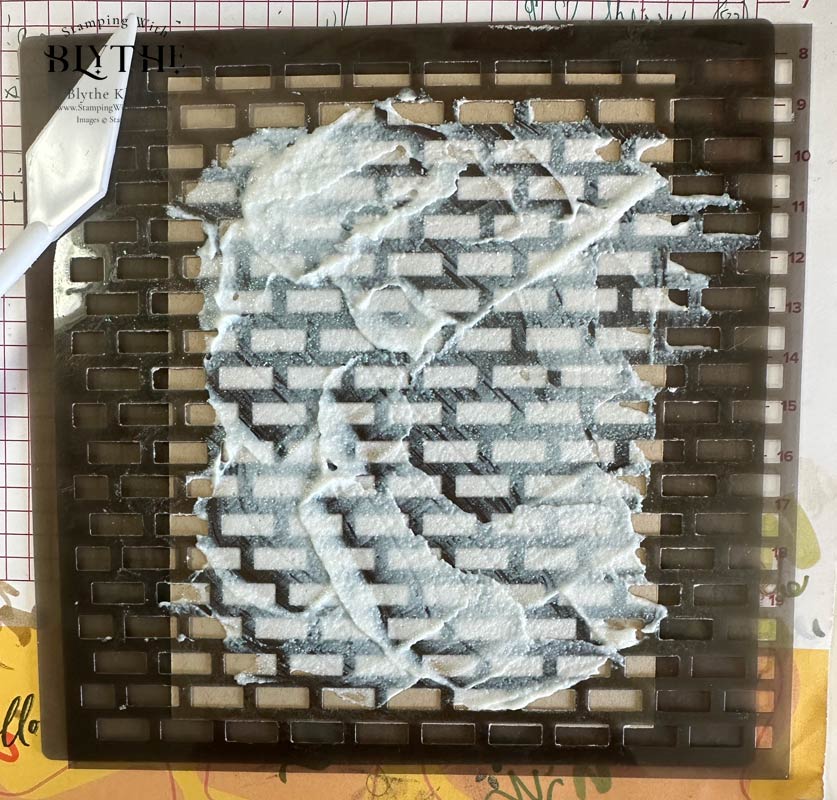
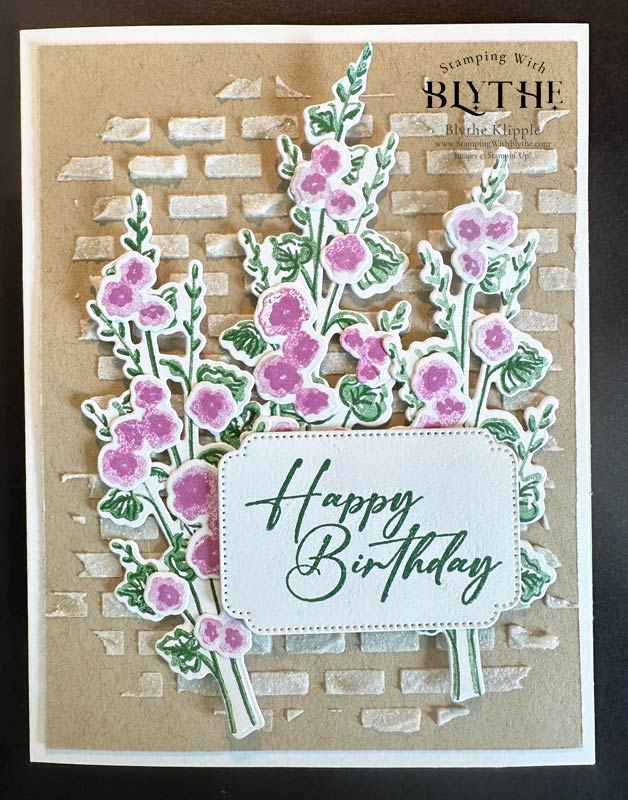
My stencil choice: one that looks like bricks on a wall. Supplies needed: Silicon Craft Sheet, Palette Knife, Shimmery White Embossing Paste and card stock. I chose Crumb Cake.
Applying the Embossing Paste:
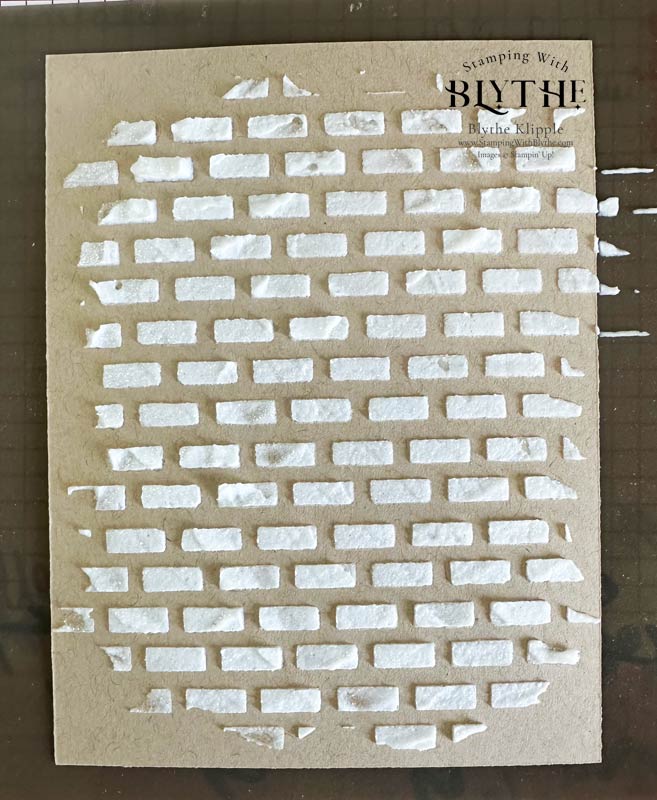
Oh my, that was so easy……kind of like lightly frosting a cake. I gently spread the paste over my stencil, purposely not going all the way to the top or sides. I set the pasted layer aside, on a gently sunny window sill, to let it dry. In the meantime I stamped and die cut some flowers to attach to my “brick wall”. And yes, the lid is closed on my Embossing Paste container and the Palette Knife has been thoroughly cleaned and dried as has the stencil.
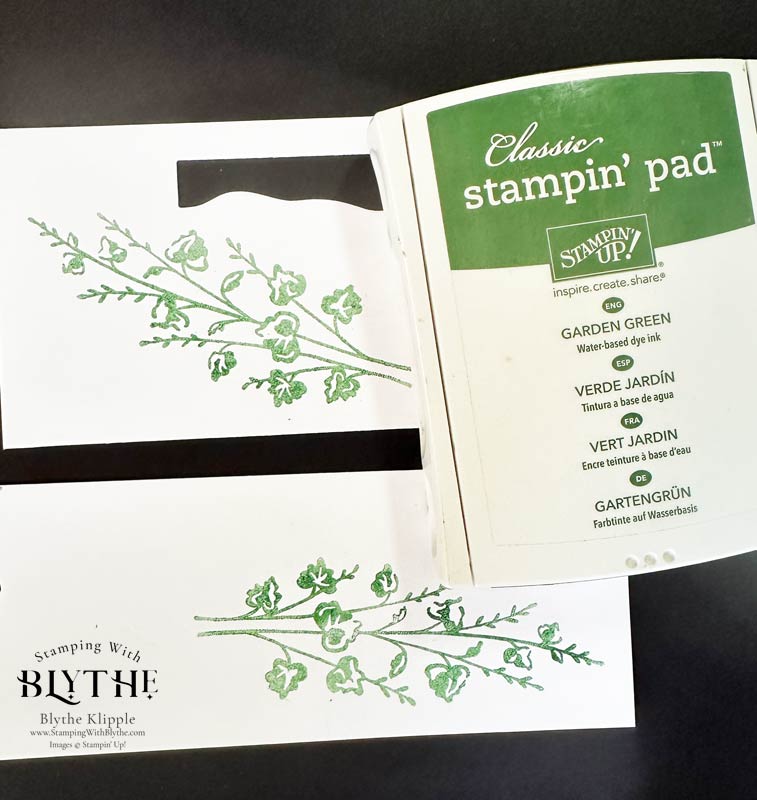
I stamped the stems/leaves of the stamp set using Garden Green Classic Ink. After I inked up the stamp I stamped it on a piece of grid paper to remove some of the ink. Then I stamped the image on to the Basic White card stock. Then I came back with the ‘detail’ image and stamped it, using full strength Garden Green ink, over the first layer of stamping. Then I die cut the images. Following the stamping of the stems, I used Petunia Pop to stamp the flowers and then die cut them and attached them to the stems as shown in the images below.
Flowers of Beauty:
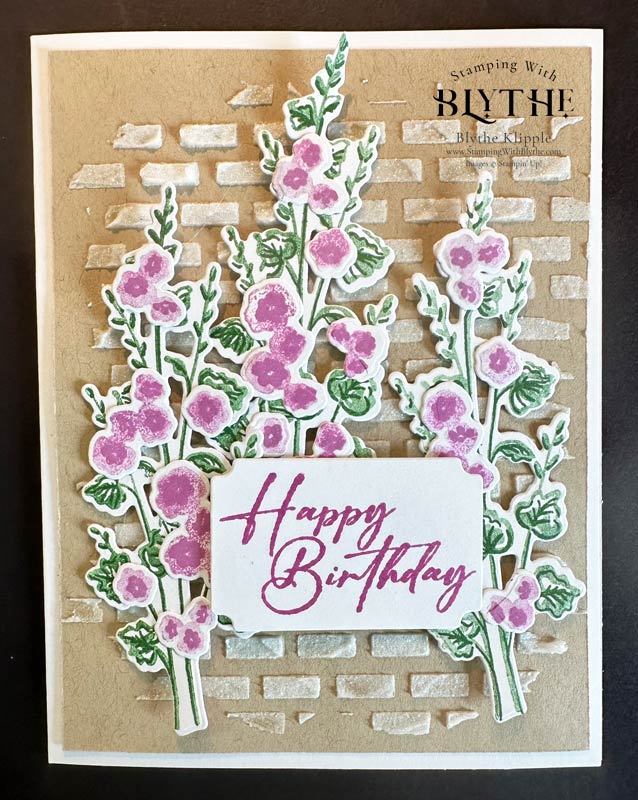
I followed Justine Hovey’s tip and chose the first stamp set in my collection that would work against a brick wall. No hemming and hawing about this set or that one. What I didn’t anticipate was that I’d need an additional stamp set and coordinating dies for the greeting. Next dilemma….Garden Green or Petunia Pop ink for the greeting. I do love the flowers — I’m calling them Hollyhocks — in the Flowers of Beauty Stamp Set. They remind me of our back yard, up against the house, when I was a kid.
Card 1? Card 2? Card 3?
I’ve only made one card (flowers not adhered yet) but I can’t decide which greeting I prefer. So I’m coming to YOU, my readers, for your thoughts. Please leave me a comment below with your choice of greeting—-and maybe what reason helped you make your choice. I’ll get back to you all in a few day with my final decision which will be thanks to your input.


Back to My Technique Choice:
This is a really easy technique – spreading paste through a stencil with a spreading tool. Oh my. I set it on a sunny window sill for about an hour and it totally dried within that time span. Be watching for more cards using this technique soon. And if you make one, please share it. Fun! Eye catching! Not as messy as anticipated. Just wash it all off of all tools/parts under running water immediately after applying.
What do you think? As I said above, I can’t wait to make more of these “paste based” cards!
Thank you so much for popping in today. Please leave a comment below if you’re looking for a specific project or technique. And don’t forget to make a card and then make someone’s day by sending it to them.


