This is my first card using the delightful Hello Ladybug stamp set and I must say “it’s about time!” It’s just so cute. The set includes whimsical ladybug and flower images, as well as friendship-themed greetings. It’s perfect for handmade cards or gift packaging for children and adults alike.

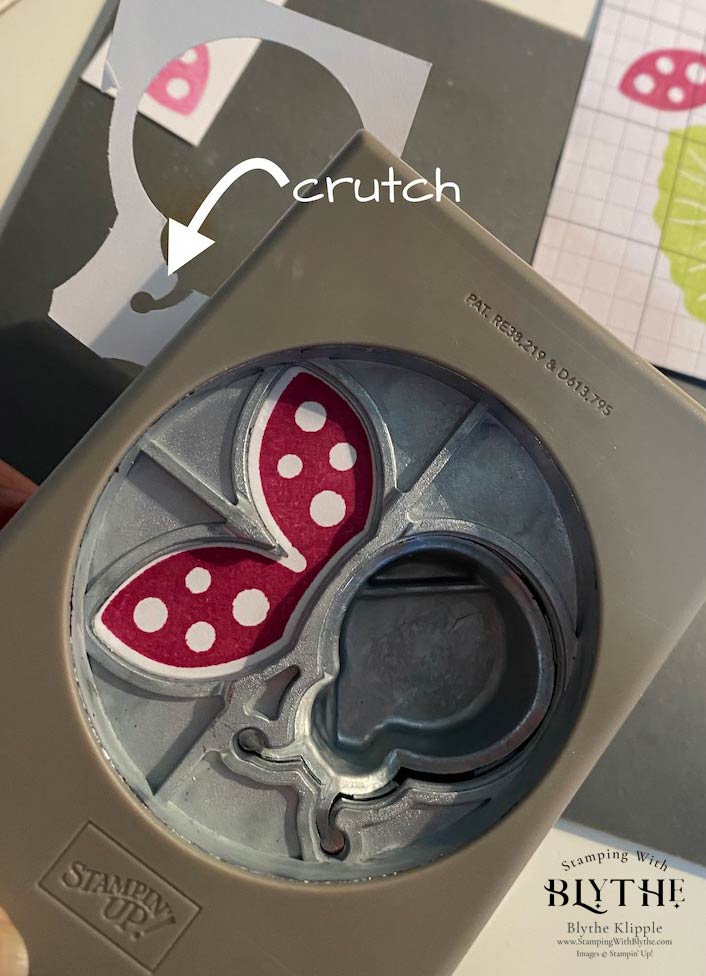
And it has a coordinating Ladybug Builder Punch to make creating your finished item even more fun. The punch cuts out two separate pieces: the ladybug body and separate wings, allowing the ladybug to be built in different positions. Did you notice, in the image above, that two of my ladybugs are full strength ink and the third ladybug is the second stamping with one ‘load’ of ink. I call that “stamped off”. The ink has been partially “stamped off” of the stamp when it’s first stamped, giving the second stamping a lighter impression.
Products Used for Creating Today’s Mystery Stamping Card
Product List- Lemon Lime Twist Card stock: 8-1/4″ x 4-1/4″, scored (and folded) at 5-1/2″
- Lemon Lime Twist Card stock: 5-1/2″ x 3″, scored at 1/2″ on the long side.
- Basic White: 5-1/4″ x 4″ plus scraps for stamping lady bugs, wings and greeting
- Designer Series Paper: 4-3/4″ x 2-3/4″ AND
- Designer Series Papers – different pattern: 4″ x 2-1/2″
Tips for Card Basics:
- Add adhesive to the 1/2″ end of the 5-1/2″ x 3″ folded piece and lay the right end/side of the Basic White card stock on top of the 1/2″ folded piece of Lemon Lime Twist making a “folding over flap”. Attach the Basic White layer to the larger segment of the Lemon Lime Twist piece.
- Add the 4-3/4″ x 2-3/4″ piece of Designer Series Paper (DSP) to the top of the flap of the Lemon Lime Twist layer that’s attached to the Basic White layer.
- Add the 4″ x 2-1/2″ piece of DSP, vertically, to the flap of the card base.
- Add stamped images and greeting as you wish.
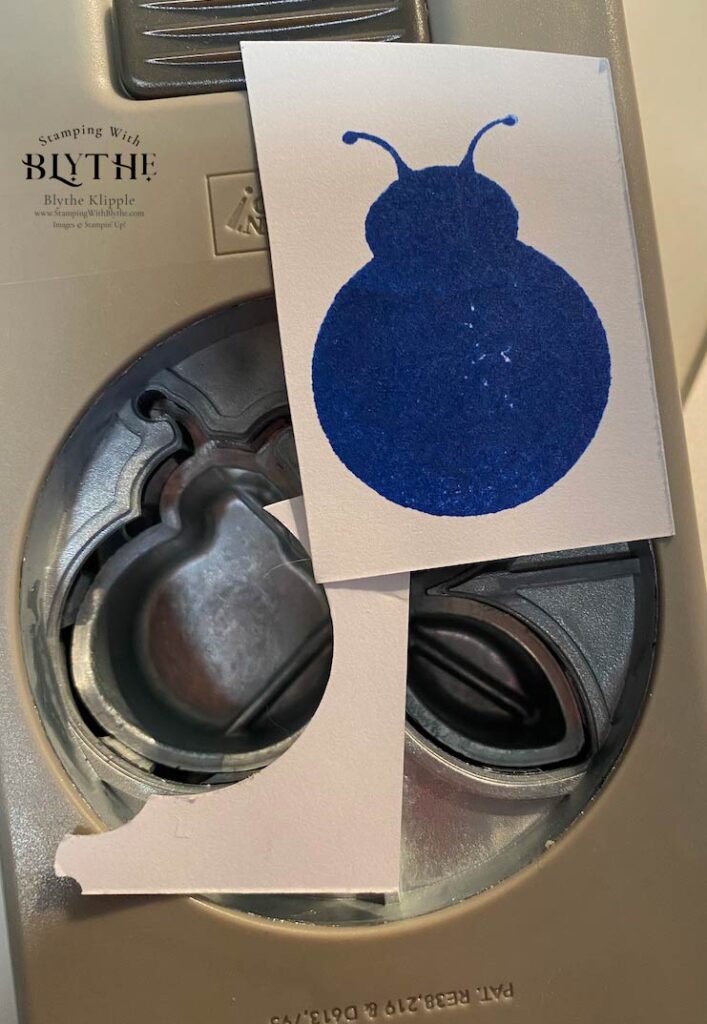
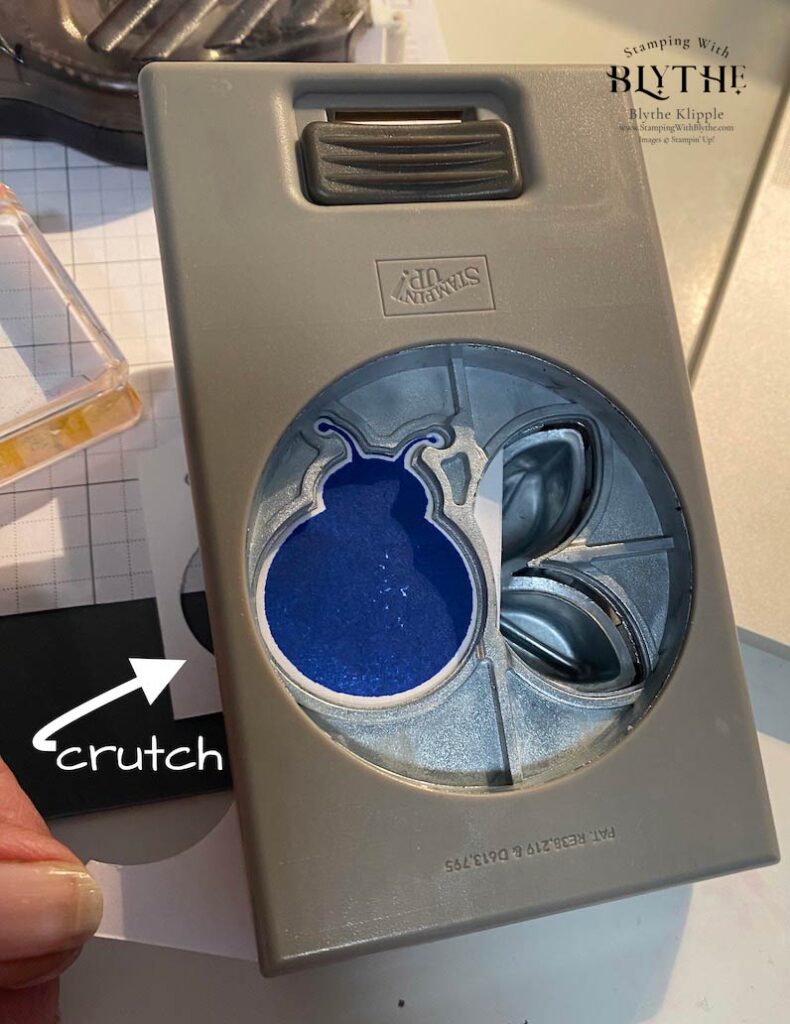
Tip for Punching: Using a Crutch
Sometimes it seems impossible to position a stamped image into a punch without distortion or frustration. My easy ‘fix’: attach a “crutch” with strong adhesive. My “crutches” are usually little pieces of scrap card stock.


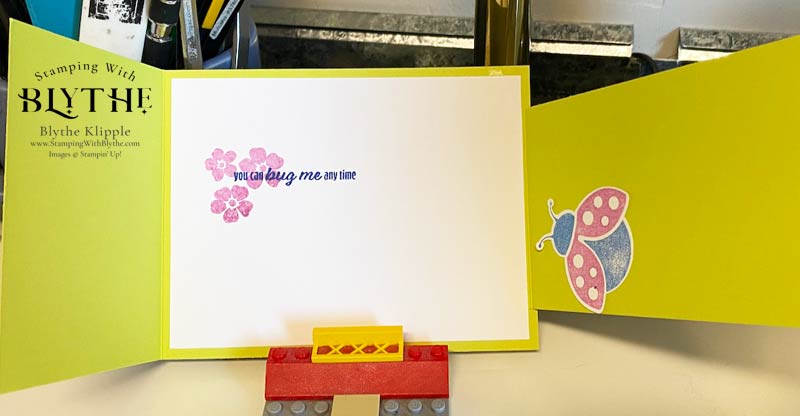
And now……..the inside of my card:


Thank you so much for popping in today. Please leave a comment below if you’re looking for a specific project or technique. And don’t forget to make a card and then make someone’s day by sending it to them.


