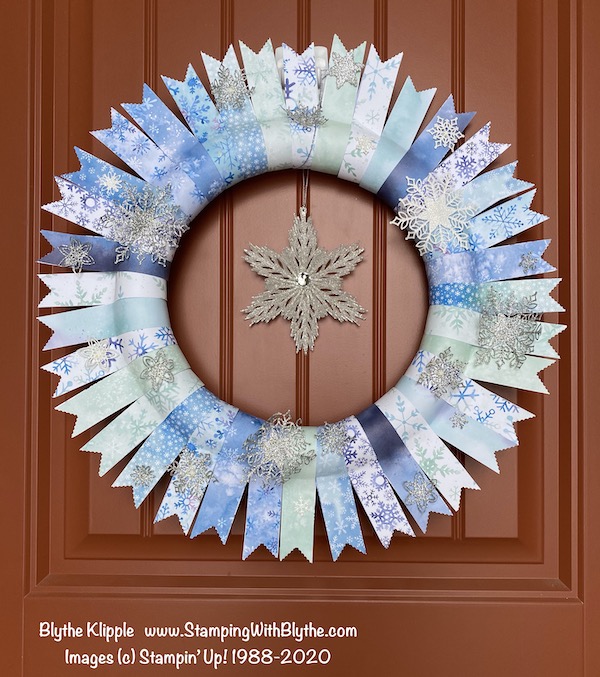
I finally got out into the ‘real world’ and purchased the glittery plastic snowflake that I wanted for the center of my snowflake wreath that I share a few days ago. Now it looks complete.


I’ll be switching it out after Thanksgiving for this final wreath which is my favorite because of the little banner. You can find the banner on p. 27 of Stampin’ Up!’s Holiday Aug-Dec Mini Catalog. It was great inspiration. If you don’t have a copy of the mini catalog, click here for the pdf. (And email me if you’d like a hard copy: Blythe@StampingWithBlythe.com)
Products used for the wreaths:
Product List
|
|
|
||
|
|
|
|
|
|
|
|
You’ll need approximately 36 strips of Designer Series Paper, 3/4″ x 12″. After opening a package of DSP I kept the sheets in the order from the package except that I turned over the second sheet of each pattern so that pattern was next in order and then I kept the stack of cut strips in that order.
Place about 4″ of Stampin’ Seal + on one end of an individual strip, wrap it around the styrofoam wreath form, bring the two ends together and squeeze (like an almost empty tube of toothpaste) down to the wreath. Move on to the next strip.
After adding strips all around the wreath, go back to the first strip and hold it securely on the wreath. Place a straight pin into the back side right where the pinched strip meets the wreath (you make the determination and follow that pattern all around the wreath) , securing it to the styrofoam wreath form. (I used *10″ across the center* wreaths.) Move on to the next strip, overlapping the previous strip just a wee bit. Secure with straight pin. You may need to add 1-2 more strips after you’ve scooched each of the strips. These straight pins will remain on the finished wreath–they’re on the backside so no one will notice.
Finally, using Paper Snips or an appropriate punch, cut a ‘flag’ into the end of each strip. Embellish as desired. Enjoy!!!
My first wreath took about an hour to put together and the next three took about 45 minutes each. The process is almost addicting!
Share your finished wreath with me and others in the comments area.
Questions? Please send me an email and ask. I’ll do my best to help you out. Blythe@StampingWithBlythe.com
* Shop Stampin’ Up! in Blythe’s Store * Like my Facebook Page * Follow me on Pinterest * Join Paper Pumpkin and play along * Join My Country Loft Team


