
The new stamp set, You’ve Got This, is definitely going to be my friend! The crosshatch background image is wonderful. You’ll be able to purchase this stamp set on June 2nd.
On May 14th I posted a masculine card made with You’ve Got This:
Last Thursday at the Mi Wuk Library we made this card using the You’ve Got This stamp set for all three images — background, flower, greeting:

I wanted to see how the background would look embossed, so I tried it yesterday afternoon:

Here are the two, side by side:

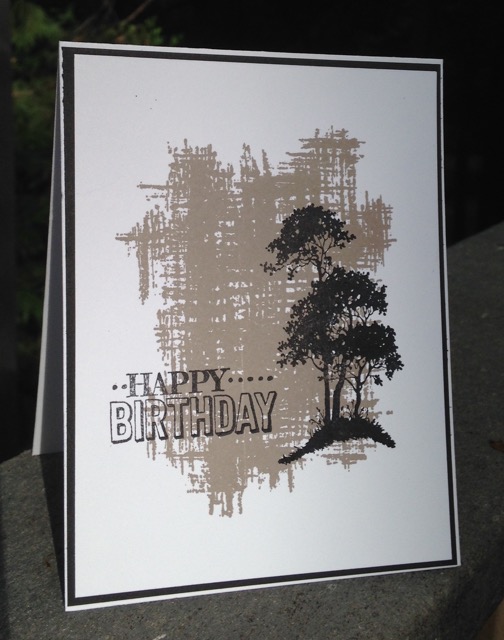
What do you think? I’m thinking it’s too hard to stamp a greeting over the embossed card. Before I sprinkled some Embossing Powder over the Happy Birthday greeting you could hardly see the letters that were on top of the embossed background. Plus I think I prefer the subtlety of the non-embossed background.
Yes, you do have to ‘fussy cut’ the flower but it’s not really that hard. Actually it’s kind of therapeutic.
How did I color the flower? With my good old Blender Pen. For starters, I turned the flower upsidedown, inked up my Blender Pen and started applying the color on the bottom of each petal. As I colored, the ink lightened, leading to variation in color intensity. Then when I reached the middle-ish of the flower, I turned it right side up and started my ‘coloring’ on the tips of the petals and letting the color lighten as I color filled the petal. I’m really pleased with how it turned out.
TIP: When using your Blender Pen, rather than applying color with the tip, lay the pen a bit on its side and color at that angle.

It will save your tip plus apply the color more naturally. You don’t need to be perfectly precise with the Blender Pen—just let the ink flow, leave white spaces, have light and dark shading. When using Stampin’ Up!’s Whisper White card stock, don’t go back and forth and back and forth to get the ink “just how you want it”. Why? You’ll dig holes in the paper. Ask me how I know! I’ve learned. Just apply the ink gently, not going over and over an area.
How do you get the ink from the stamp pad? Not from the pad itself! Close the stamp pad, gently squeeze, using both thumbs, the lid towards the pad, open pad and use the ink from the lid.


Now……..go use your Blender Pens since we no longer have the Blendabilities available. If you don’t have any Blender Pens, just click on the words and you’ll be taken to my online Stampin’ Up! store. Or call me and I’ll help you order them. They are really work horses. (By the way, the Blender Pen set of three will cost $9.95 through June 2nd. On June 3rd the price will go up to $10.00. That’s right, a whopping $.05 increase, rounding off that $.95 to $.00. So much easier to add!)
Here’s a clue as to why I sometimes have problems getting some stamping accomplished!

Have a great Wednesday. Stamp some…….that always helps. I’ll see you tomorrow.

