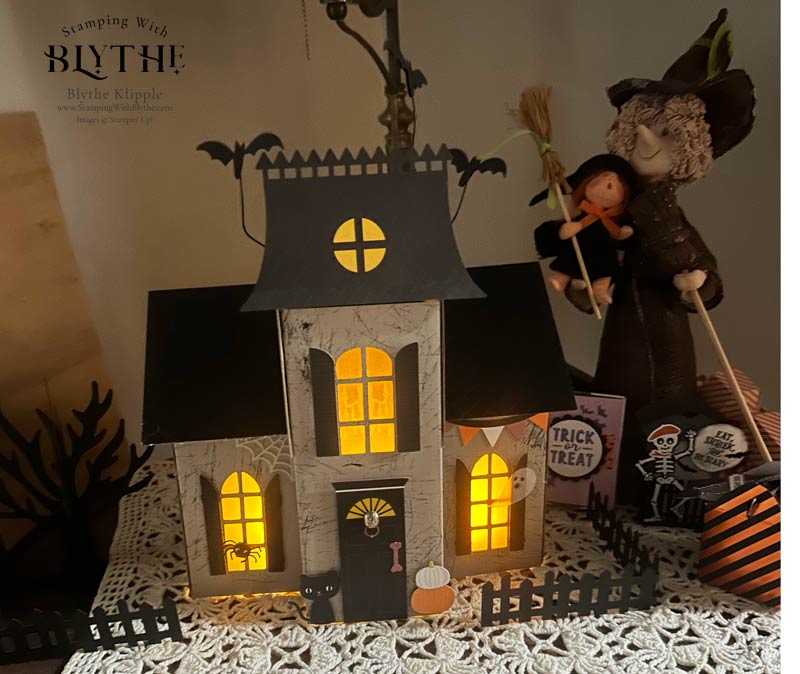
I haven’t been up close to a haunted house since visiting the Winchester Mystery House in San Jose, California many years ago. And today’s haunted house spent several months in its BOX since arriving at my home and it didn’t try to scare me too much when I finally got to assembling it.

I’ve looked at this kit and its pieces in the box for over two months before I told myself that I must get it made NOW. Before Halloween has come and gone! I’ll confess from the get-go that it is not an easy kit to assemble. And also, unfortunately, it won’t be available for purchase until late November. Word is that you’ll be able to sort of turn it inside out, do some coloring and make it into a Christmas Cottage. I’ll get back to you with a follow-up in about a month!
I was so intent on getting this house put together that I didn’t take any photos along the way. There were LOTS of pieces for trim and accents — and spooky critters — that I totally forgot. I also went out and purchased a new much-more-free-flowing hot glue gun. That was a good decision. I think my old glue gun is at least 30 years old, it’s stiff and not easy to use. And now it’s in the donation box.
The actual structure of the haunter house is very sturdy and thick cardboard which is held in place with hot glue. The shutters (a whole bunch of them, front AND back, are secured with black Dimensionals. The ‘windows’ were attached with double-sided ver sticky tape.
The bits outside of the ‘fence’ on the right are (1) Stampin’ Up! Halloween kits from last year (or the year before) and (2) the witch has been in my Halloween collection for years. I don’t remember where she came from. And (3) the little urchin on the witch’s arm is a little Annalee mini-witch. Yes, I’m a collector.
Thank you so much for popping in today. Please leave a comment below if you’re looking for a specific project or technique. And don’t forget to make a card and then make someone’s day by sending it to them.


