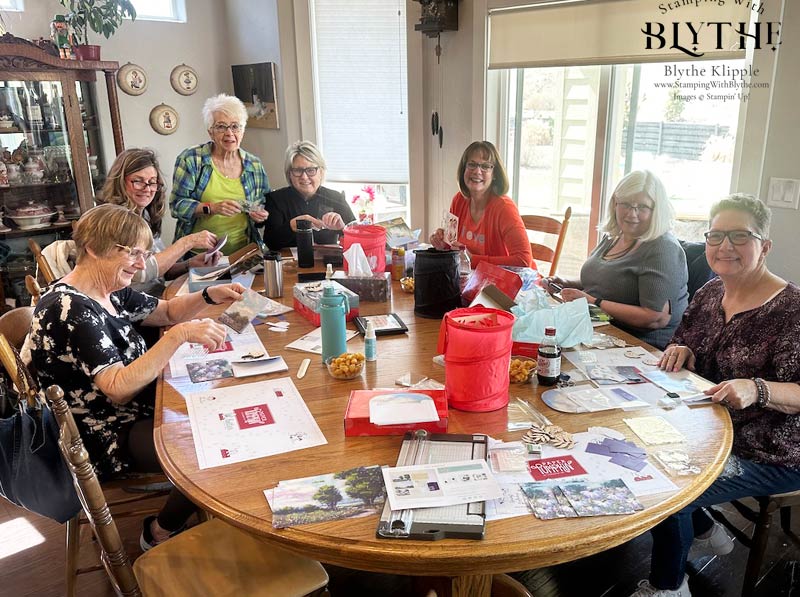
Do you know that everything you need to create an awesome set of cards or treat holders or other crafty items is included in each 9-1/2″ x 6-1/2″ x 2″ monthly Paper Pumpkin box? Today I’d like to share the March 2024’s Memorable Meadows Paper Pumpkin Kit fun time plus variations created at this month’s Kit Together at my home. So. Much. Fun. We gather on the last Monday of every month for our Kit Togethers. Are you local? Let me know if you’d like to join us. 🙂

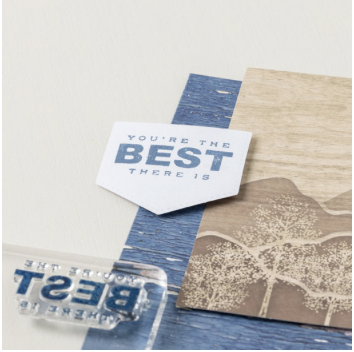
The basic kit includes your card bases, and embellishments, coordinating envelopes, plus a Stamping Spot (mini stamp pad), a photopolymer stamp set, any adhesives (usually Dimensionals and/or Mini glue Dots) you’ll need plus easy step-by-step instructions. “Fun in a box” as I like to say.
Here’s my explored and slightly used Memorable Meadows Paper Pumpkin kit contents:

You can see the two stamp sets (really just the print outs), the Garden Green Ink Spot, some wood decor elements, Dimensionals, punched shapes for your greetings, purple vellum pieces, coordinating envelopes and parts of the three card fronts.
And here are a few card variations created by various stampers and me. I know there are many many more out there. Don’t be shy about sharing what you’ve created from this kit in the comments below.


I used the following extra supplies:
Make Even More Cards From Your Kit
Consider cutting some of the card bases from the kit either in half or even in vertical quarters. That’s what Margie did in her “It’s the Little Things That Matter” card above.


Several Weeks Later…….
You might have noticed that I’m way out of whack on my postings these past few weeks. Running off to Houston for Stampin’ Up!’s On Stage convention from March 13-15, and then spending a few days with a dear friend south of Houston afterwards, and then flying home with an extra four hours spent in the Denver airport and finally hitting the floor running with my classes once I did arrive home has left me rather scatter-brained. No comments are necessary here! 🙂 Bottom line, I’m trying my best to get back on schedule. Please bare (bear?) with me.
Thank you so much for popping in today. Please leave a comment below if you’re looking for a specific project or technique. And don’t forget to make a card and then make someone’s day by sending it to them.


