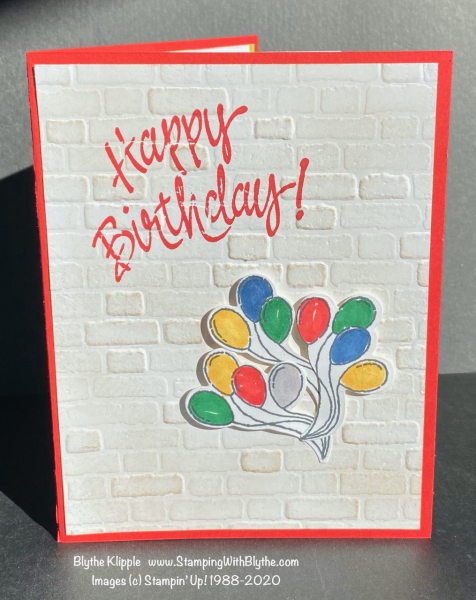
My youngest grandson will be eleven in a few days so I’ve stuck to my crafting desk and have made a special hand-stamped card for a special birthday for a very special boy. I have to be honest and say I resorted to quite a few retired items for Zion’s card.

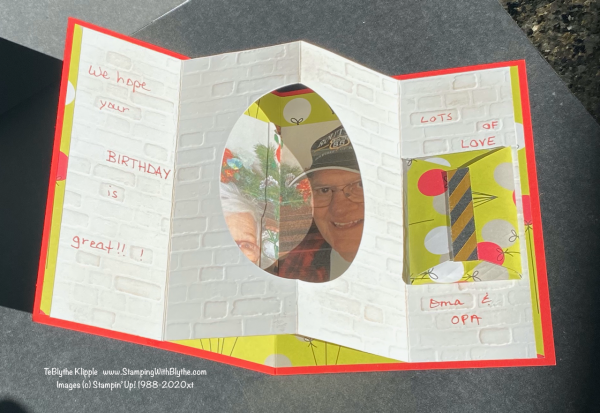
Inside is the fun part.


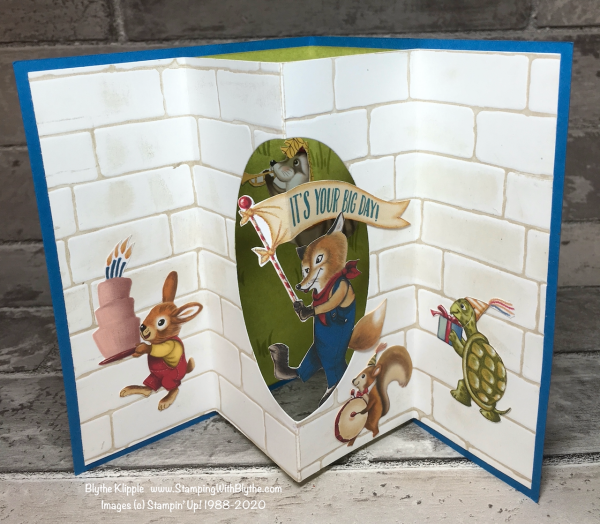
This was my prototype/inspiration card that I made for the Stampin’ Up! On Stage event in San Diego in April of 2017 using the Birthday Delivery stamp set:

And inside:

Product List
|
|
||
|
|
|
|
|
|
|
|
|
|
||
|
|
||
|
|
|
|
I also used the Happy Birthday greeting from the very very retired (2005) Birthday Greeting stamp set.

Putting it all together TIPS:
- Real Red card base: 8-1/2″ x 5-1/2″, scored at 4-1/4″ and burnished with a Bone Folder (or fingernail!)
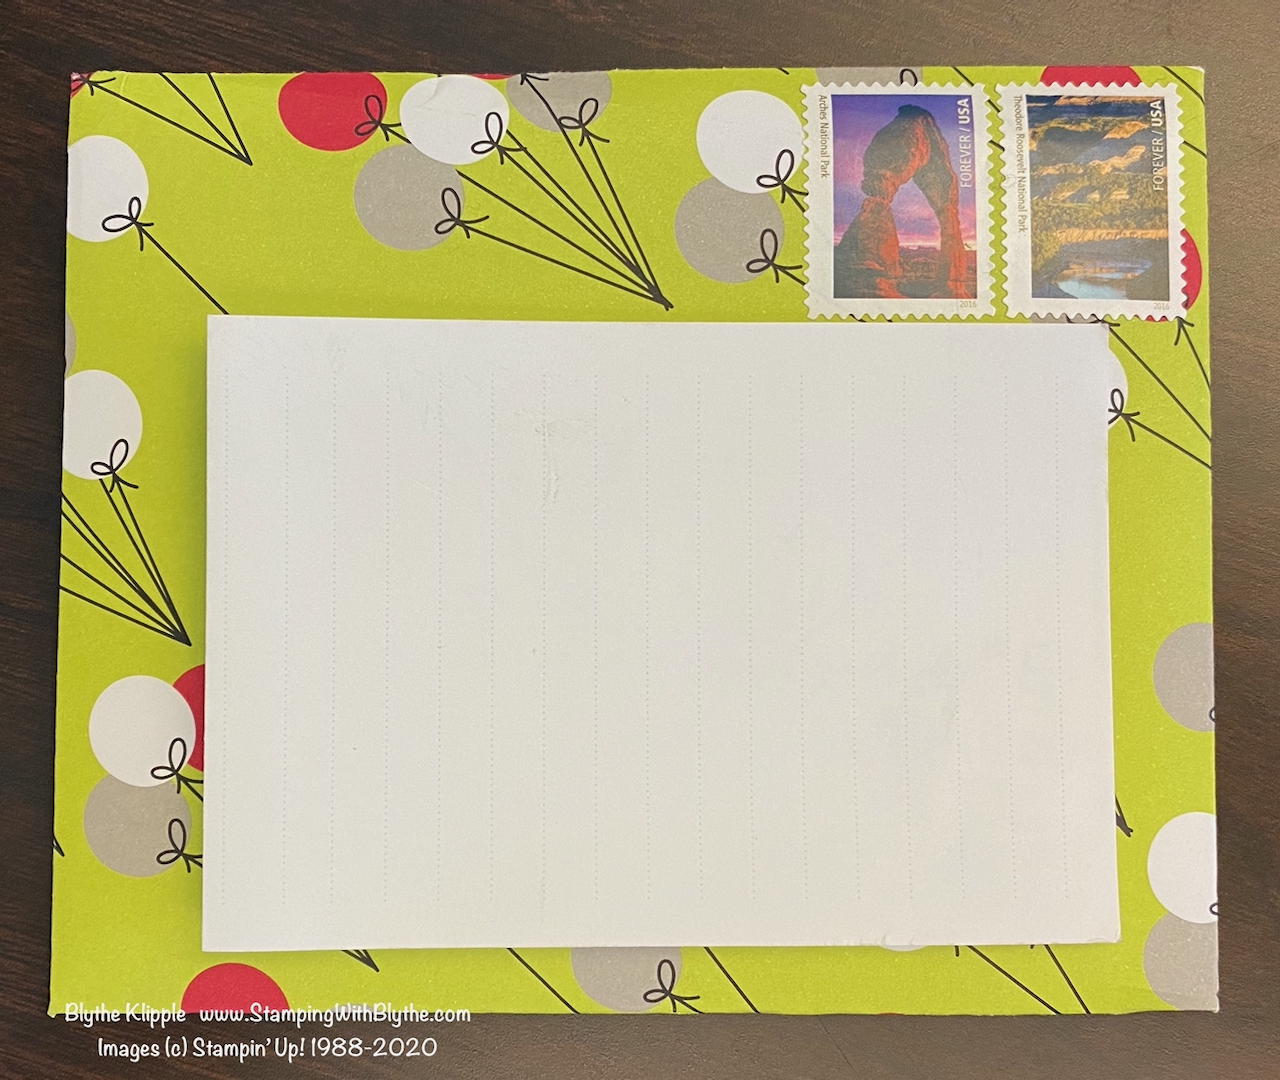
- Designer Series Paper layer: 8-1/4″ x 5-1/4″, scored at 4-1/8″. Attach to card front base.
- Photo (if used): trim to fit the oval layer. Mine is 4-1/4″ tall x 4-1/2″ wide. Fold it in the middle before attaching it to the card front layer.
- Whisper White insert layer: 8-1/8″ x 5-1/4″, scored at 2″, 4-1/8″ and 2″ from the other edge. Center fold is a “mountain” fold; the left and right folds are “valley” folds.
- Whisper White layers: Run through the Big Shot using the Brick & Mortor 3-D Embossing Folder. You’ll have to turn the larger card stock around to get the entire image.
- Using a stamping sponge wedge and the Crumb Cake classic ink to slightly smudge the bricks.
- Using the Big Shot, die cut an oval (I used the largest one) to accommodate the photo image, on the Whisper White “bricked and scored” layer.
- Stamp the balloons three times using Black Memento Ink on Whisper White card stock. Color in with Stampin’ Blends and finally, using the Big Shot and the balloon bouquet die from the Truck Ride Dies, die cut the balloons. I hand trimmed one of the balloon bouquet bunches of four to three balloons to equal eleven balloons since the card is for my grandson’s 11th birthday.
- Stamp the Happy Birthday greeting on the smaller Whisper White layer using Real Red Classic Ink and attach the layer to the card front using Snail Adhesive.
- Attach the balloon bouquets to the card front using Stampin’ Dimensionals.
That little rectangle on the right inside of the card??? I just folded a scrap of the Designer Series Paper to fit the blank space (I used scrap paper to get the dimensions correct). After sealing it, I carefully ‘stuffed’ $11 into the envelope and attached it to the card. Happy birthday Zion!
If you’d like to order any of the supplies used for this card (current supplies that is!), either click on the image above or go to my Stampin’ Up! store here. If you have any questions, don’t hesitate to shoot me an email, or leave a comment, and ask. You most likely won’t be the only one with that question. I try very hard to cover all angles of making each card but sometimes an important step might get left out.


