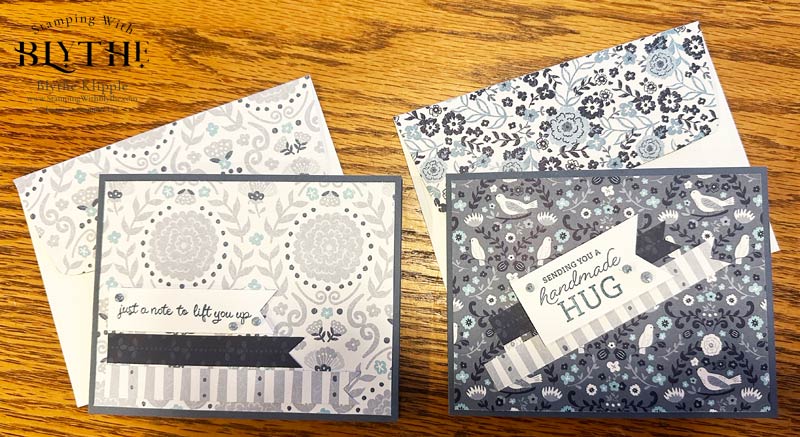
Today’s Countryside Inn clean and simple card features what can be created with a card stock base plus Designer Series Paper (DSP) and a greeting. Nothing else. Oh yes……..and bling!

The card on the right is already in the mail, heading for Ohio and a very special person in my life. How do you like the decorated envelope flap? I like the touch of coordination and attention to detail that it offers. But…..I’d like to know what you think about it!
Supplies:
How To Put the Pieces Together:
- Basic Card: Misty Moonlight: 4-1/4″ x 11, scored at 5-1/2 I prefer to do my scoring with the Simply Scored Scoring Tool.
- Designer Series Paper (DSP): Countryside Inn. 5-1/2″ x 4-1/4″ plus 2 pieces (different patterns): 1/2″ x 4″ and 1/2″ x 5″
- Basic White: 5-1/4″ x 4″ plus scrap (long & narrow) for greeting
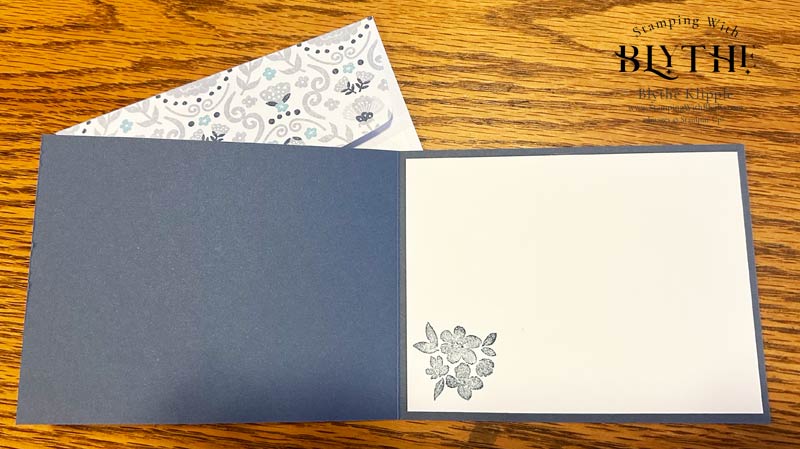
- Attach DSP layer to the card front with ‘green glue’ (Multipurpose Glue) and attach the Basic White 5-1/4″ x 4″ layer to the inside of the card after stamping it with a smallish image (in a corner).
- Trim ONE END of each of the 1/2″ wide DSP strips with Paper Snips, creating a flagged end. (check out my photo sample) I don’t know the technical name!
- Attach these DSP strips where you’d like using green glue on one and Dimensionals on the other.
- Stamp your greeting on the Basic White scrap, snip a ‘flag’ on one end with those Paper Snips and attach where desired using Dimensionals.
- Attach bling as desired. DONE.
- Just for fun, add a 6″ x 2-3/8″ piece of the same DSP to your envelope flap using “green glue”. Trim the excess with your Paper Snips.
- Check out the two samples at the top of the page for two variations of placement for those narrow strips. Or let your mind guide you!

If or WHEN you make a card based on Designer Series Paper please consider sharing it with us. You can send it to me in an email (Blythe@stampingwithblythe.com) and I’ll upload it to this post. It would be fun to see your interpretations!
Thank you so much for popping in today. Please leave a comment below if you’re looking for a specific project or technique. And don’t forget to make a card and then make someone’s day by sending it to them.


