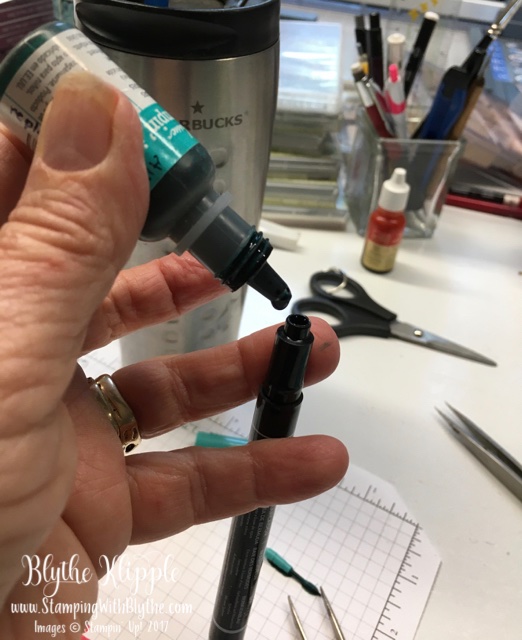
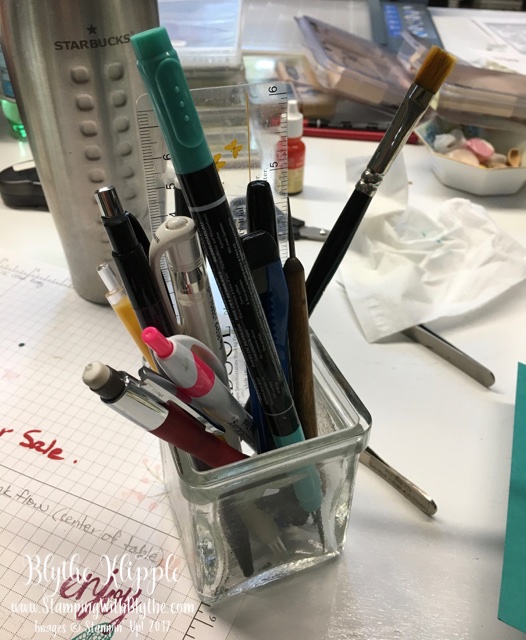
Have you ever tried refilling your Stampin’ Up! Marker? You know, the one that isn’t writing so well? Does the fine tip of your Stampin’ Up! marker eventually not live up to your expectations? This happens to me in spurts it seems, with more than one marker sort of drying up on the fine tip end. I have learned that refilling your Stampin’ Up! markers is totally possible and totally rewarding.
You’ll need
- your marker (duh)
- tweezers
- coordinating Ink Refill
This morning I wanted to write inside a birthday card with my Bermuda Bay marker but…..the marker wasn’t writing smoothly. Time to give it a refill.


Once in a while I get energetic and check out an entire color family of my markers and refill them as needed. It’s so rewarding to address an envelope or write in a card with smoothly flowing ‘creamy’ ink.
Have you ever tried refilling a marker before rather than purchasing a new one?
My suggestion to you: try refilling a Stampin’ Up! marker. You’ll like it! Just follow the step-by-step photo tutorial above. If you don’t have an ink refill for every marker or stamp pad you own, I highly recommend that you stock up. When a pad doesn’t stamp ‘nicely’ or a marker doesn’t write smoothly they’re calling out for more ink! My Stampin’ Up! store is always open. Just click here and order the Ink Refills you need or send me an email and I’ll be glad to help you.


I just refilled my first marker! Thanks for the Instructions!! It’s really easy peasy!
Yip! It can be a tad messy if you try to add too many drops of reinker but trying it out for the first time is really worth it. ~Blythe