I can’t speak for you, but I know that I do have problems shading in a way that looks at least semi-professional. Well, Tuesday’s Tip…Shading with Stampin’ Blends to the rescue. I’m going to show you how to use 3 colors to create fabulous shading. Easily!
You’ll need the following Stampin’ Blends Markers:
– Light Daffodil Delight (144586)
– Dark Daffodil Delight (144585) (or purchase the combo pack 144603)
– Light Pumpkin Pie (144578)
And some Whisper White cardstock (100730)
A gently shaped image…….. I chose the open dragonfly from Detailed Dragonfly Thinlits (142749)
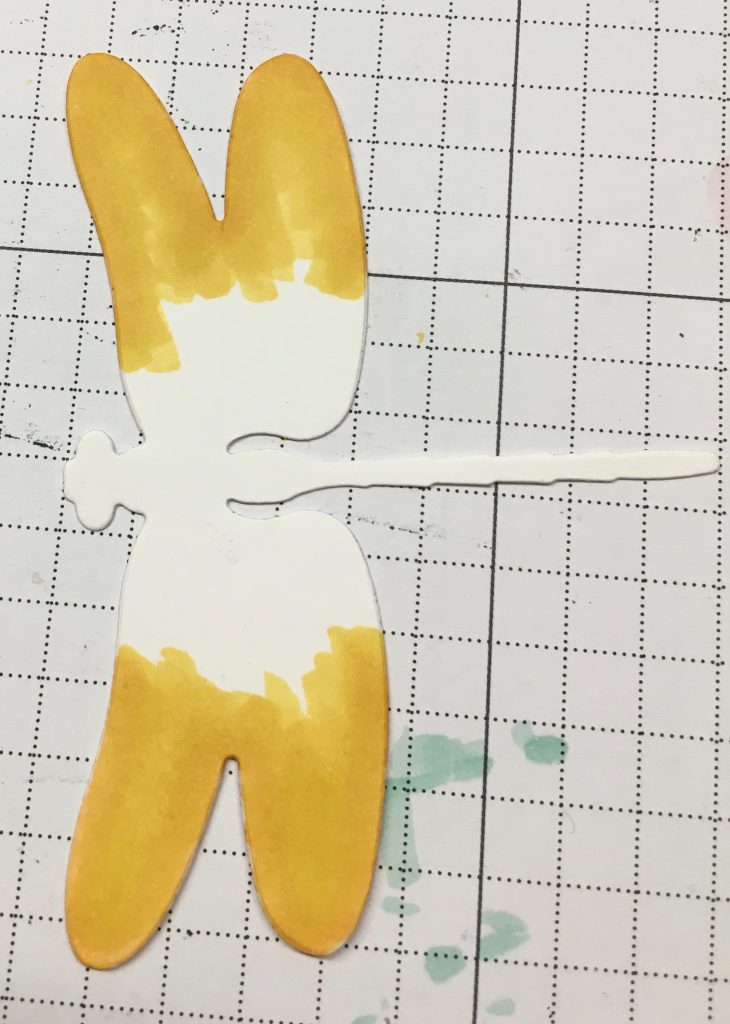
1. Color half of each dragonfly wing with the Dark Daffodil Delight Stampin’ Blends Marker.
2. Color a dark ‘shadow’ line on the outer edge with the Light Pumpkin Pie Blends Marker, over the top of the Dark Daffodil Delight.
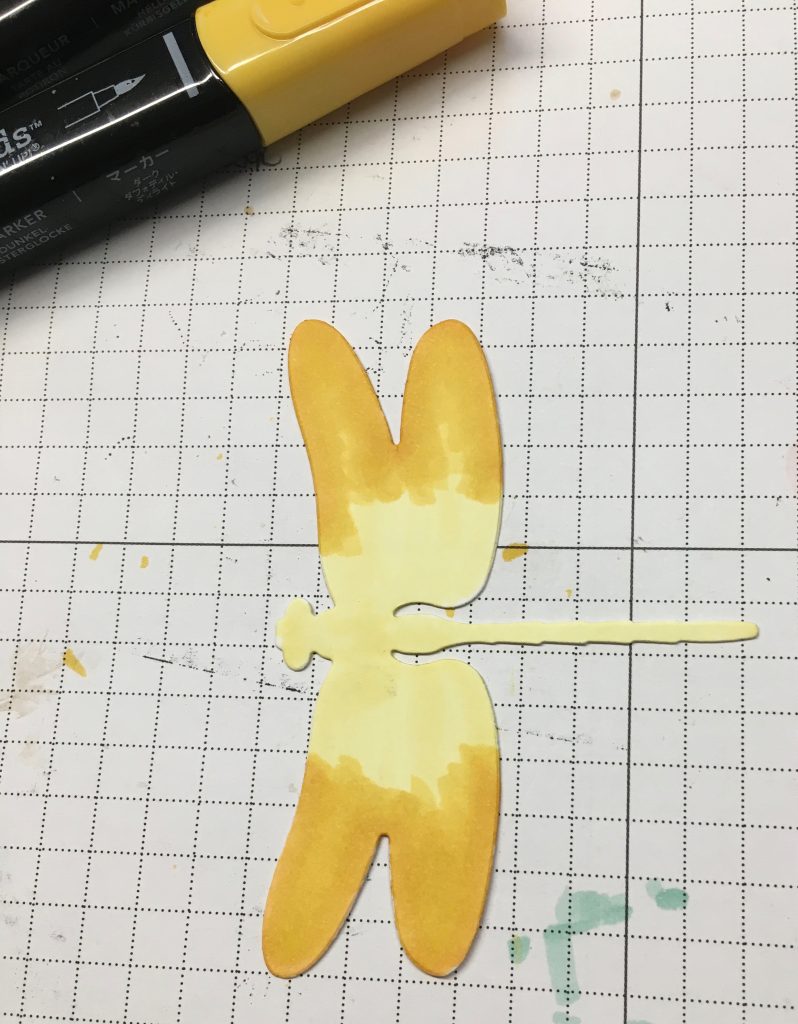
3. Use the Dark Daffodil Delight Blends marker to blend to two colors.
4. Color the rest of the wing with the Light Daffodil Delight Blends marker.
5. Use the Light and Dark Daffodil Delight Blends markers to blend where the colors join.
6. Go over the entire wing with the Light Daffodil Delight Blends marker to smooth any blending lines that may remain.
OTHER COLOR COMBINATIONS:
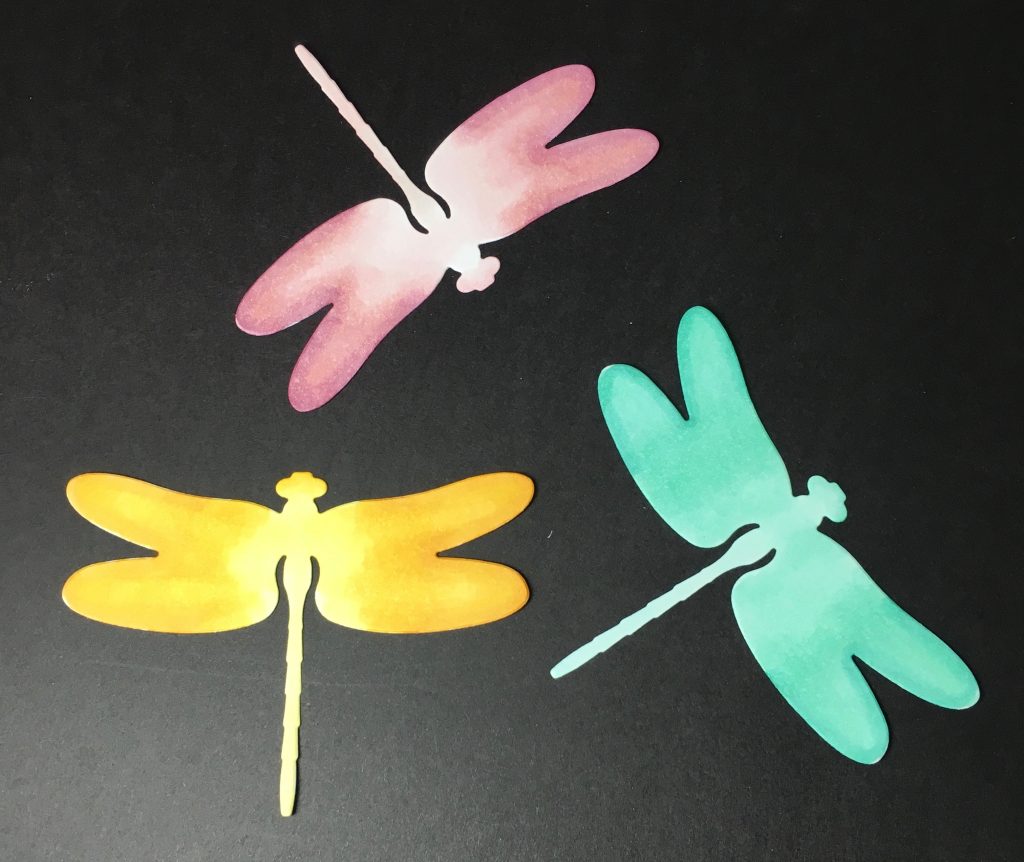
Here are some other color combinations of Blends Markers that would work nicely:
– Light Pink Pirouette (144593), Dark Pink Pirouette (144592) (combo pack 144604), Light Rich Razzleberry (144584)
– Light Pool Party (144595), Dark Pool Party (144594) (combo pack 144605) and Light Bermuda Bay (144580)
Following are step by step photos of three dragonflies that I used for practicing the blending of the colors. The number one thing I learned is that you need to just be patient. I’ll leave my ‘learning’/’aha’ comments on each image as I had the epiphany moments. I chose the dragonfly from the Detailed Dragonfly Thinlits because of the expanse and simplicity of the larger open image. My next test image would be a flower probably. But not today!


I hope you’ve enjoyed this week’s Tuesday’s Tip…Shading with Stampin’ Blends. Be sure to try it, keeping in mind my #1 tip: Take your time. Don’t get discouraged. It worked best for me, this time anyway, the pull the light color into the darker color to get a smooth color transition. It might not be that way next time!


