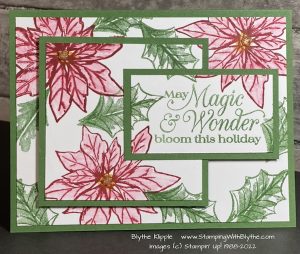
I have always wanted to make a Triple Time stamped card but just never got around to it. I never had clear instructions. Well, thanks to a challenge prior to the Fall Creativate online Retreat, I have made my first Triple Time card.

I honestly think my card is a bit ‘crowded’ but still, I like it. Mission has been accomplished.
As always when stamping you’ll need stamps, ink, card stock and bling/accessories as needed.
Product List
|
|
||
|
|
|
|
For all the busy-ness, this card uses just a few supplies.

You’ll need:
- Stamps
- Ink
- Card stock
- Other things like Dimensionals, adhesive and bling
I used:
- Poinsettia Petals Stamp Set
- Garden Green card base and layer panels
- Basic White layers to stamp on
- Blender pen to “pull” the poinsettia color
- Dimensionals
- Genial Gems to highlight flower centers
Cutting instructions:
- Card front/base: 5-1/2″ x 8-1/2″, scored at 4-1/4″
- Two layers matching the card base: 3-1/4″ x 3-1/4″ and 3″ x 1-3/4″
- Basic White layers for stamping: 5-1/4″ x 4″ and 3″ x 3″ and 2-3/4″ x 1-1/2″
How to do it:
- Stamp the greeting on the smallest Basic White layer.
- Place all three pieces of Basic White card stock on top of each other, in the same arrangement as the finished photo, overlapping so you can stamp on all three pieces. Press firmly. You will see a gap around the edges due to the several layers. Don’t worry about it!
- Add the largest Basic White card stock piece (5-1/4″ x 4″) to the card front with adhesive of your choice.
- Attach the two remaining Basic White card stock pieces to the corresponding colored card stock layers.
- Add the 3-1/4″ x 3-1/4″ colored card stock piece (which has the stamped layer attached) to the leftish side of the card front with Dimensionals.
- Add the greeting layer to the right side of the card front with adhesive on the left side and Dimensionals on the right side.
- Add any bling or stamped images to the card front.
You are done!
If your card front card stock is darkish, consider adding a 5-1/4″ x 4″ piece of Basic White card stock for writing your greeting–and stamping a coordinating image if you’re so inclined. Be sure to sign the back of your card–or use a ‘hand-stamped-by’ stamp if you have one. Let your recipient know that YOU made their special card!
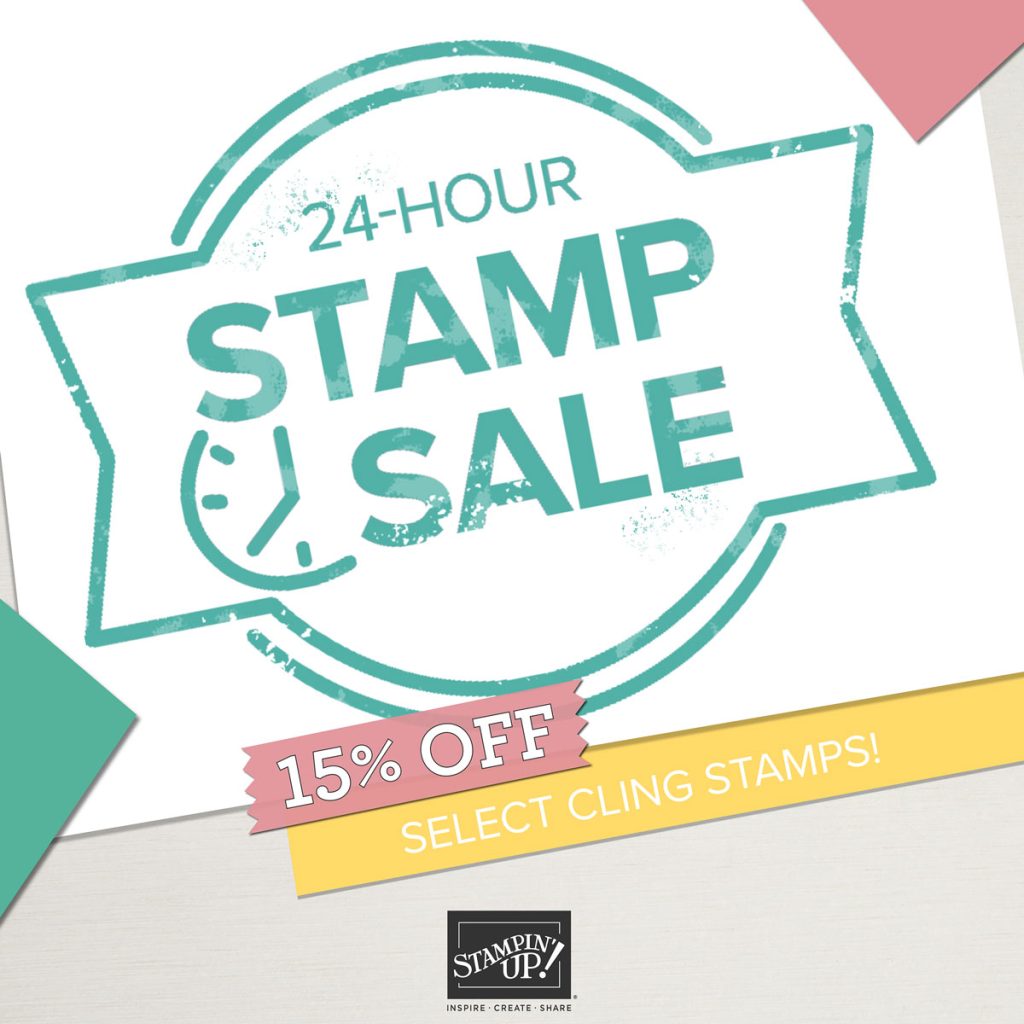
Heads up! Tomorrow, October 20th, from 12:00 a.m. to 11:50 p.m. in a special sale on select cling stamps from Stampin’ Up!’s 2021-2022 Annual Catalog.
Check it out in my Online Stampin’ Up! store here……after midnight on October 20th. The store will have a category titled “Stamp Sale” that displays every stamp set on sale to ensure a quick and easy shopping experience. When the PDF list of available stamp sets is available I’ll post it.
AHA! Found it! Click here for the PDF.
You can shop through me personally or via my online store. Warning: I do have a 4 hour class in my home from 1-5 p.m. so availability will be intermittent during that time. But I’ll have my phone and computer near by.
Have a great day. And make it better, if possible, by throwing in a bit of stamping time!
* Shop Stampin’ Up! in Blythe’s Store * Like my Facebook Page * Follow me on Pinterest * Join Paper Pumpkinand play along * Shop Stampin’ Up!’s Clearance Rack and save up to 60% * Join My Country Loft Team


