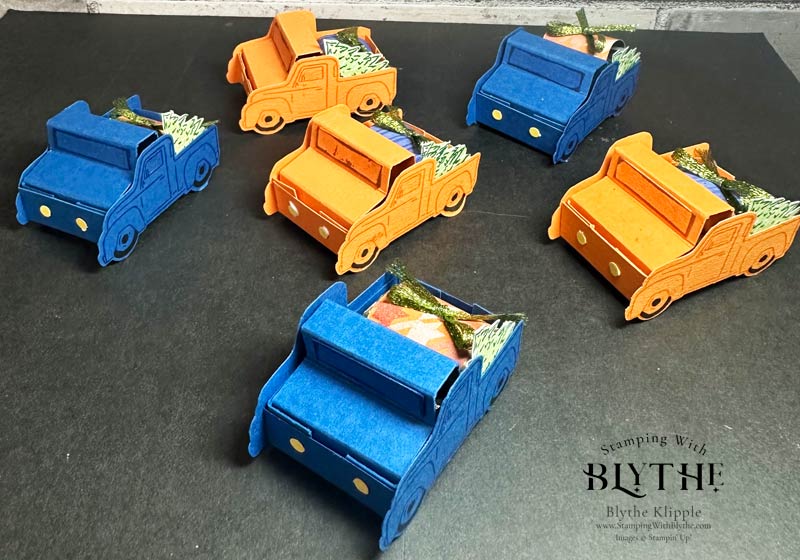
Today’s Trucking Along Candy Haulers hold not only two Hershey’s Nuggets but also a holiday tree. I posted my finished vehicles on my Facebook page yesterday and now I’m ready to share the ‘how-to’ so you can make a few. Or a whole fleet of trucks.
We live in Boise, Idaho, home of Boise State University. And their colors are blue and orange. You see blue and orange all around the area! And that’s why I decided to honor them.

Vroom, Vroom, Trucking Along
Supplies
- Trucking Along Bundle (162306): (Trucking Along Stamp Set [162299] and Trucking Along Builder Punch [162305])
- Blueberry Bushel card stock (146968): truck body
- Pumpkin Pie card stock (105117): truck body (optional–if I had it do to again I would stamp Blueberry Bushel on the P. Pie truck)
- Soft Sea Foam card stock (146988): tree
- Daffodil Delight card stock (119683): headlights
- Basic Black Stampin’ Write Marker (162481)
- Paper Trimmer (152392)
- Simply Scored Scoring Tool (122334)
- Punch that has a small circle for headlights. I used the retired Cookie Cutter Builder Punch
- Classic Inks: Blueberry Bushel, Pumpkin Pie, Soft Sea Foam, Shaded Spruce
- Multipurpose Liquid Glue
- Ribbon
- Hershey Nuggets
Click On Any Image Below To Be Taken To My Stampin’ Up! Online Store
Product ListHow To Put The Pieces Together
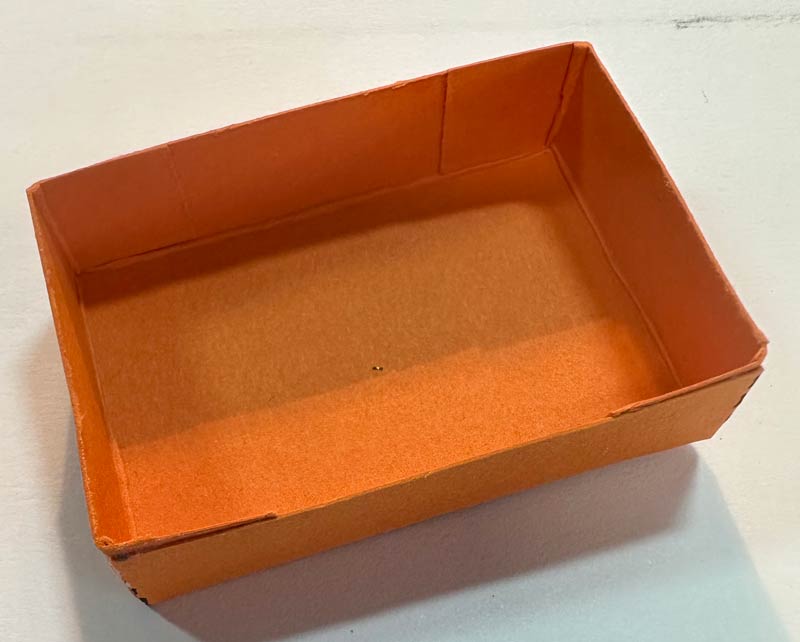
For the truck bed you’ll need a piece of card stock 3″ x 2-3/8″. Use the Simply Scored Tool to score 1/2″ from the edge on all 4 sides. On both long sides, cut each score line just until you reach the intersection of the score lines. Fold along the score line, burnishing them (rub firmly) with the Bone Folder. Glue the corners to the insides of the sides to form a box.
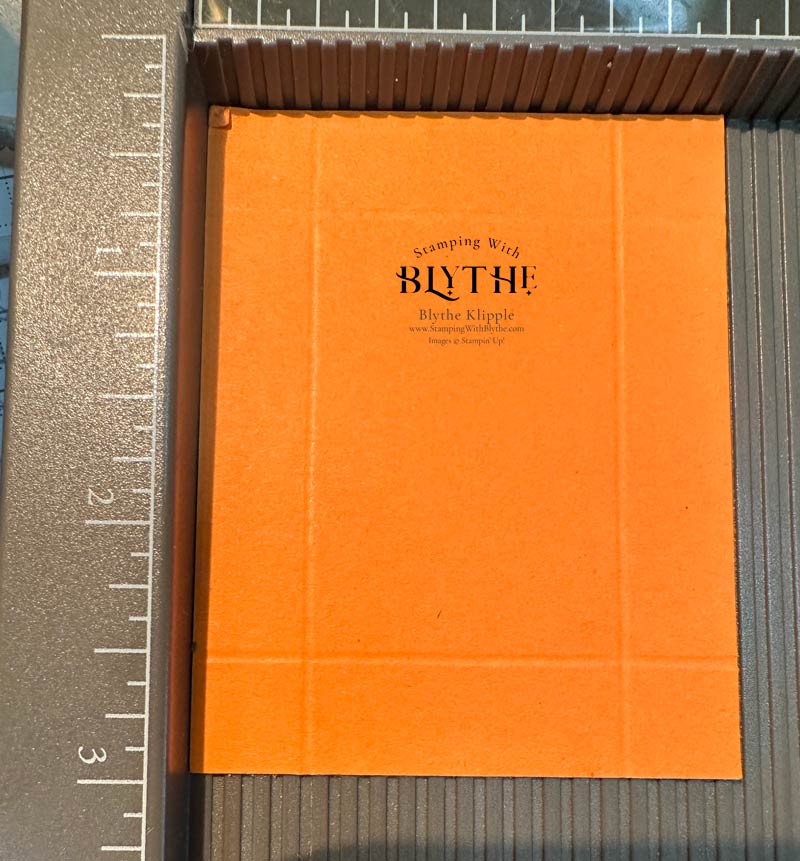
Fold along the score lines and then, on the long sides and using Paper Snips, cut the 4 score lines on the long sides, just to the horizontal score lines.
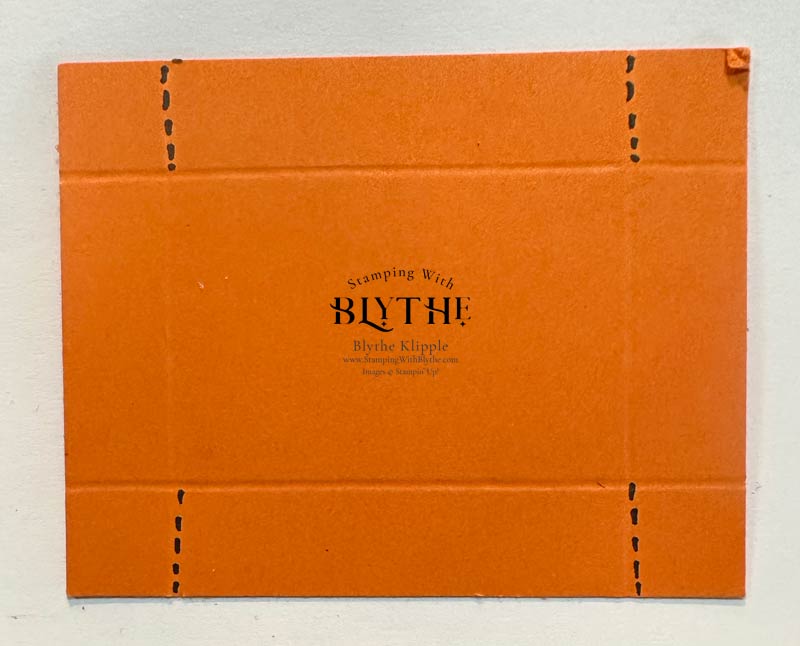
Burnish all the score lines firmly using a Bone Folder or your fingernail. Then glue the little cut flaps to the inside of the box, aka truck bed.
Stamp the truck using matching or strongly contrasting ink. Punch it out using the Trucking Along Builder Punch. Color the wheels and hubcaps using a Basic Black Stampin’ Marker or Stamping Blends marker. Punch a second truck (no stamping of the truck image) and then, on the opposite side, stamp a greeting. Glue both truck pieces to the sides of the truck bed.

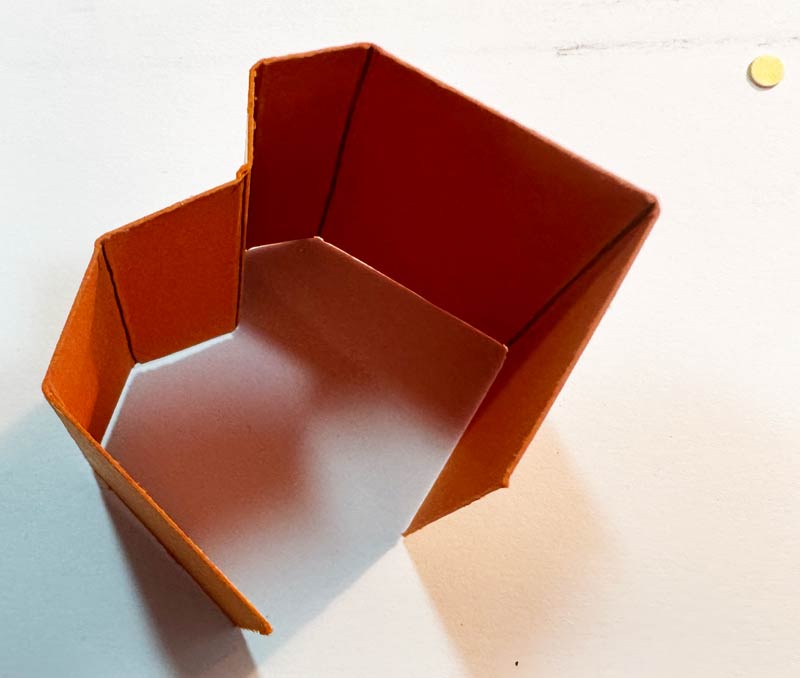
Using a 4-3/4″ x 1-3/8″ (actually just under this 1-3/8″ measurement), on the long side score at 1″, 1-1/2″, 2″, 2-3/8″, 2-3/4″ and 3-3/4″ marks. This is another great place to use the Simply Scored Tool. Fold this scored piece into the shape of the truck ‘cab’. Overlap and glue the two end pieces together. Slide a nugget inside and place the piece at the front of the truck bed.
Wrap a Hershey’s Nugget in a 3″ x 1″ piece of DSP (Designer Series Paper) and glue the overlapping ends. Tie a piece of ribbon into a knot or a bow and attach it to the top of the wrapped nugget with a Glue Dot. Set it into the back of the truck.
Yes, there is a windshield! Cut a 1-1/8″ x 1/4″ scrap of card stock. Scrape the edges in the darker (Blueberry Bushel) ink. Attach it to the windshield area using ‘green glue’. Swipe the windshield and both side windows with Wink of Stella.
Of course our truck needs headlights! Punch 2 circles, using any shade of yellow card stock (Daffodil Delight, Crushed Curry, Lemon Lolly)– choose a punch that creates little circles and punch out two “headlights”. I used the retired Cookie Cutter Builder Punch.
Finally, we need to pack a tree into the bed of the truck. Using Soft Sea Foam classic ink stamp the tree image onto a scrap of Soft Sea Foam card stock. Stamp a second layer, for shadows on the tree, using Shaded Spruce Classic Ink. Fussy cut (that means there’s no punch!) the tree using Paper Snips. Then apply a thin line of ‘green glue’ on the stamped side of the tree and snuggle it up against the inside of the truck bed next to that wrapped nugget.
This project might seems a bit daunting at first but I really recommend that you try it. Just slowing and methodically follow the instructions and you’ll have a cute candy filled truck — or hopefully SOME candy filled trucks — for decorations or treats or just conversation pieces. I definitely plan to make more in various colors.
I’d love to hear your thoughts on this somewhat ‘out of the box’ project. Having that great punch kind of dictated doing something fun! Please leave a comment sharing your thoughts. I’ll be sharing a few more projects using this Trucking Along Bundle in the next few weeks, including a Christmas card or two.
Thank you so much for popping in today. Please leave a comment below if you’re looking for a specific project or technique. And don’t forget to make a card and then make someone’s day by sending it to them.


