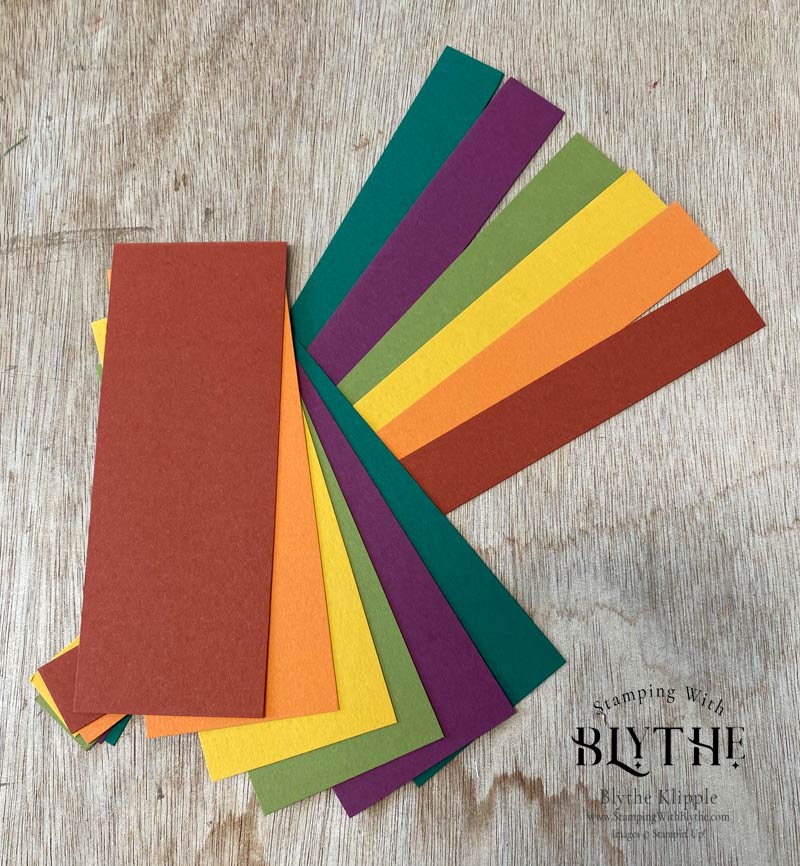
What can you possibly do with long scraps of card stock? Consider creating a background layer for a card!
Last week at our stamping class at the Avimor Community Center here in Boise, we did just that. However, I actually cut new “scraps” for making our cards!

Our Paper Strips Card was Pretty Quick & Easy

How To:
- Card Base: 8-1/2″ x 5-1/2″, scored at 4-1/4 and burnished (firmly rubbed) with a Bone Folder or thumb nail. Color: Neutral–white or Vanilla
- Base layer for strips: 5-1/4″ x 4″. Color: Your choice….any of the colors of your strips.
- Strips: assorted colors, 1/2″” x 5-1/8″
- Die cut layer: Neutral for the tree canopy (or your choice of image). I used Crumb Cake.
- Greeting: Same card stock as for the die cut layer. And greeting, die, punch of your choice.
- Dimensionals for layering greeting
- Multipurpose Liquid Glue (aka green glue per the color of the container!) for layering strips and attaching the die cut layer.
- Bling: if any, use a ‘odd’ amount of bling of your choice.
- Apply “green glue” to the back side of each strip in a zig-zag pattern for light and easy coverage.
- Position first strip equally distant from left/top/right of colored card stock layer.
- Position following layers butt-up against the previous layer. The final layer will need to be trimmed down or just totally omitted.
- Apply ‘green glue’ carefully to the die cut layer and add it to the card.
- Stamp greeting, punch or die cut, and attach to card front using Dimensionals for a cute little pop.
- Decorate your envelope as you wish. IF you wish. 🙂
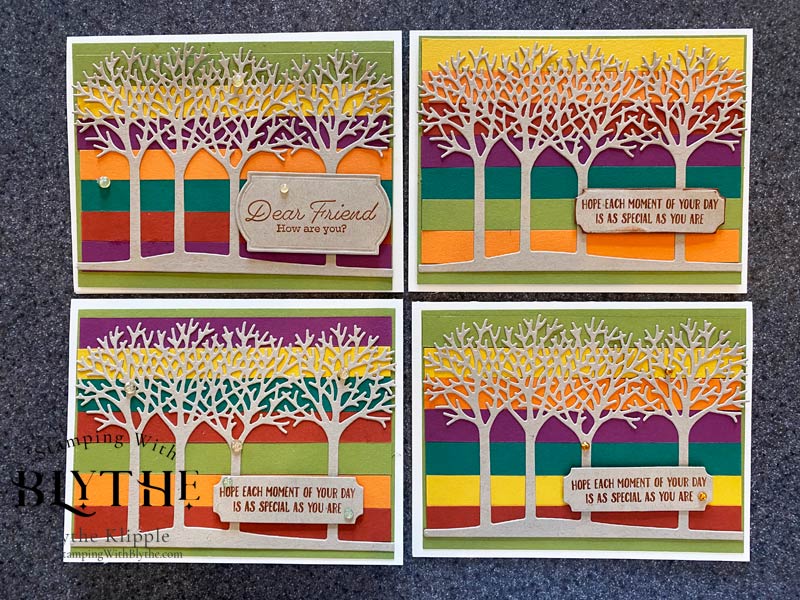
Various Samples from our Community Center Class

How About a Springtime Version?

I look forward to sharing more of my cards with you as I get more and more accustomed to this new (and challenging) blog platform.


