
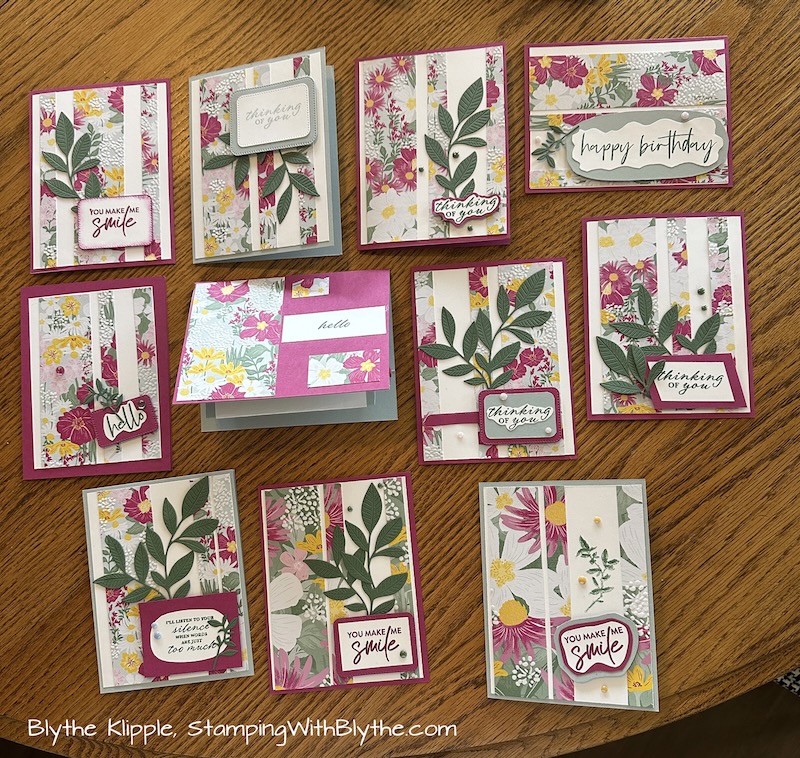
Yesterday I told you about the old card my neighbor Sue brought over to my house. She’d been trying, most unsuccessfully, to duplicate it. So we worked together and made several cards using retired Designer Series Papers. I challenged myself to make one using this year’s papers and products and now I’m here to offer you this Criss Cross Card Tutorial.

You’ll need:
- one sheet of card stock plus a another piece that measures 4″ x 5-1/4″. I used Garden Green.
- 2-3 sheets of Designer Series Paper. I used Santa’s Workshop Specialty Designer Series Paper
- Signs of Santa stamp set
- Stampin’ Trimmer
- SNAIL adhesive
- Multipurpose Liquid Glue
- Tear & Tape Adhesive
- Detailed Trio Punch
- Circle Punches:
- 1-1/4″ Circle Punch
- 1-3/8″ Circle Punch (retired sadly)
- 1-3/4″ Circle Punch
- 2″ Circle Punch
And now follows lots of photos showing the step-by-step route I followed:

Using your Stampin’ Trimmer, score a sheet of card stock at 5-1/2″ and then cut it lengthwise at 4-1/4″

Remove two triangles as shown above. Use your Stampin’ Trimmer, positioning the 4-1/4″ score line and the 5-1/2″ score line in the cutting trough.

Fold on score lines and lay the two pieces of card stock as shown above.

Apply Multipurpose Liquid Glue (aka “Tombow”) on the bottom piece. The reason I chose Tombow is because I can move the card stock a bit, as necessary, to get it property lined up, before it sets.

Select your Designer Series Paper (DSP) and cut a 5-1/2″ x 4-1/4″ piece. Be sure your final cut image will be right-side-up rather than side ways! Set the other half aside for use at a later time. I put mine back into the DSP package.

Select another DSP pattern and cut a 5-1/2″ x 4-1/4″ piece, again ensuring that the image will show itself in the way you hope to see it. You wouldn’t want upside-down or sideways trees!

Position your triangle as shown in the photo above and remove approximately 1/4″ from each ‘square’ edge. Do NOT trim the diagonal edge.

This image shows the pieces you have just sliced off. TIP: make sure your cutting blade is fresh and sharp. You’ll be amazed at the difference that makes!

Cut another piece of your DSP patterns to 2-5/8″ x 5-1/4″. Apply Tombow adhesive and place it onto the large part of the card, before attaching the criss-crossed flaps.

Positioning of the 2-5/8″ x 5-1/4″ piece.

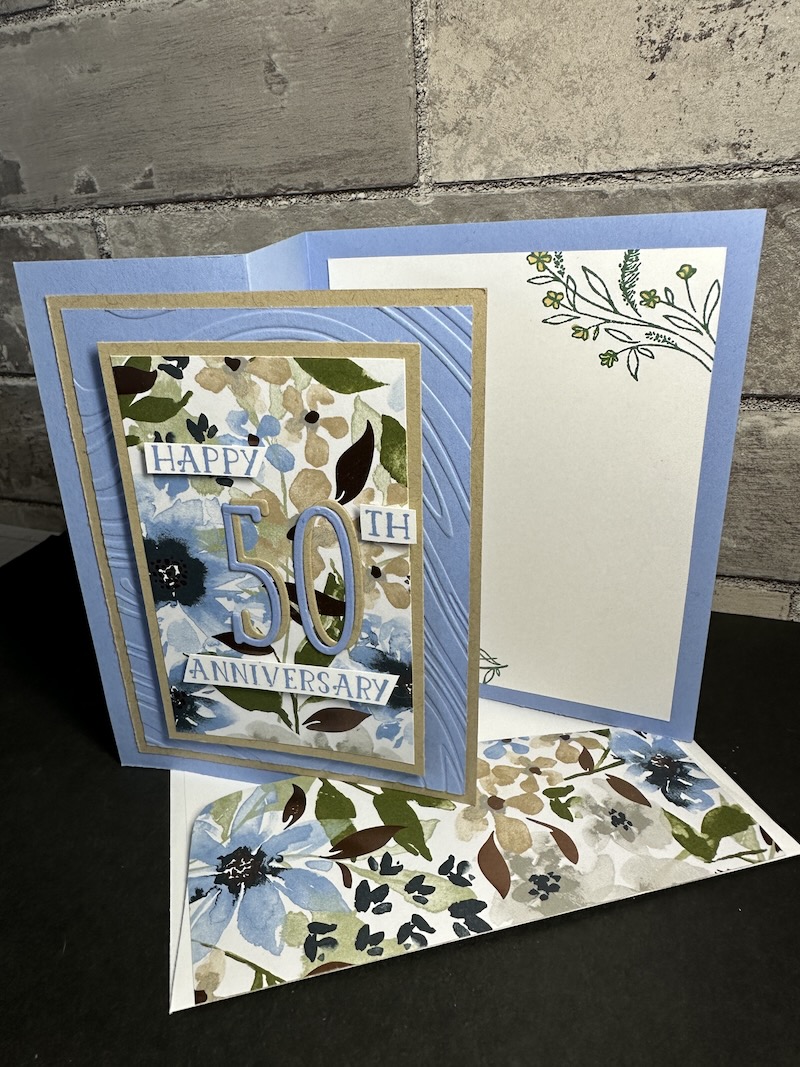
This is how the finished card will look.

Apply Tear & Tape as shown in photo above. Yes, a picture is sometimes worth 1,000 words! Burnish the Tear & Tape with your Bone Folder. (Burnish = rub it firmly.) Secure the right flap (the one with adhesive only on the bottom) first. Then fold the other flap over and secure it. You choose whichever image you want to be the dominant or top image. I wanted the fuzzy little snow men, rather than the trees, to be the main pattern seen.
 Cut a piece of card stock (Garden Green here) to 5-1/4″ x 3-1/2″. Cut a piece of Whisper White card stock to 5-1/8″ x 3-3/8″. Use the Detailed Trio Punch to round just two corners as shown above. Attach these two layers to each other.

If you want a little tab, to indicate that this card does pull out of the criss-cross card, select an image, punch it out, punch a larger piece of card stock for layering and attach it to the card. Be sure you place the adhesive only on the area that will sit on the card insert! I used 1-1/4″ and 1-3/8″ Circle Punches.
I wanted an additional decoration where the flaps overlapped. I punched this cute little snow man and backed him with a bit of the red polka dot pattern. I used 1-1/4″ and 1-3/8″ punches here.

If you have any questions, please ask me via the comment area (icon is to the right of the title) or in an email: blythe@stampingwithblythe.com. You can purchase any of the items used in today’s project in my Online Stampin’ Up! store. I sincerely hope you enjoyed my Criss-Cross card tutorial and that you’ll try it for yourself soon. Consider sending me a photo of your card so I can post it here and show other stampers just how creative YOU are.

Your cards are lovely. This is the first tutorial of yours that I’ve looked at. I must try this card. You have shown & explained it very well & I won’t have any problem making it.